Direct a multi-scene AI drama with a storyboard and a recurring cast
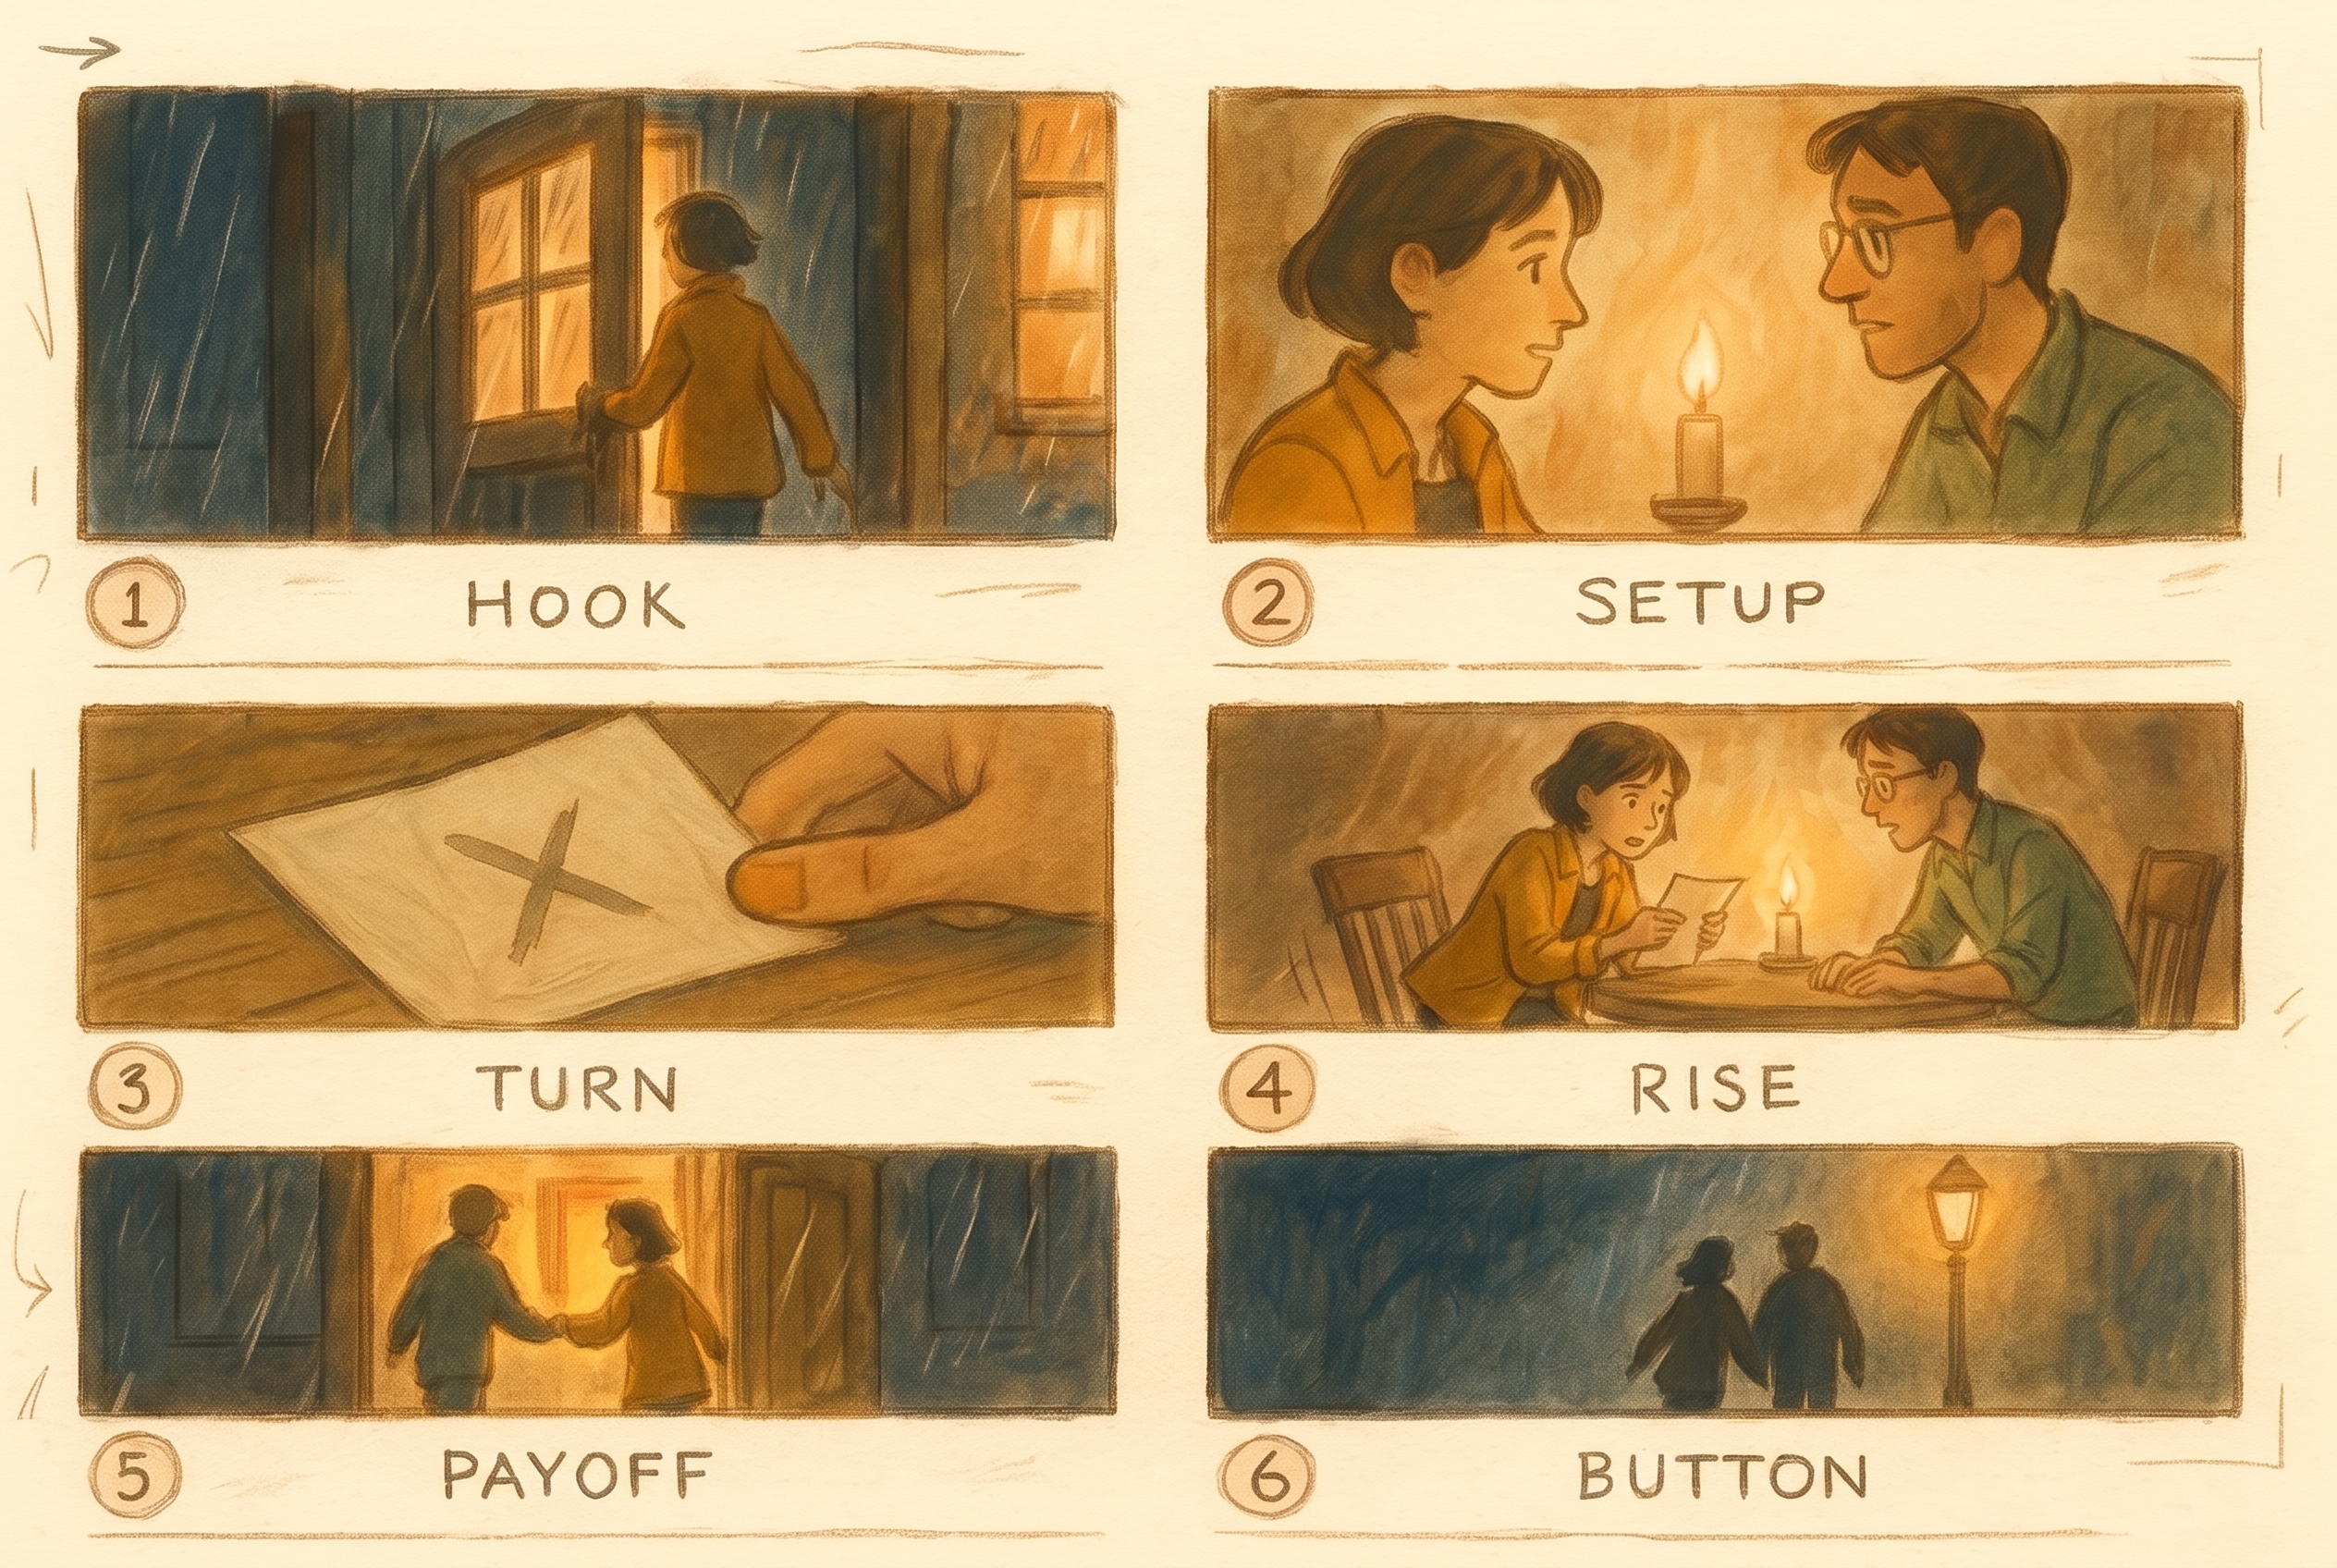
The heaviest, most cinematic workflow. Break the story into beats on a storyboard first — cast, action, setting, shot, line — lock it with cheap images, then buy motion only once the sequence reads, keeping every character on-model from hook to payoff.
Key takeaways
- A storyboard is a grid: one row per scene, with cast, action, setting, shot, and dialogue.
- Storyboard cheap first — generate one image per beat before spending anything on video.
- Every scene re-feeds the same sprite card so the cast never drifts between shots.
- Generate video from the locked frames, chaining first-frame / last-frame continuity where shots must flow.
- AI video is the $10+ cost band — the copilot confirms budget before it generates.
Storyboard cheap, then buy motion
A drama series is just a sequence of scenes where the same people recur — and generating those scenes one prompt at a time, with no map, is how a story wanders: the tone shifts, characters drift, and the payoff doesn't land because the setup was never planned. The fix is order. The expensive part is the video generation, so lock everything you can with cheap images first — composition, characters, framing — and only pay for motion once the storyboard is right. Character consistency is the prerequisite; the storyboard is the sequencing layer on top.
You direct the whole thing by chatting in the Trackpad Editor . Before you start, make sure each recurring character has a sprite card saved — that's the guide right here:
Character consistency across shots
What goes in the storyboard
A storyboard fixes the whole sequence before you spend a cent on video. It's cheap to write and cheap to revise, and it becomes the spec every generation follows. Each row is one scene — note five things:
- Cast — which recurring characters appear in this beat.
- Action — what happens (the verb of the scene).
- Setting — where it happens.
- Shot — the framing (wide, close, over-the-shoulder…).
- Dialogue / VO — the line spoken or narrated.
Manual walkthroughDo it yourself (the web UI)
-
Fork a short-drama template and cast the series
Fork a short-drama or story format on Discover — it carries the pacing, cut rhythm, and caption cadence you want. Then set up your cast: "Create characters Mara and Dev with these looks; save both sprite cards." Each becomes a trio under
/files/characters/<slug>/. If you're remixing an existing video, the decompose 2nd pass already wrote acastarray — recurring people with areference_url(isolated on transparent background) and astill_url. -
Storyboard every beat as an image (cheap)
Chat: "Storyboard this 6-beat drama with AI images first so we lock composition and the cast before any video." The copilot fires
generate_layerwithmedia_type: imagefor each beat, passing each character's sprite card as the reference. Image generation is cheap, so iterate freely until the sequence reads. Tip: make one clean base still per character first — withprompt_attachmentsset to their sprite card — so every scene starts from an identical anchor and the look can't drift as the sequence progresses. -
Generate motion video from the locked frames
Once the storyboard is locked: "Now generate motion video from those storyboard frames, 9:16, keeping the cast consistent." The copilot runs
generate_layer media_type=video(useintent:'replace_layer'to swap a still for its motion,'fill_gap'for a timeline gap, or'add'for a new scene), using each storyboard still as the conditioning frame and the character's sprite card as the identity reference. Restate their appearance plus the scene's action, setting, and shot in every prompt. This is the expensive band, so it confirms the cost first. -
Chain continuity where shots must flow
When one shot must flow directly into the next, pass the previous clip's last frame as the next generation's first frame —
frame_images:[{image_url, frame_type:"first_frame"}]. Use this only where the cut needs to be seamless; most beats are fine anchored to the sprite card alone. -
Layer dialogue, a music bed, and captions
Add per-scene dialogue via
/audio/speech, giving each character a distinct voice and persona through theinstructions. Drop a music bed underneath at ~0.1–0.2 volume, and add captions withset_captions. Voices are preset approximations, not clones — present "the same voice" as best-effort. -
Render, approve, and branch variations
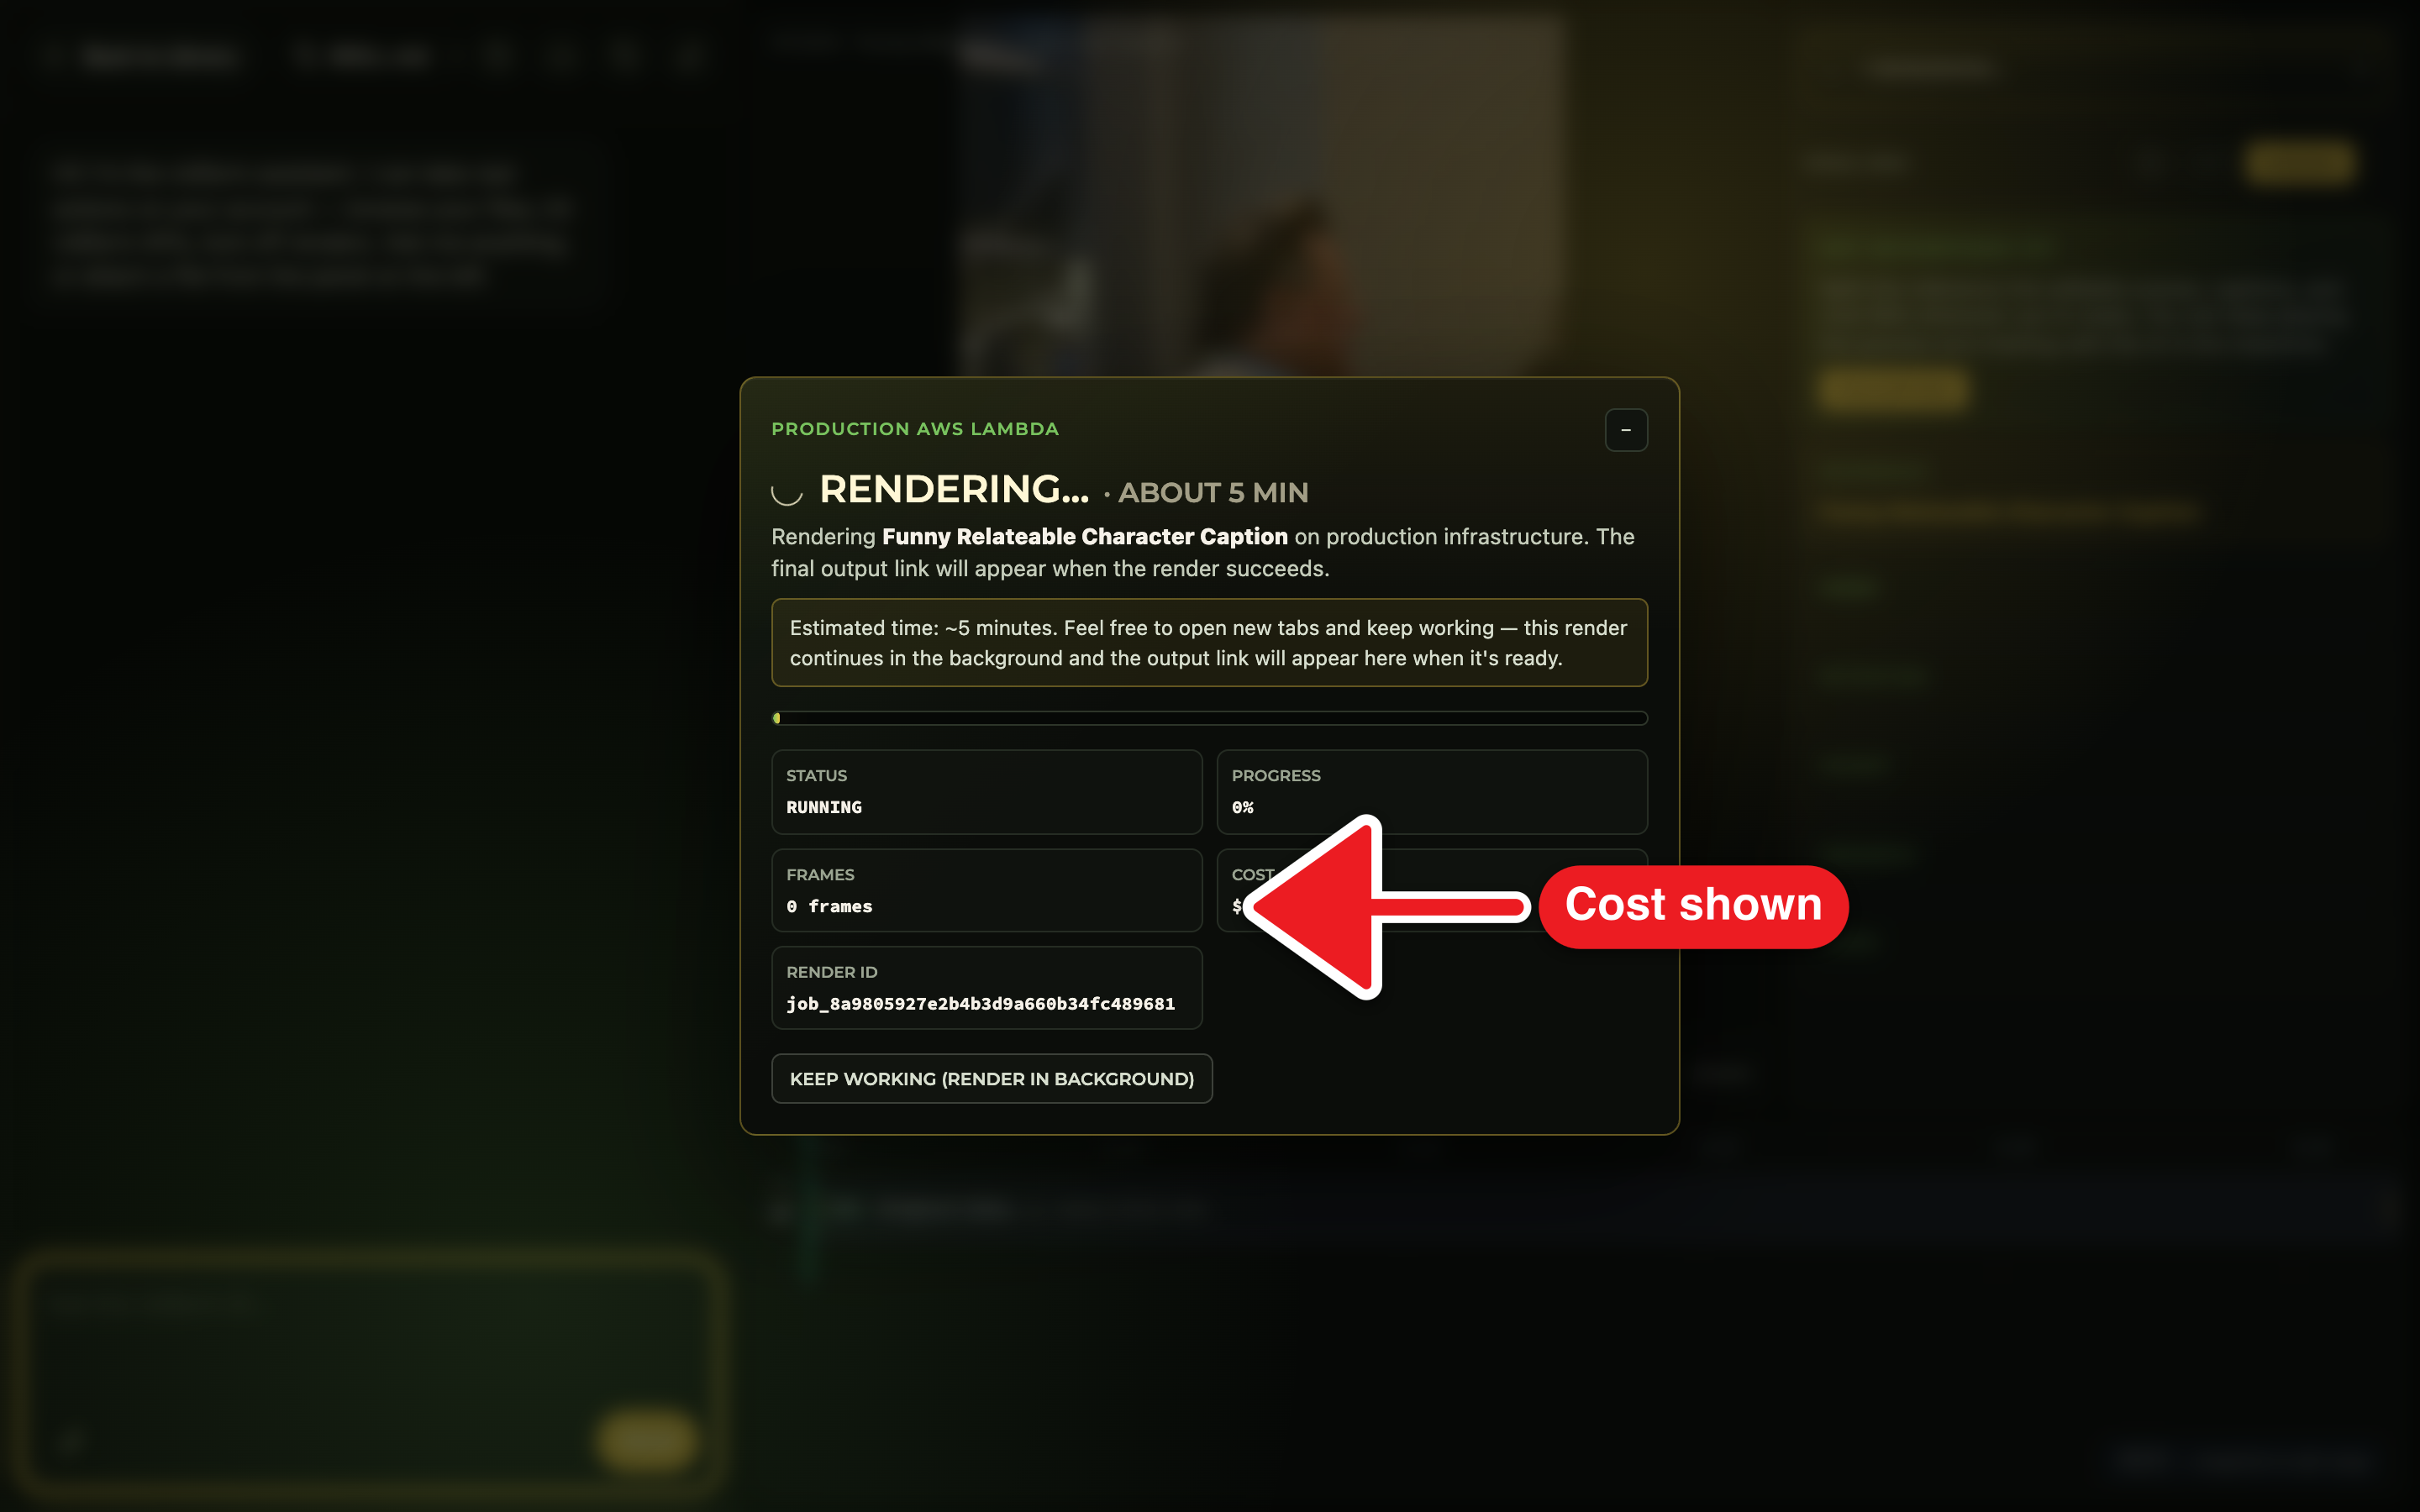
Review the full timeline, then say "render it." The finished MP4 becomes a shareable post on its approved page and appears in your approved library . Want an alternate ending? Branch a copy with
fork_composition fork_from:currentand regenerate just that beat.
vidfarm serve.Where to go next
The storyboard is the plan; character consistency is the guarantee each shot honors it. Lock your cast first, then take the same discipline into a product promo.
Direct your first series now
Write the grid before you generate — cast, action, setting, shot, line, per beat — lock it with cheap images, and only buy motion once the sequence reads. Open the editor and start with beat one.
Open the editor