Register & set up VidFarm
Create your account, grab your VidFarm API key, add your own AI provider keys, and install the agent skill — so you (or an AI agent) can drive VidFarm end-to-end. Every step with the real on-screen buttons.
Key takeaways
- There's no /register form — you register right on
/loginusing an email one-time code. - Your VidFarm API key, your AI keys, and the agent skill all live on the single Settings → Developer tab.
- Install the agent skill with one command:
npx skills add https://github.com/officexapp/vidfarm. - Auth uses the
vidfarm-api-keyheader (orVIDFARM_API_KEYfor the CLI) — neverAuthorization: Bearer.
Step 1 — create your accountRegister (it's the login screen)
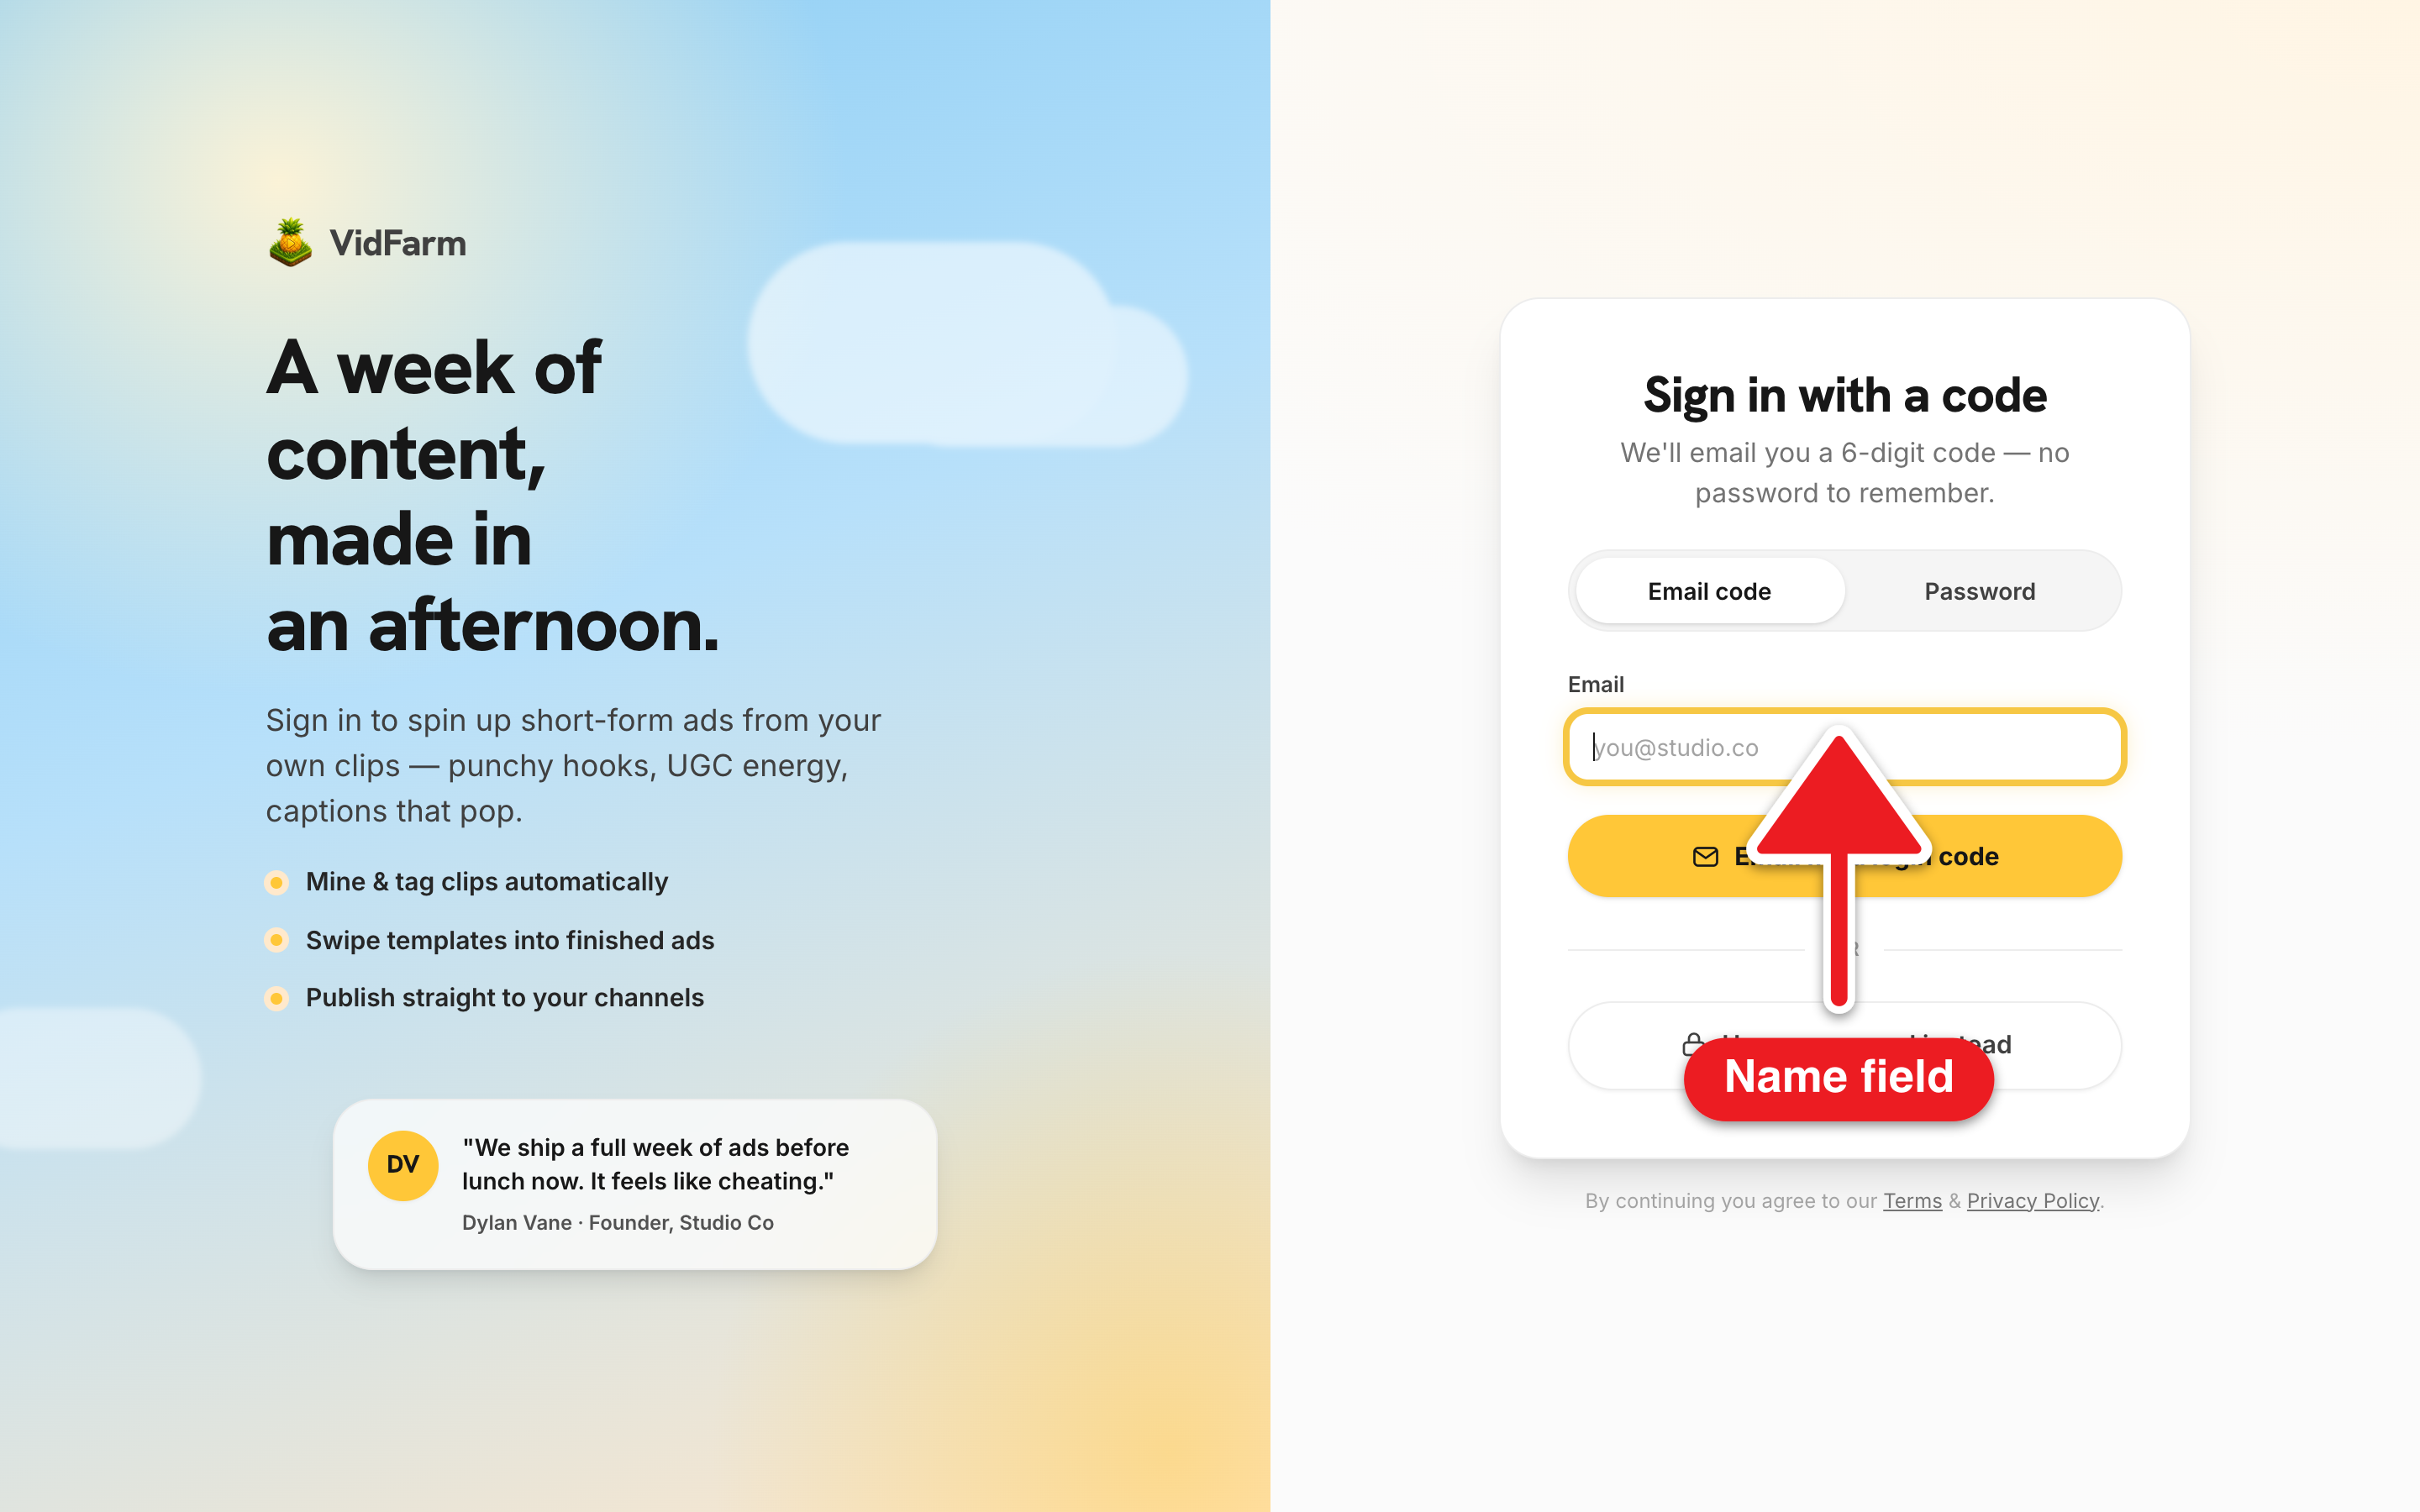
First surprise: there is no separate register page. Registration happens on /login through the email one-time-code flow — a first-time email that verifies a code becomes a new account. If you type /register, head to /login instead.
-
Open the login screen
Go to /login . The default mode is "Email code" (there's also a "Password" segment for later). The left panel is marketing — "A week of content, made in an afternoon." — and the right panel is the auth card.
-
Request your login code
Enter your Email and click "✉ Email me a login code". The card switches to "Check your email."
-
Enter the code and your name
Type the 6-digit code, then fill in "Your name (optional — for new accounts)" — this is the registration signal for a first-time email. Click "Verify & continue →". You're registered, signed in, and dropped on
/settings.
Step 2 — Developer tabCopy your VidFarm API key
Everything an agent needs to authenticate is one key. It lives on the Developer tab — the same tab that holds your AI keys and the agent skill, so you'll do the next three steps without leaving this page.
-
Go to Settings → Developer
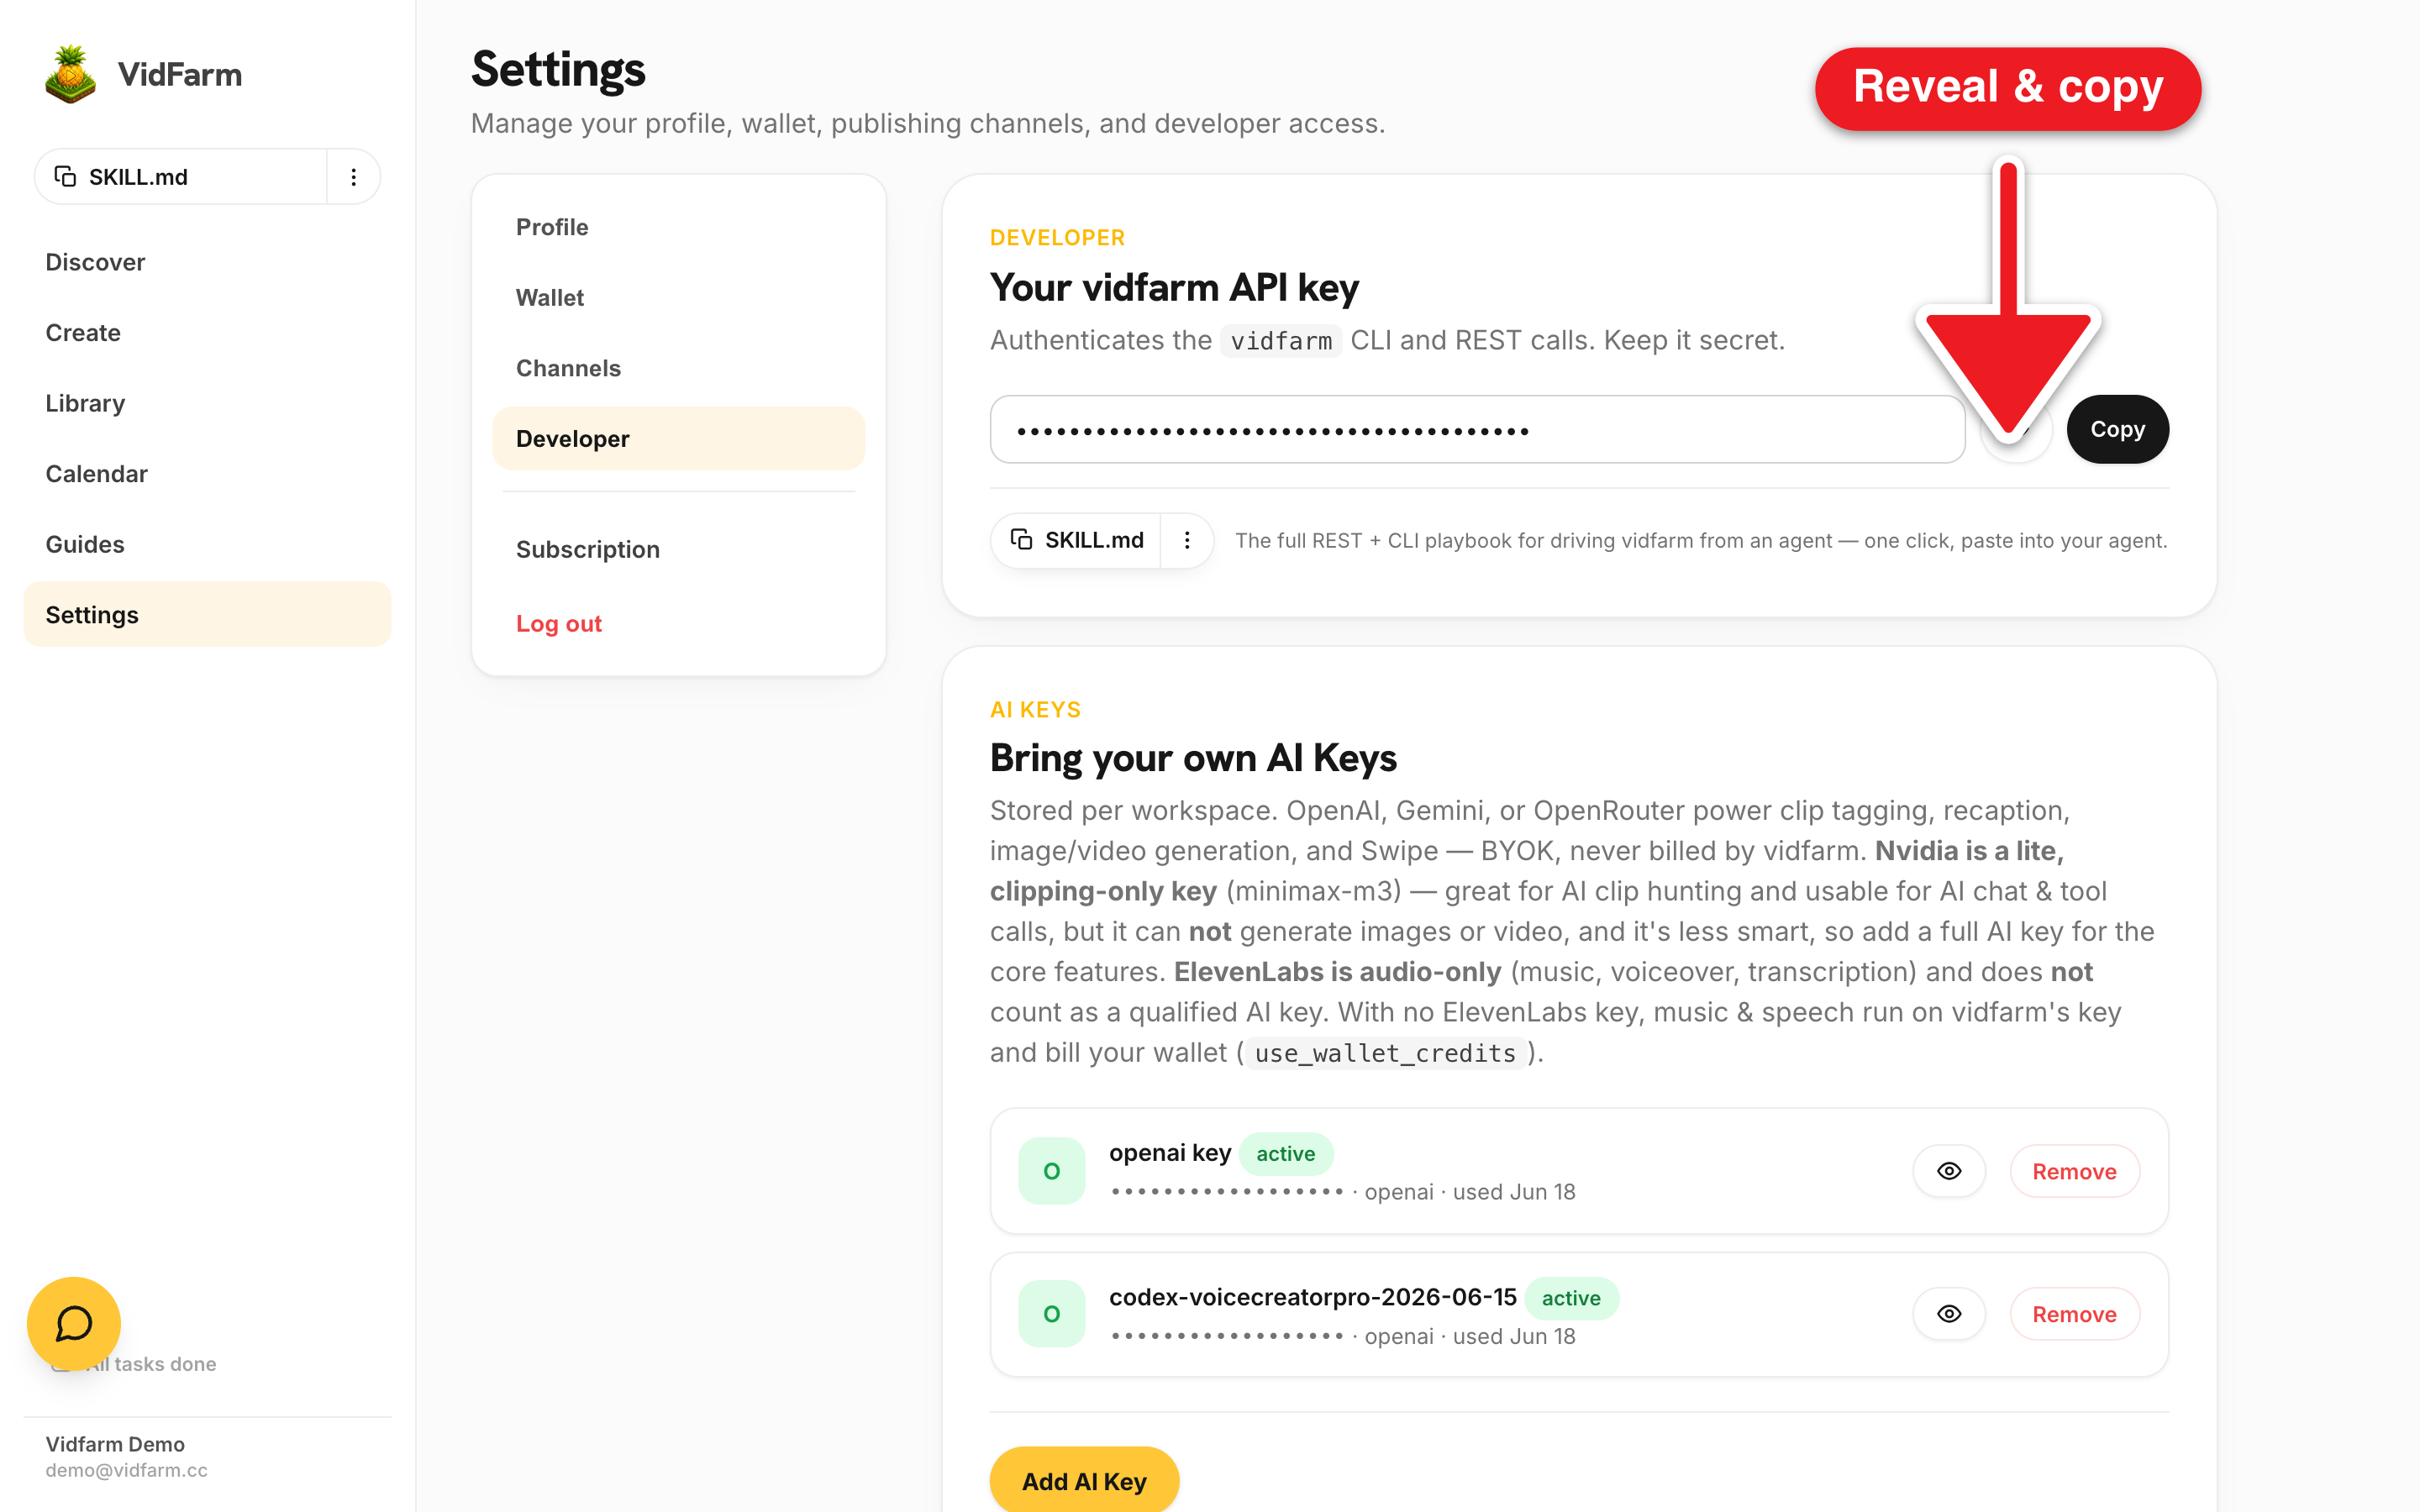
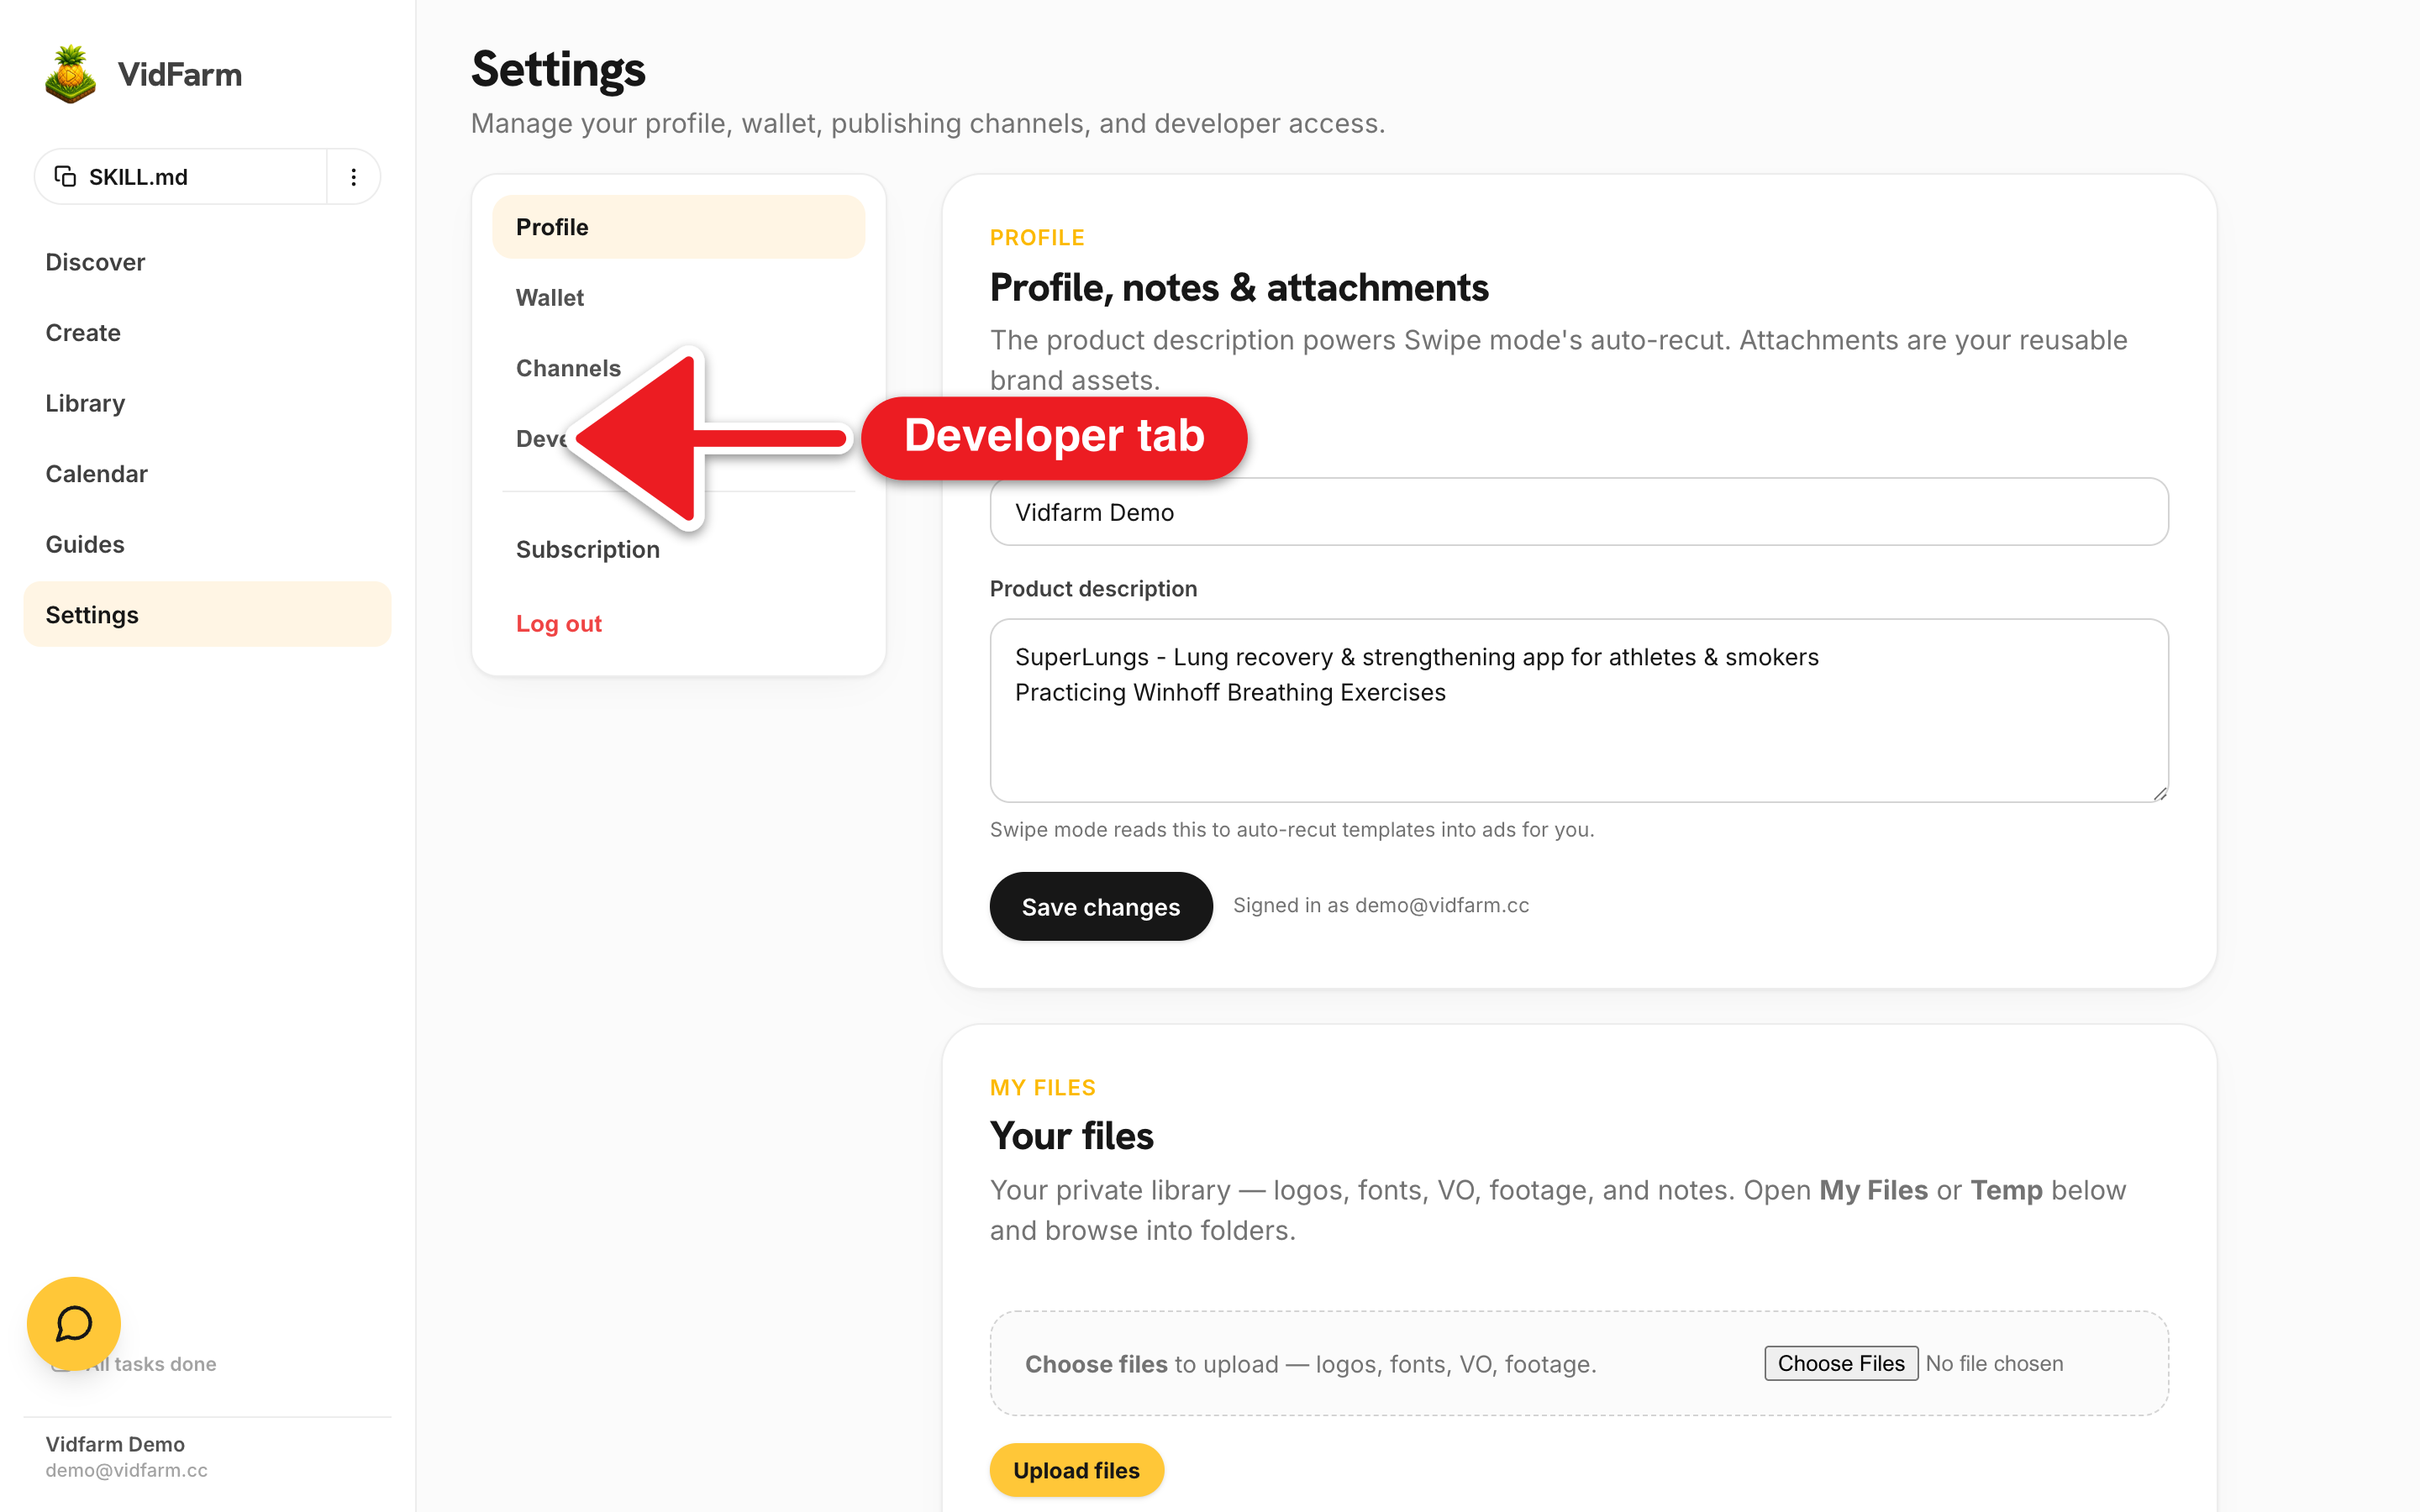
Open Settings → Developer . Settings has a left nav — Profile · Wallet · Channels · Developer, plus a separate Subscription link and a Log out.
-
Reveal and copy the key
In the "Your vidfarm API key" card, click the eye to reveal the key (optional), then click "Copy" — it flashes "Copied!". The field is read-only; you can only reveal and copy it.
-
Store it for the CLI or REST
Save it as
VIDFARM_API_KEYfor thevidfarmCLI, or send it as thevidfarm-api-keyHTTP header for REST calls — neverAuthorization: Bearer.
Step 3 — BYOKAdd your own AI keys
Bring-your-own-key (BYOK) turns on the smart features and keeps costs near zero, because your keys are never billed by VidFarm. Same Developer tab, second card.
-
Open "Bring your own AI Keys"
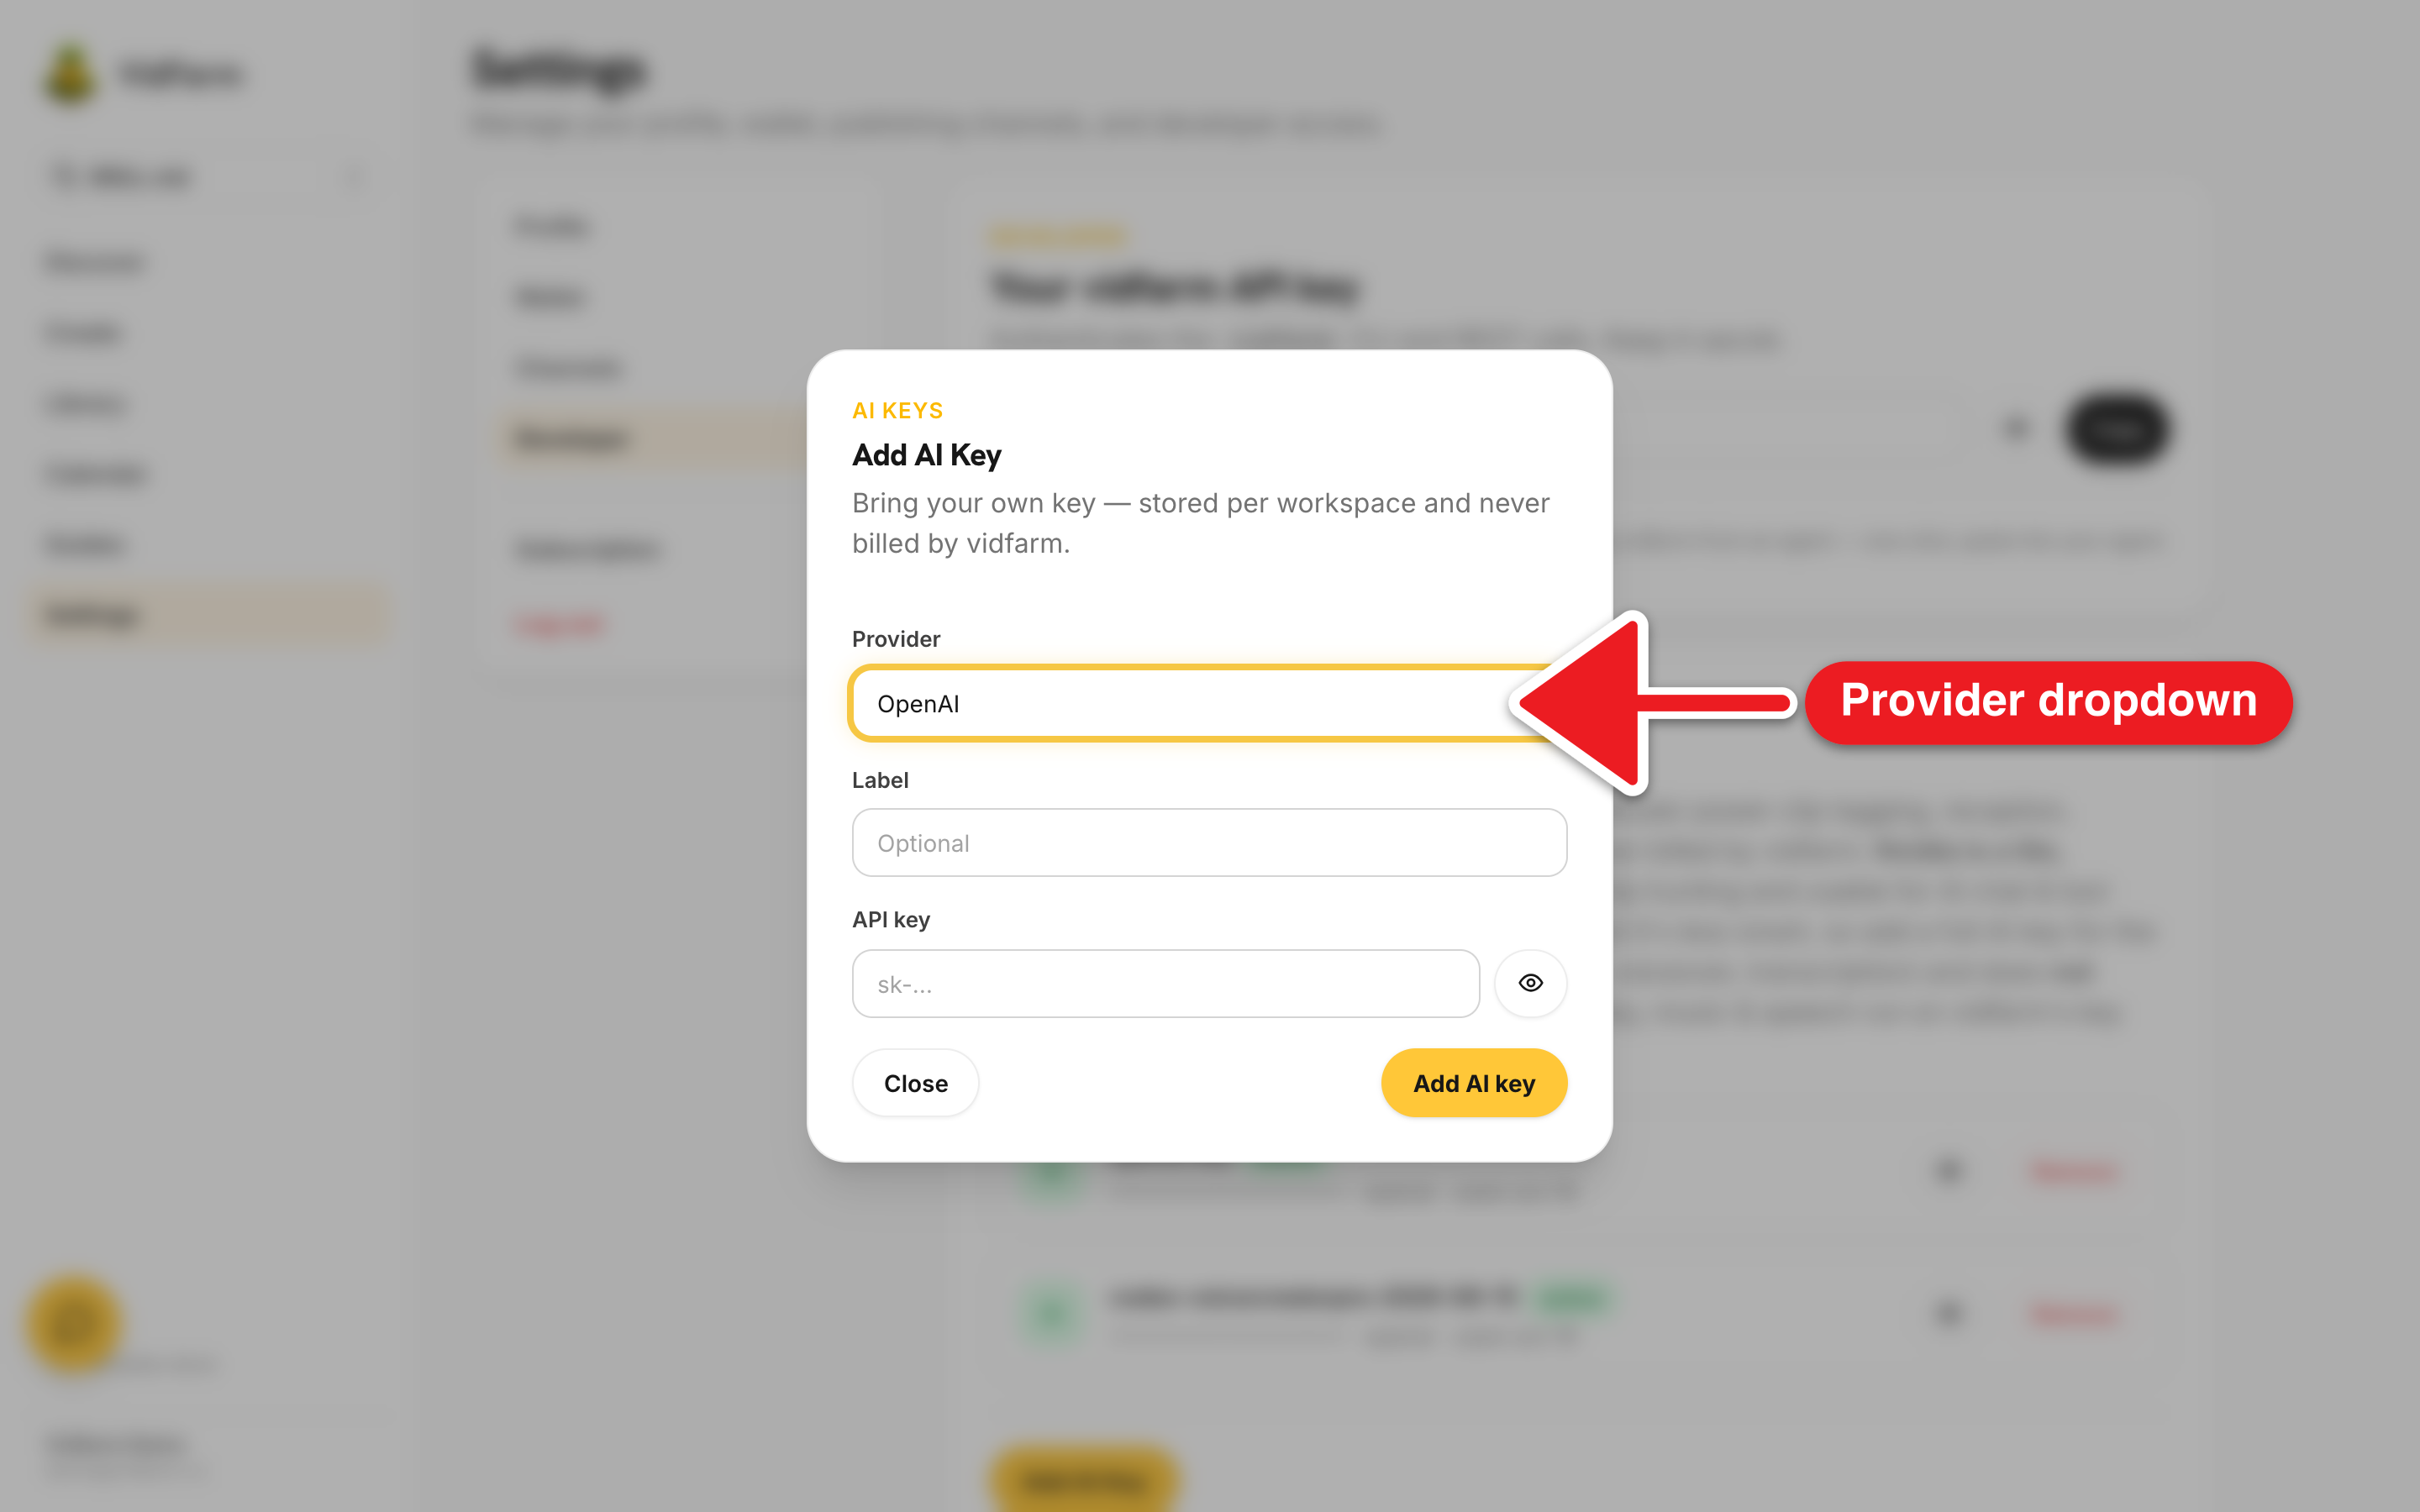
On the same Developer tab , scroll to "Bring your own AI Keys" and click the gold "Add AI Key" button.
-
Pick a provider and paste the key
Choose a Provider — OpenAI, Gemini, or OpenRouter for full features; Nvidia (clipping only) or ElevenLabs (audio only) for the limited ones — add an optional Label, paste the API key, and click "Add AI key".
Start with OpenAI or Gemini for the core features; the Nvidia and OpenRouter partnered free tiers keep costs near zero. Remember: Nvidia can't generate images or video, and ElevenLabs isn't a qualified AI key — always pair them with a full key.
Step 4 — teach an AI to drive VidFarmInstall the agent skill
The last core step turns any capable coding agent into a VidFarm director. The skill is vidfarm, and it installs from GitHub with one command.
vidfarm
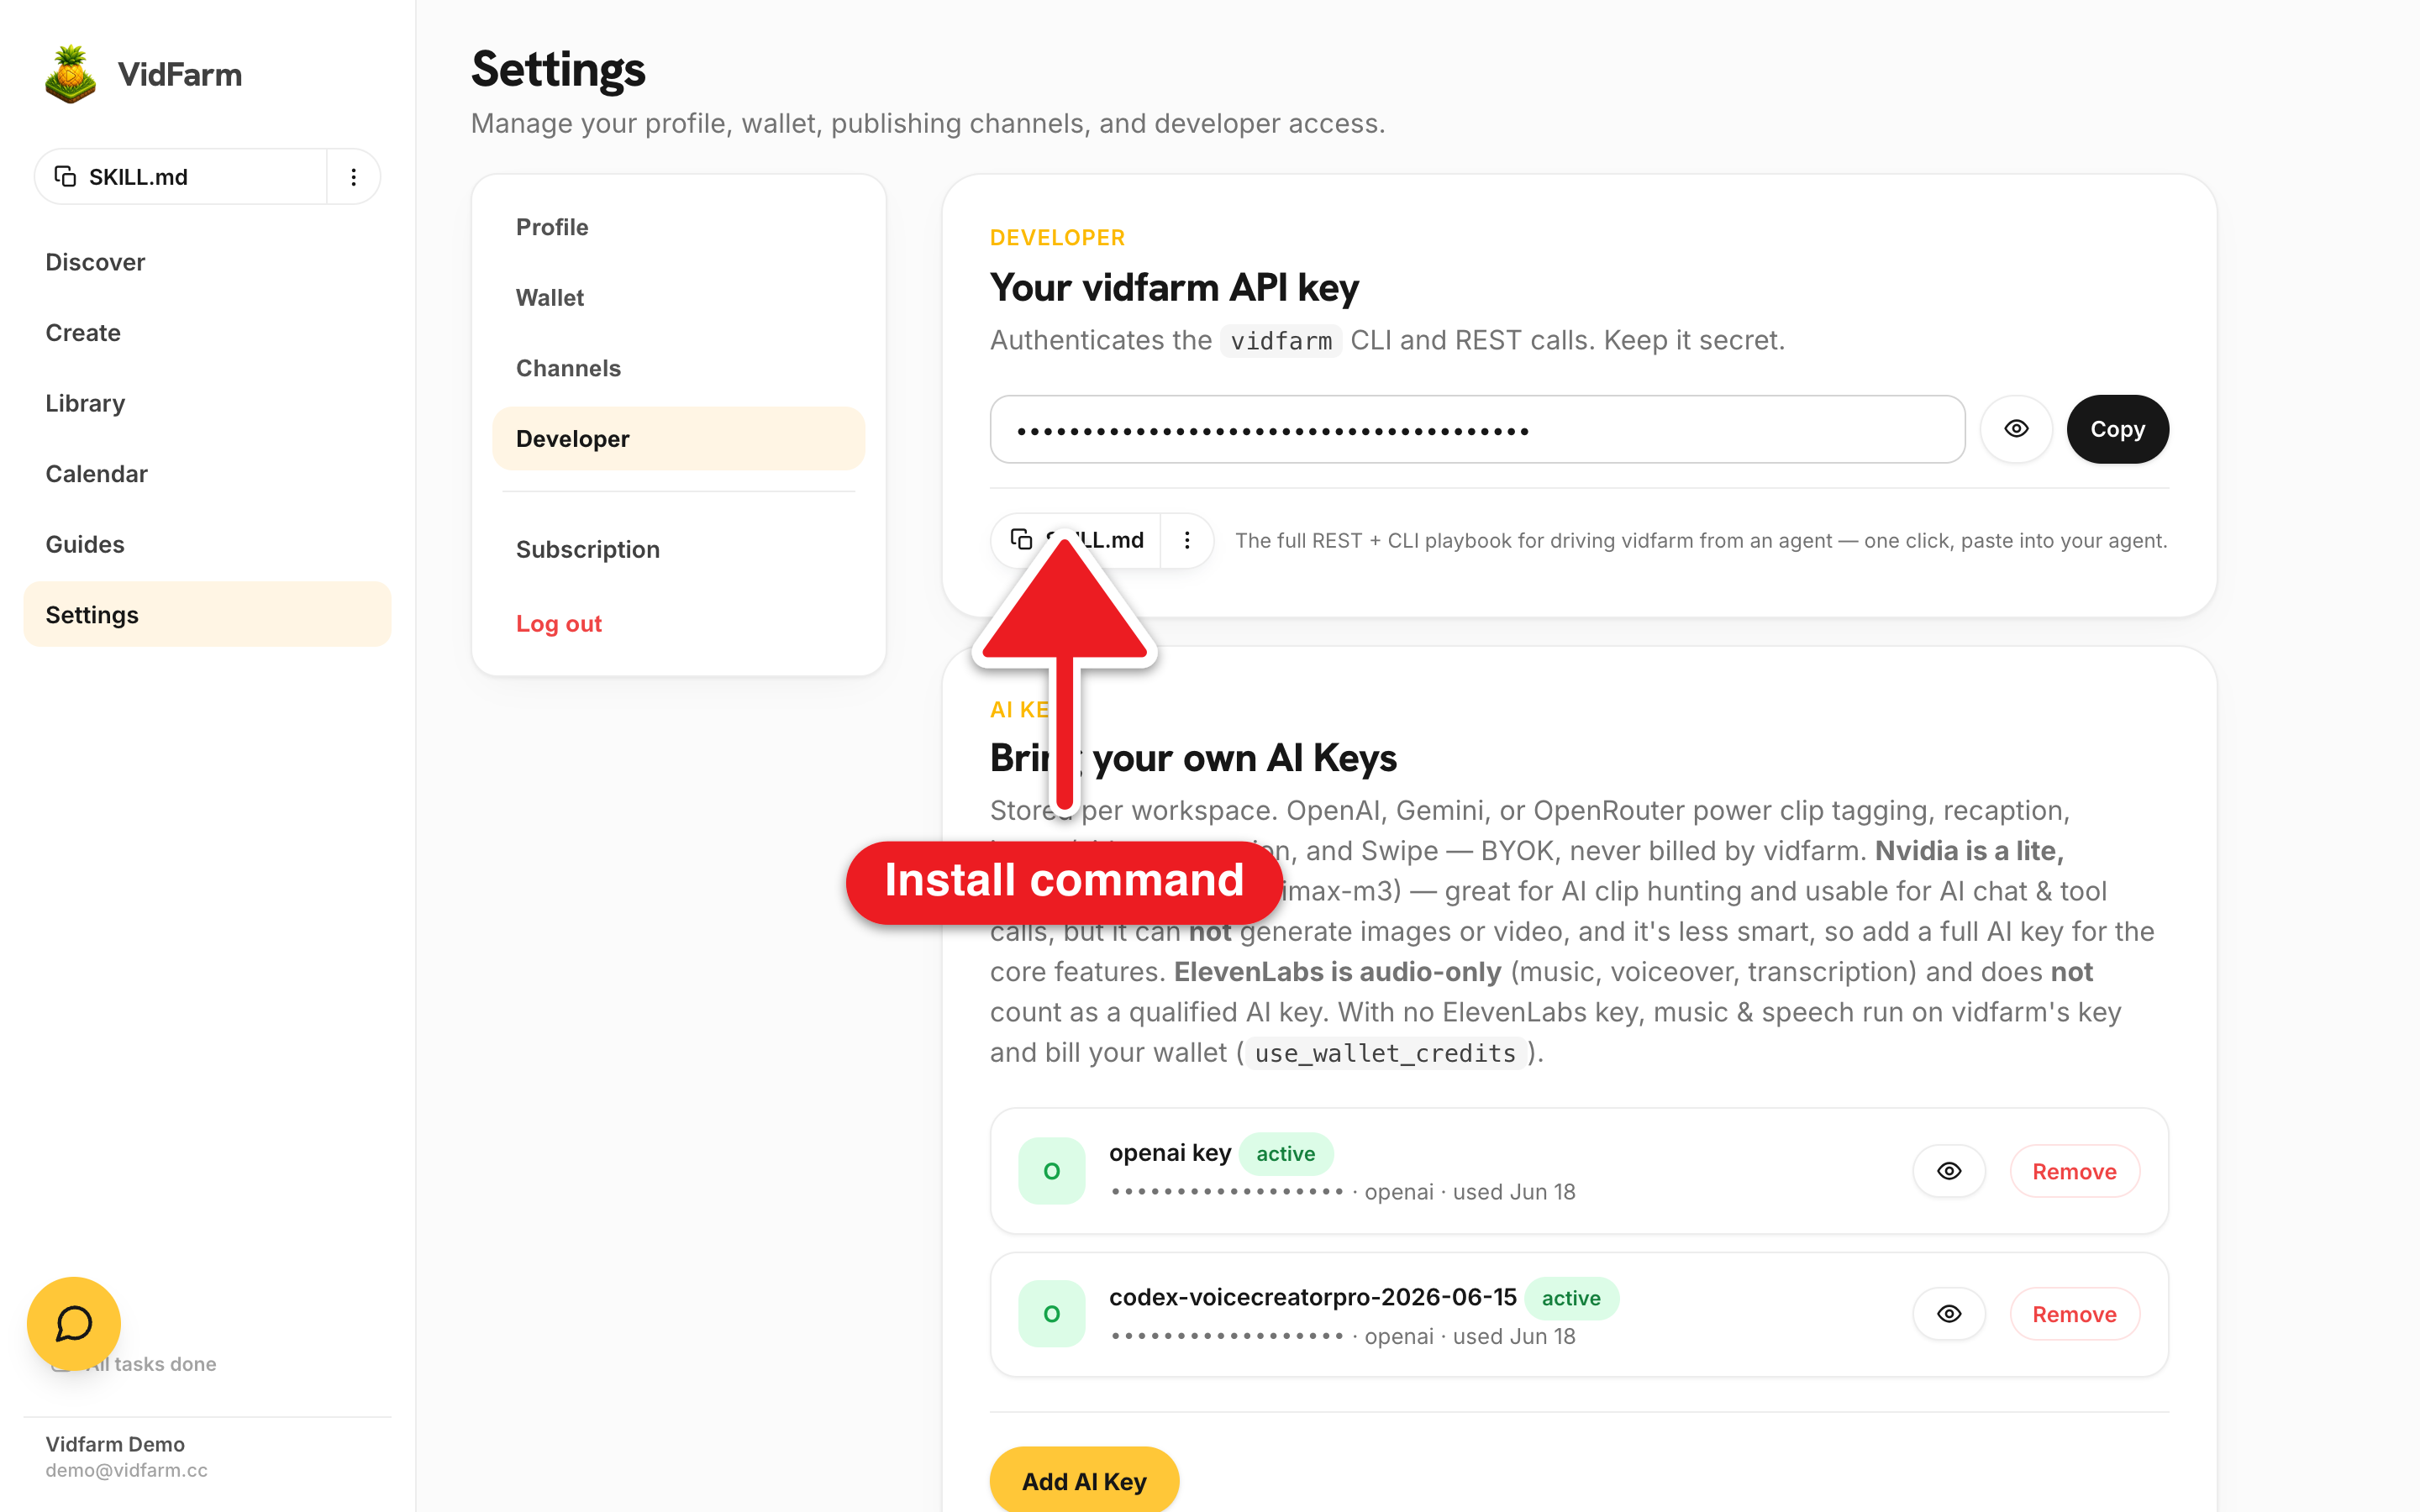
Copy the full REST + CLI playbook into your agent, or grab the one-line install command from the ⋮ menu.
-
Open the install command
On the Developer tab , find the SKILL.md pill (below the API key). Click the ⋮ menu to open the "Install Command" popover and copy
npx skills add https://github.com/officexapp/vidfarm. There's a "View GitHub" link there too. -
Install it into your agent
Run that command in the project where your AI coding agent (Claude Code, Codex, etc.) lives. It pulls the
vidfarmskill from GitHub so the agent gains VidFarm's operating knowledge — the three paintbrushes and the full REST/CLI playbook. -
Or copy the whole playbook
No CLI handy? Click the SKILL.md pill itself to copy the entire playbook to your clipboard, then paste it into your agent's context. Finally, make sure
VIDFARM_API_KEY(Step 2) is set so the agent can authenticate.
npx skills add <github-url>); the craft sub-skills (hyperframes, media, captions) install from the VidFarm host via vidfarm skills add <name> — never from third-party registries.Step 5 — finish the profileOptional — channels & product profile
Two optional steps make VidFarm work harder for you once the essentials are done:
- Connect a publishing channel. Settings → Channels tab → "Connect" (a FlockPoster API-key dialog), or the ⋮ → "Add Email Channel". This is what a Schedule action publishes to.
- Set your product description. Settings → Profile tab → the "Product description" textarea ("What it is, who it's for, the promise…"). Its hint: "Swipe mode reads this to auto-recut templates into ads for you" — so filling it in powers Swipe's auto-recut.
For devcli usersDo the whole setup from the terminal
Prefer the command line? This block runs the entire setup — install the skill, register via OTP, save the key, add a BYOK key, and confirm auth:
npx skills add https://github.com/officexapp/vidfarm   # install the agent skill
vidfarm login you@studio.co                                     # request an OTP
vidfarm verify you@studio.co 123456                             # verify → prints your API key
export VIDFARM_API_KEY=<key>                                    # save it
vidfarm whoami                                                  # confirm auth works
vidfarm add-provider-key openai sk-...                          # bring your own key
vidfarm provider-keys # list keys to confirmWhere to go next
You're set up. Now make something — start with the fastest end-to-end path, or the gentlest first edit:
Now make your first video
Account registered, API key copied, AI keys added, skill installed. Open the Discover feed, fork a template, and ship a short — cloud renders start at $0.01.
Open the Discover feed