Install the VidFarm devcli locally
One npm install gives you the vidfarm command-line director. Run it local-first — the full editor boots on localhost, HyperFrames is bundled, and rendering happens in-process for free.
Key takeaways
- Install with
npm i -g @officexapp/vidfarm-devcli— the binary isvidfarm(aliasvidfarm-devcli). - Or run it zero-install with
npx -y @officexapp/vidfarm-devcli. - Authenticate with
VIDFARM_API_KEY(or the--api-keyflag) from Settings → Developer. vidfarm serveboots the full editor onlocalhost:3000and renders in-process for free — no cloud, no wallet charge.- HyperFrames is bundled — the local renderer is HyperFrames turning your composition's HTML into MP4.
A local-first director in your terminal
The devcli is the same VidFarm platform, packaged to run on your own machine. It's local-first: most commands work off disk with an in-process backend, so you can browse files, clip raws, edit compositions, and render for free — then hand off to the cloud only when you want to. HyperFrames ships inside it, so the local renderer is the real thing turning HTML into MP4.
Manual walkthroughSet it up locally
-
Install the CLI
Install it globally so you get the
vidfarmcommand everywhere:Installnpm i -g @officexapp/vidfarm-devcli # or, zero-install: npx -y @officexapp/vidfarm-devcli --help -
Run the doctor
vidfarm doctortriages your local environment — ffmpeg, node, keys, and the agent CLI. Run it first whenever something misbehaves.Environment checkvidfarm doctor -
Connect your account (optional)
Export your API key from Settings → Developer so the CLI can mirror the cloud catalog and hand renders off to the cloud when you ask:
export VIDFARM_API_KEY=<key>. You can skip this and stay fully offline. -
Boot the full editor locally
vidfarm serve <template_id>boots the full editor at http://localhost:3000, pulls that template's fork onto disk, and opens your browser pre-authed. Records and storage live on disk; render runs in-process on this box for FREE.Boot the editorvidfarm serve <template_id> # add --no-cloud to run fully offline -
Edit and render
Point your coding agent at the composition on disk (under the data dir's
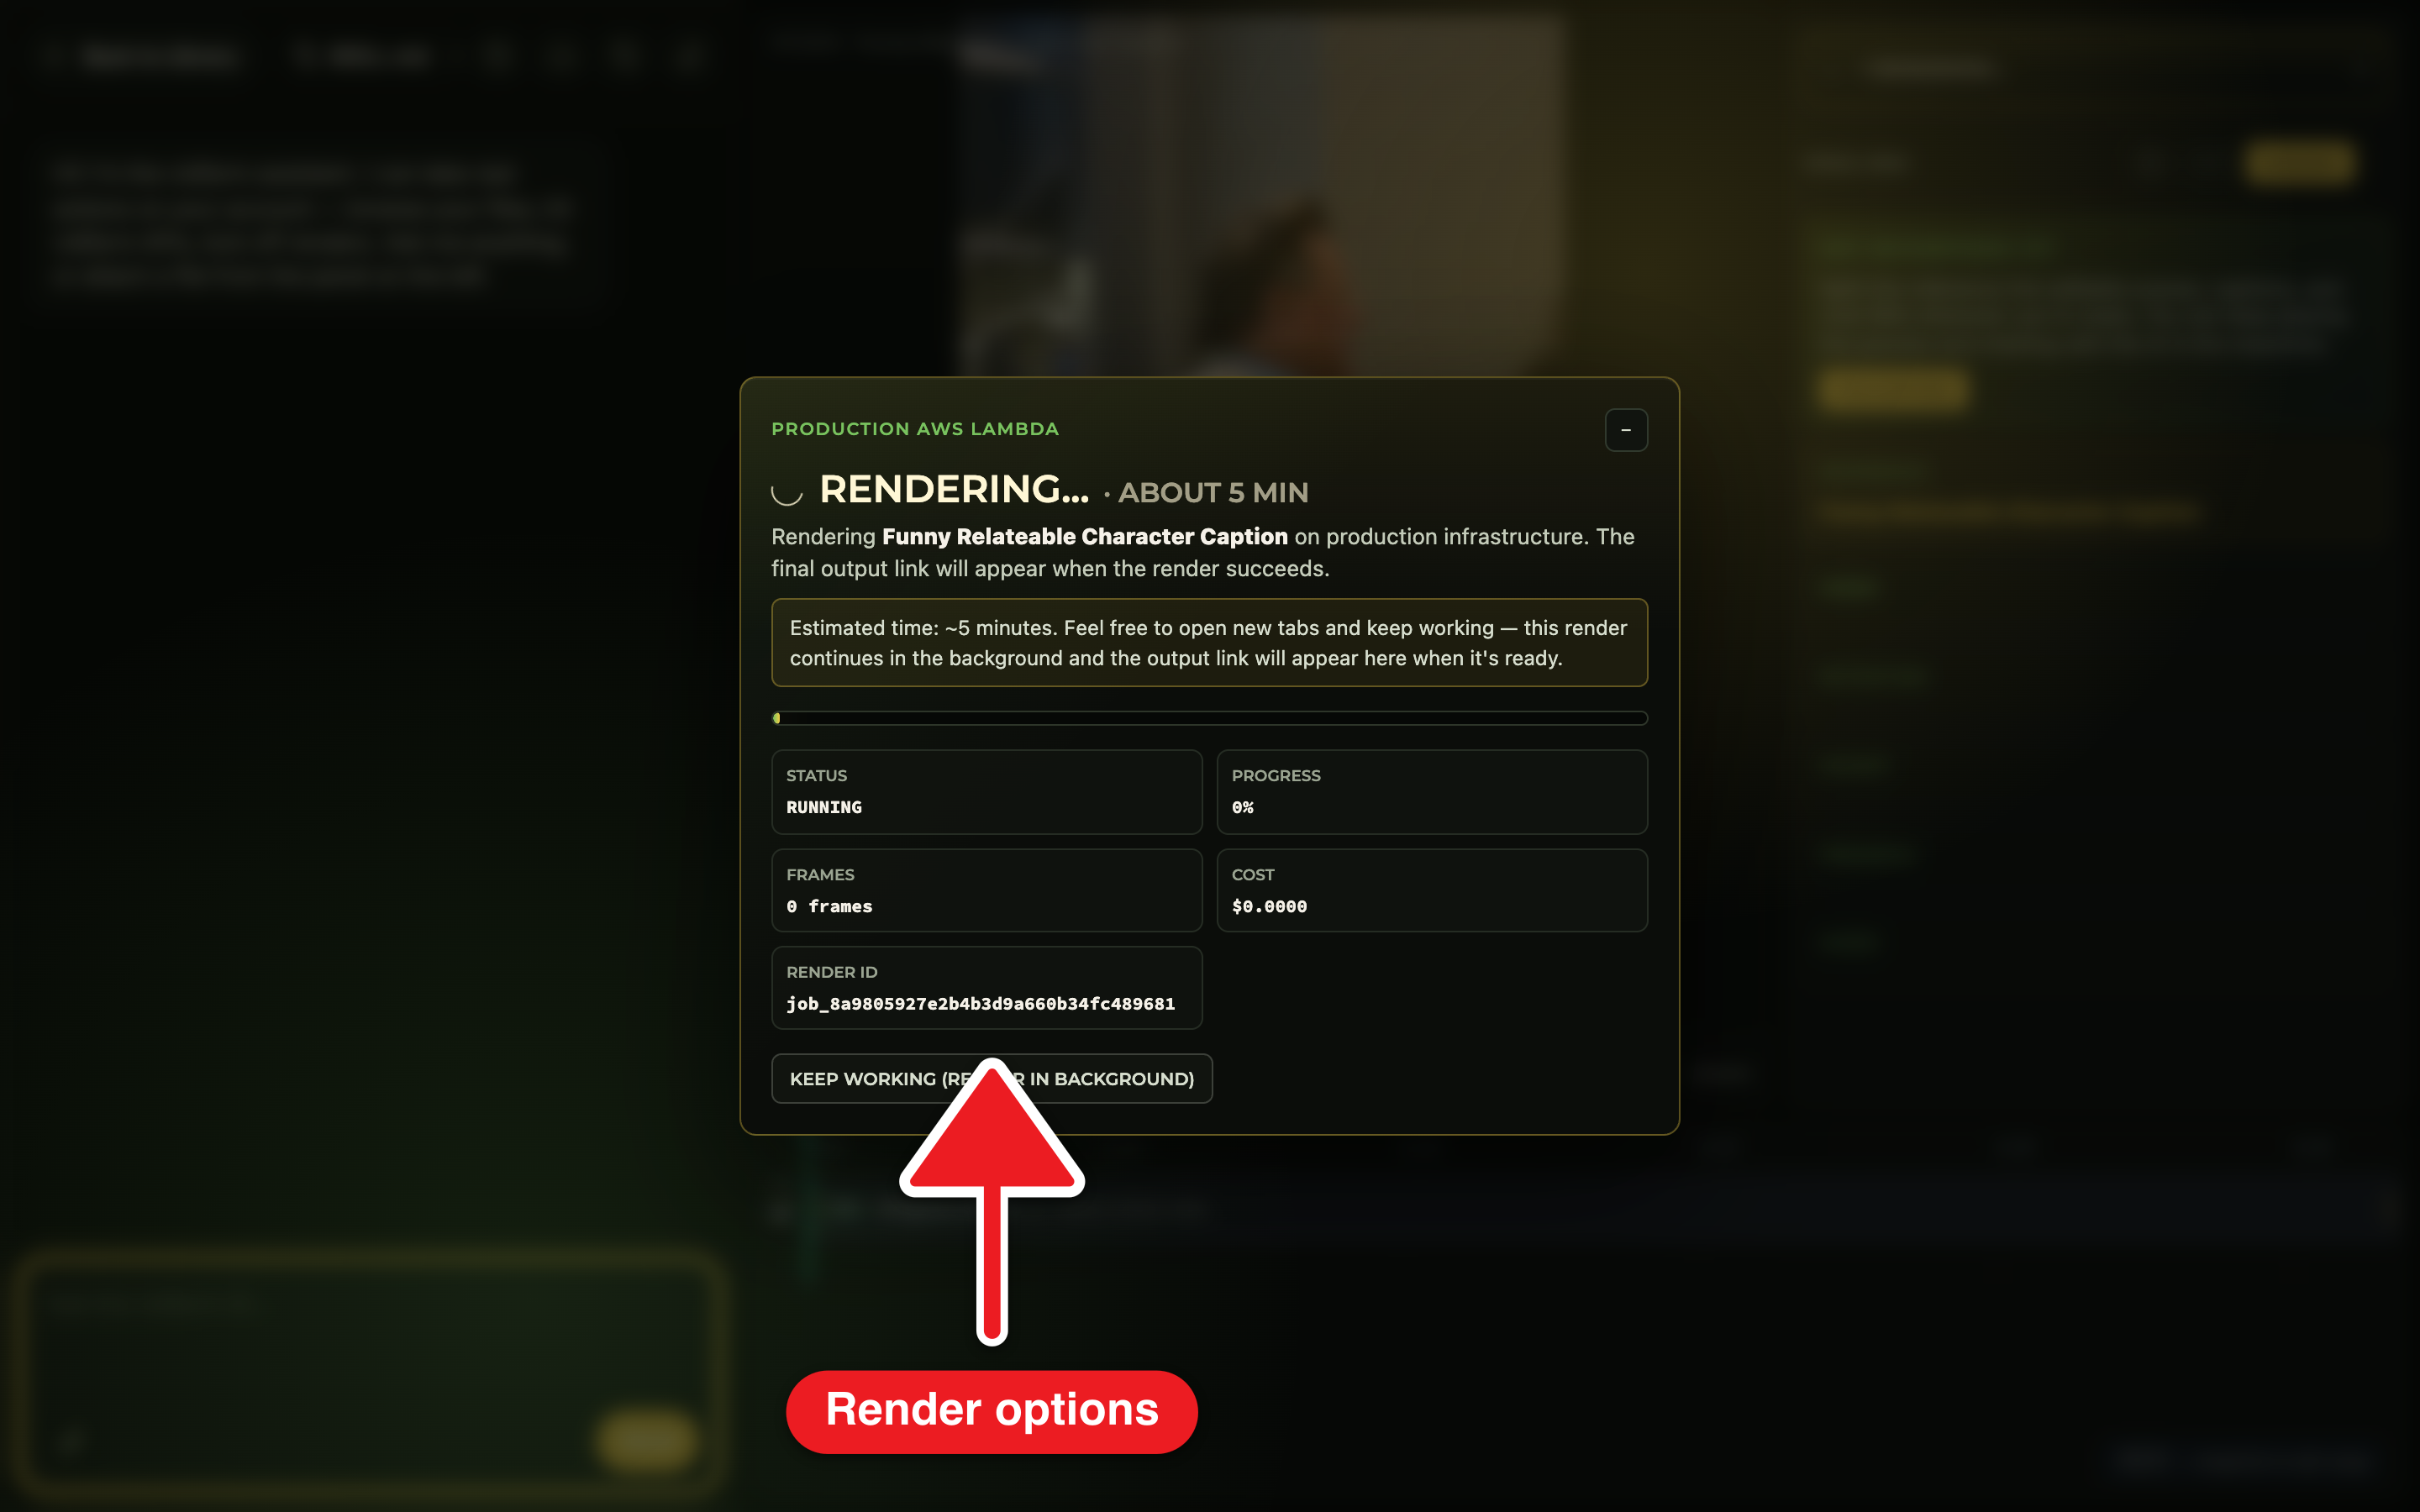
storage/compositions/forks/<forkId>/working/composition.html) — saving it live-morphs the open browser tab. When you're ready, click Render Local (Free) in the editor, or runvidfarm render <forkId> --dir ./work --wait.
$ npx -y @officexapp/vidfarm-devcli serve template_019f41…

[vidfarm] booting local backend on http://localhost:3000
[vidfarm] provisioned local user + workspace (on disk)
[vidfarm] pulled template's default fork → ./work
[vidfarm] editor ready, pre-authed → opening http://localhost:3000/editor
Dual modeLocal, cloud, or both
Many commands take a target flag. They default to --local (the in-process backend off disk) when a local backend is available, and fall back to --cloud (vidfarm.cc) otherwise. Pass --both to merge the two, with rows tagged [local] and [cloud].
# defaults to local; add --cloud or --both
vidfarm directory --both        # list your files across local + cloud
vidfarm doctor                  # triage ffmpeg / node / keys / agent CLI

# render on the serve box (free) vs cloud (billed 1.2×)
vidfarm render <forkId> --dir ./work --wait          # local, free
# or over REST: pass render_target: "cloud" to bill the wallet- The default local data dir is
~/.vidfarm/data(or$VIDFARM_HOME/data). Re-serving keeps your local edits unless you pass--refetch. serveflags include--port(default 3000),--dir,--fork <id>,--no-cloud(fully offline), and--no-open.- Install HyperFrames authoring power on demand:
vidfarm skills add hyperframes-core(orhyperframes-animation, etc.) — packs land in.agents/skills/.
What serve bootsReal frontend pages, served off your disk
vidfarm serve doesn't just render — it boots the actual VidFarm web app on localhost:3000, single-origin and disk-backed. The pages you'd use on vidfarm.cc are right there, pointed at your local records:
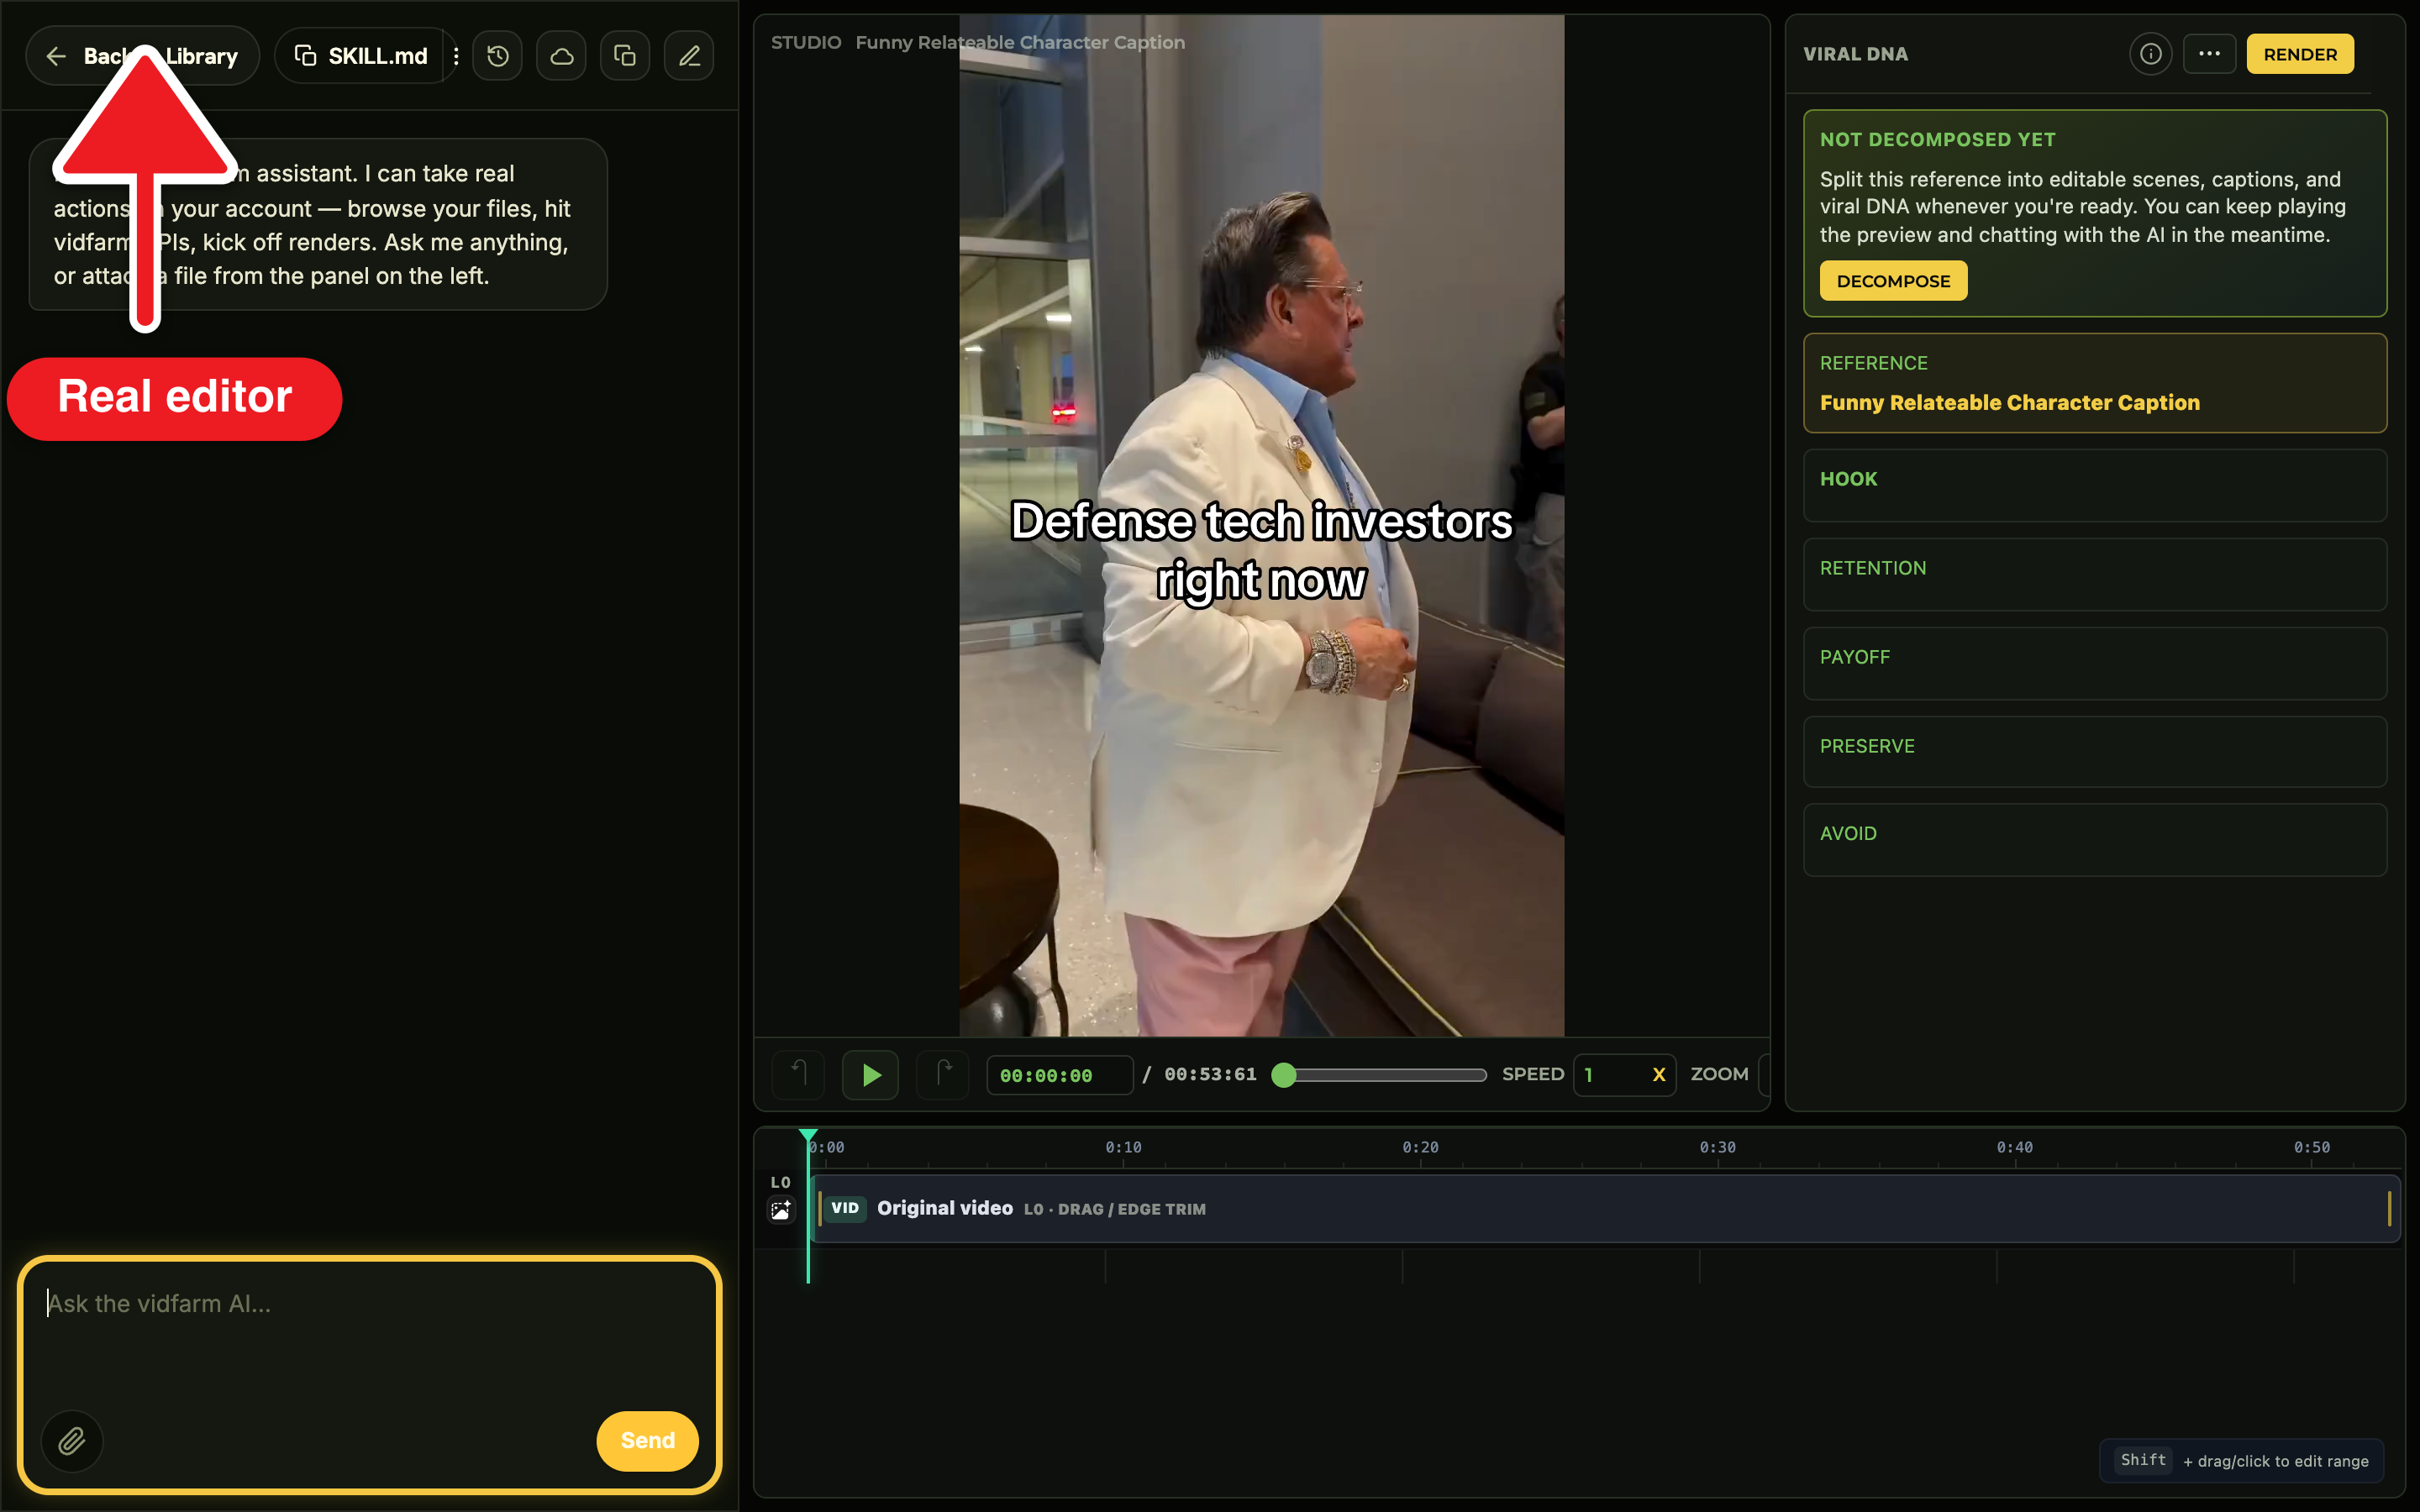
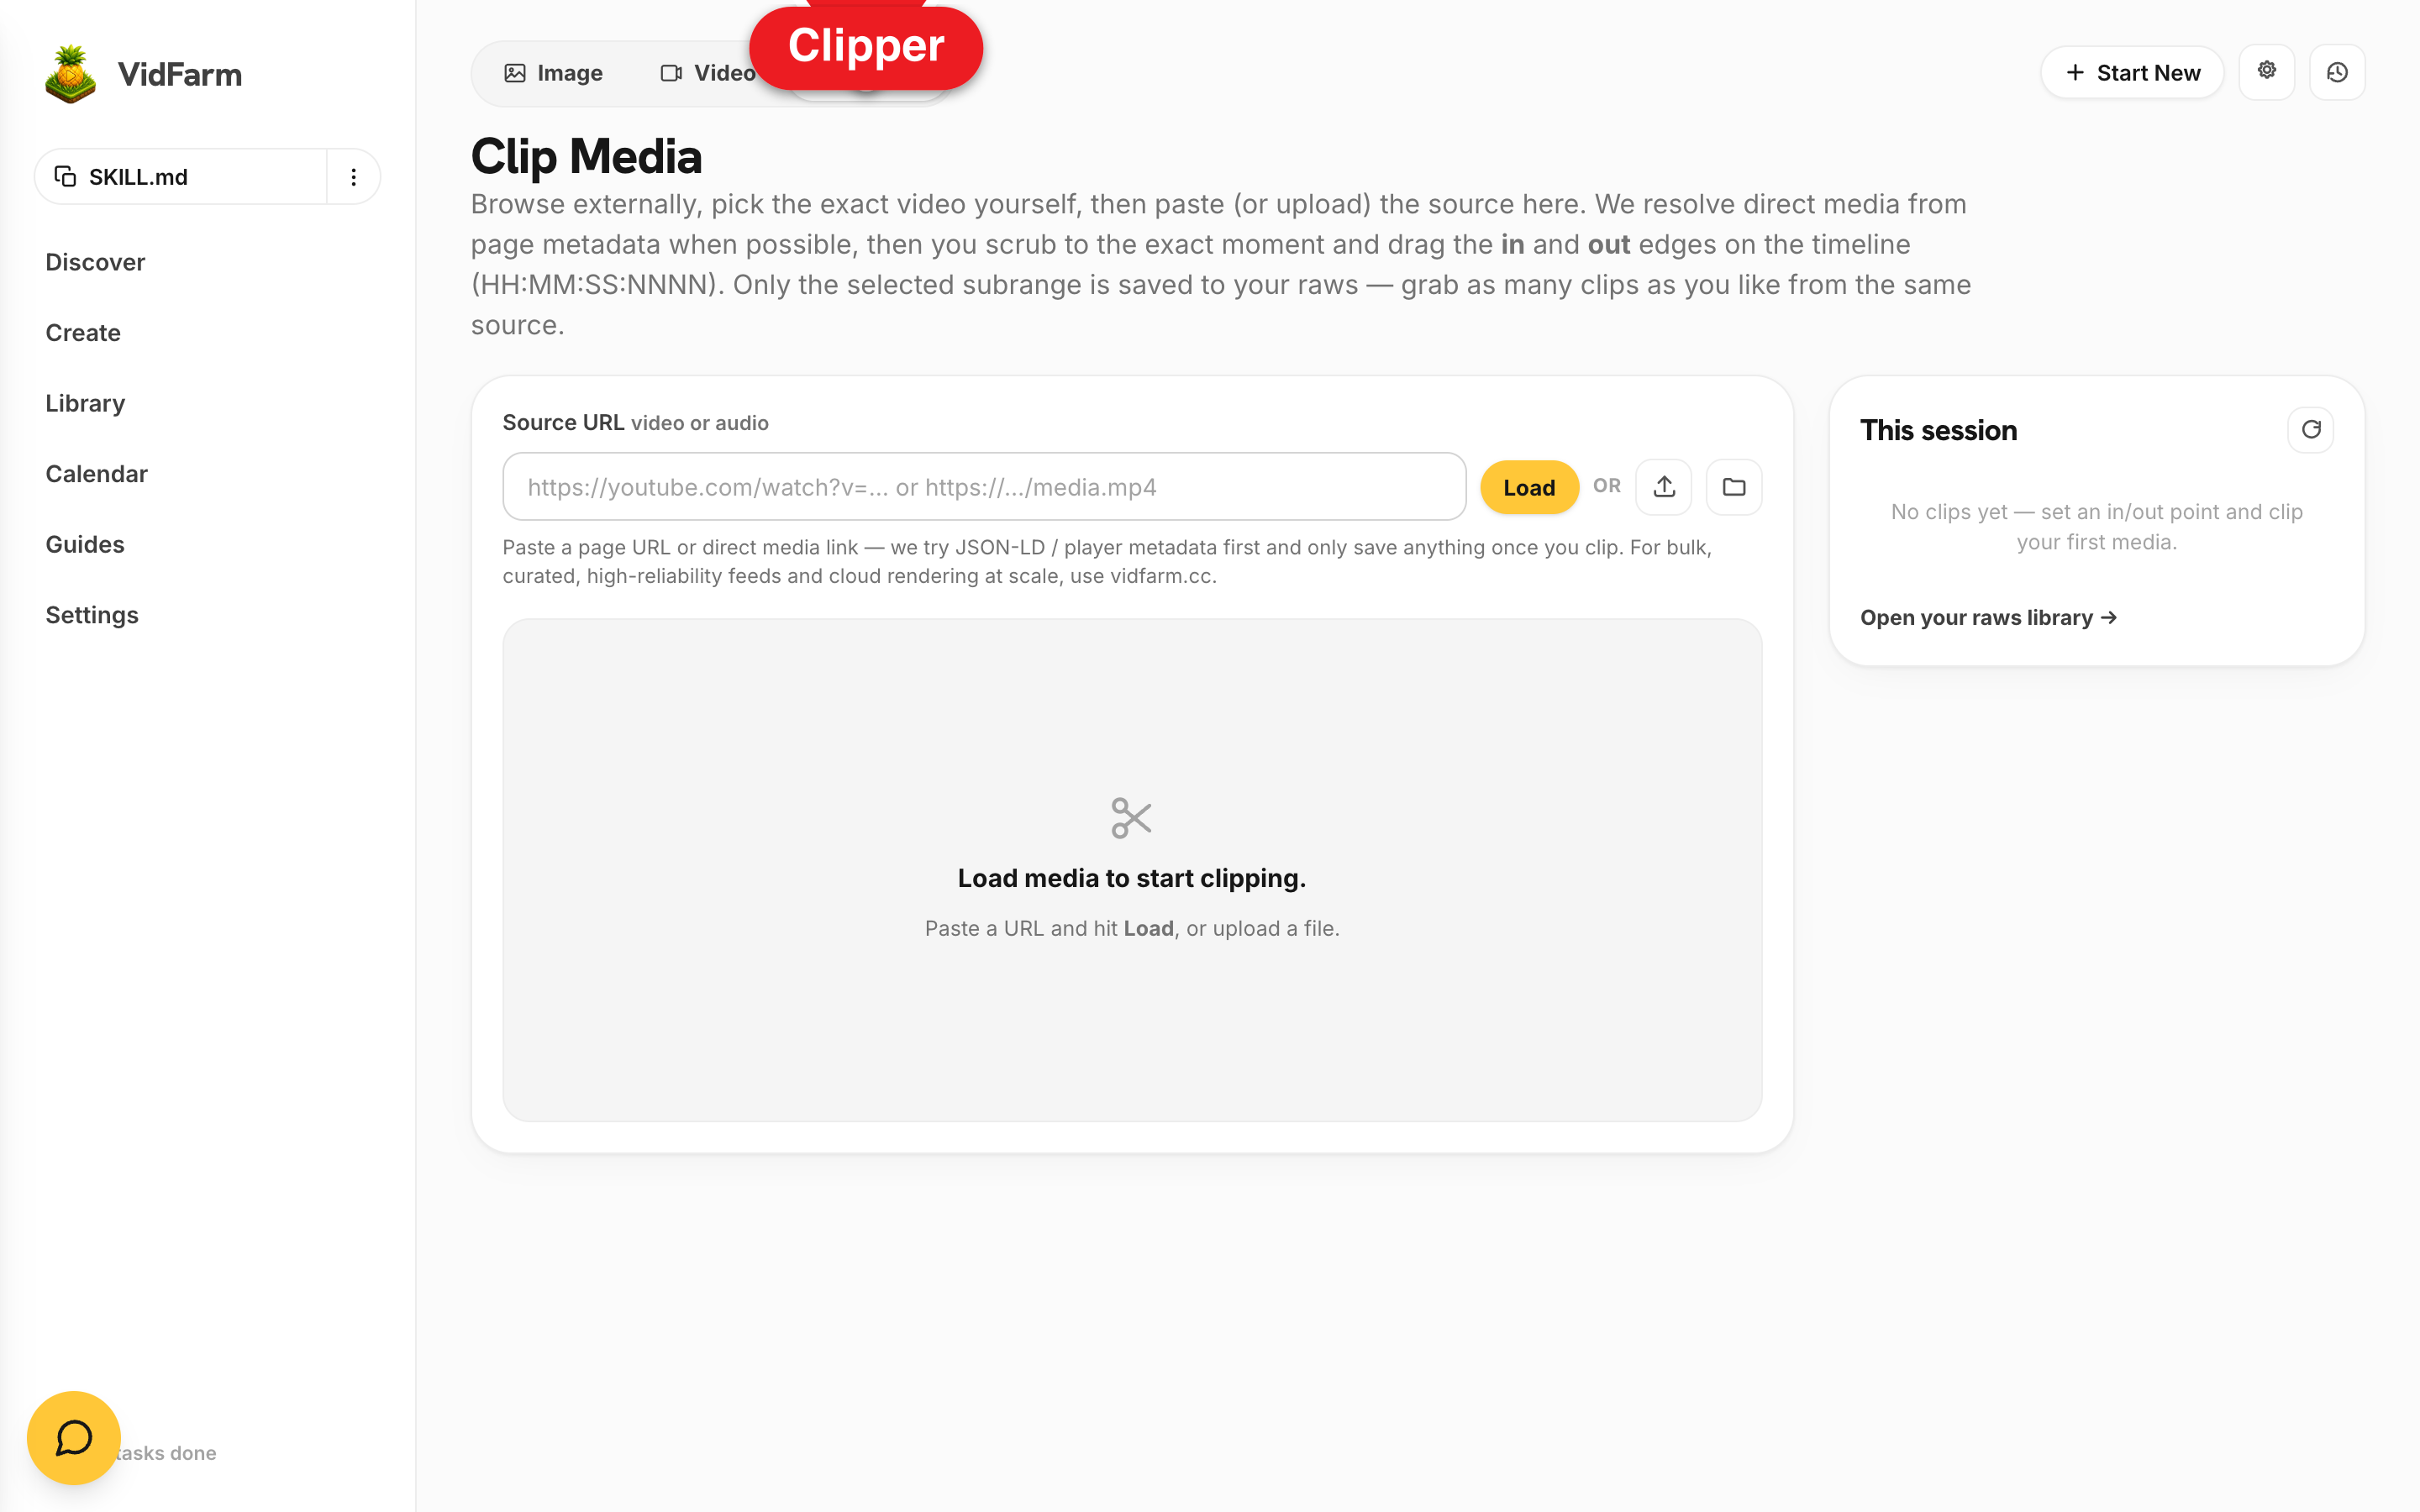
/editor— the full Trackpad editor, opened pre-authed on the fork you pulled. Savingcomposition.htmlon disk live-morphs the open tab./tools/clipper— subrange-clip any source into raws, entirely on your box. This is whereservelands when you have no cloud key (local browse mode)./library/files&/library/raws— your on-disk My Files and raws, browsable in the real explorer UI.- With a valid cloud key,
/discoverand/librarymirror the cloud catalog too, so you can pull a template onto disk and edit it offline.
Free-tier pathDiscovery: paid /discover vs. free agent browsing
The in-app /discover catalog — the curated viral-video feed and one-click "Add New" ingest — is a paid-tier feature. Free accounts see a capped preview with an upgrade CTA. That does not lock free users out of discovery, though:
- Free path — let an agent browse the open web. Point a browser-driving agent (Claude Code with a Chrome/computer-use tool, etc.) at TikTok / YouTube / Instagram / X, have it find viral videos in your niche, then feed the URLs straight into VidFarm with
vidfarm inspiration-add <url>. No/discoversubscription required — you're sourcing from the public web and importing on demand. - Paid path — use
/discover. The curated feed, semantic search (vidfarm discover "<query>"), and category browsing are all there once you're on a paid plan. - Either way the result is the same: a source video becomes a template you can fork and edit locally.
# FREE discovery — agent finds a viral clip on the open web, you import the URL
vidfarm inspiration-add https://www.tiktok.com/@creator/video/1234567890
# → decomposes into a forkable template, no /discover plan needed

# PAID discovery — search the curated in-app catalog
vidfarm discover "cozy morning routine" --sort wowinspiration-add each one." Free users get discovery through the agent's Chrome session; the curated /discover feed is the paid convenience layer on top.Fewer REST callsFile uploads & other conveniences
A lot of what would take several raw REST calls collapses into one devcli command. Uploading media is the clearest example — vidfarm upload-media is the /editor "Upload media" button from the terminal. It takes a local file, a My Files path, or a URL, uploads and resolves it, and can drop it straight onto a composition — all in one line:
# upload a local file and place it onto a composition at 4s
vidfarm upload-media ./b-roll.mp4 --into ./work/composition.html --at 4s

# pull from My Files (path or name) or a public URL — source inferred
vidfarm upload-media /raws/kitchen/pour.mp4 --into ./work/composition.html
vidfarm upload-media https://example.com/logo.png --kind image

# import a whole VIDEO URL into your raws library
vidfarm upload-media https://youtu.be/… --from raw --folder inspo
The raw REST equivalent means requesting an upload target, PUTting the bytes to storage, then a separate call to register the media and another to attach it to a layer. The CLI folds all of that — plus path resolution across your five file roots and timeline placement — into upload-media. The same convenience wraps directory/put-file (file management), clipper (subrange clips), and place/set-media (layer edits).
<script> tags on save, so GSAP / JS-adapter compositions only round-trip through devcli render, not the browser editor. Keep browser-editable compositions declarative. Without a valid cloud key, serve falls back to local browse mode.Where to go next
You've got the CLI running locally. Next, learn the file-backed scripting posture for repeatable, unattended runs — or the fully-free NVIDIA path:
Boot the editor on your machine
Install @officexapp/vidfarm-devcli, run vidfarm serve, and you've got the full editor on localhost — with free, in-process Vidfarm renders.