Tease one feature with your own footage
Take a proven feature-tease format and drop in YOUR product-demo screen recordings and brand kit. Swap the clips in place, overlay your logo, recaption to one killer feature, ship it.
Key takeaways
- You keep a template's proven pacing and framing but swap its clips for your own footage.
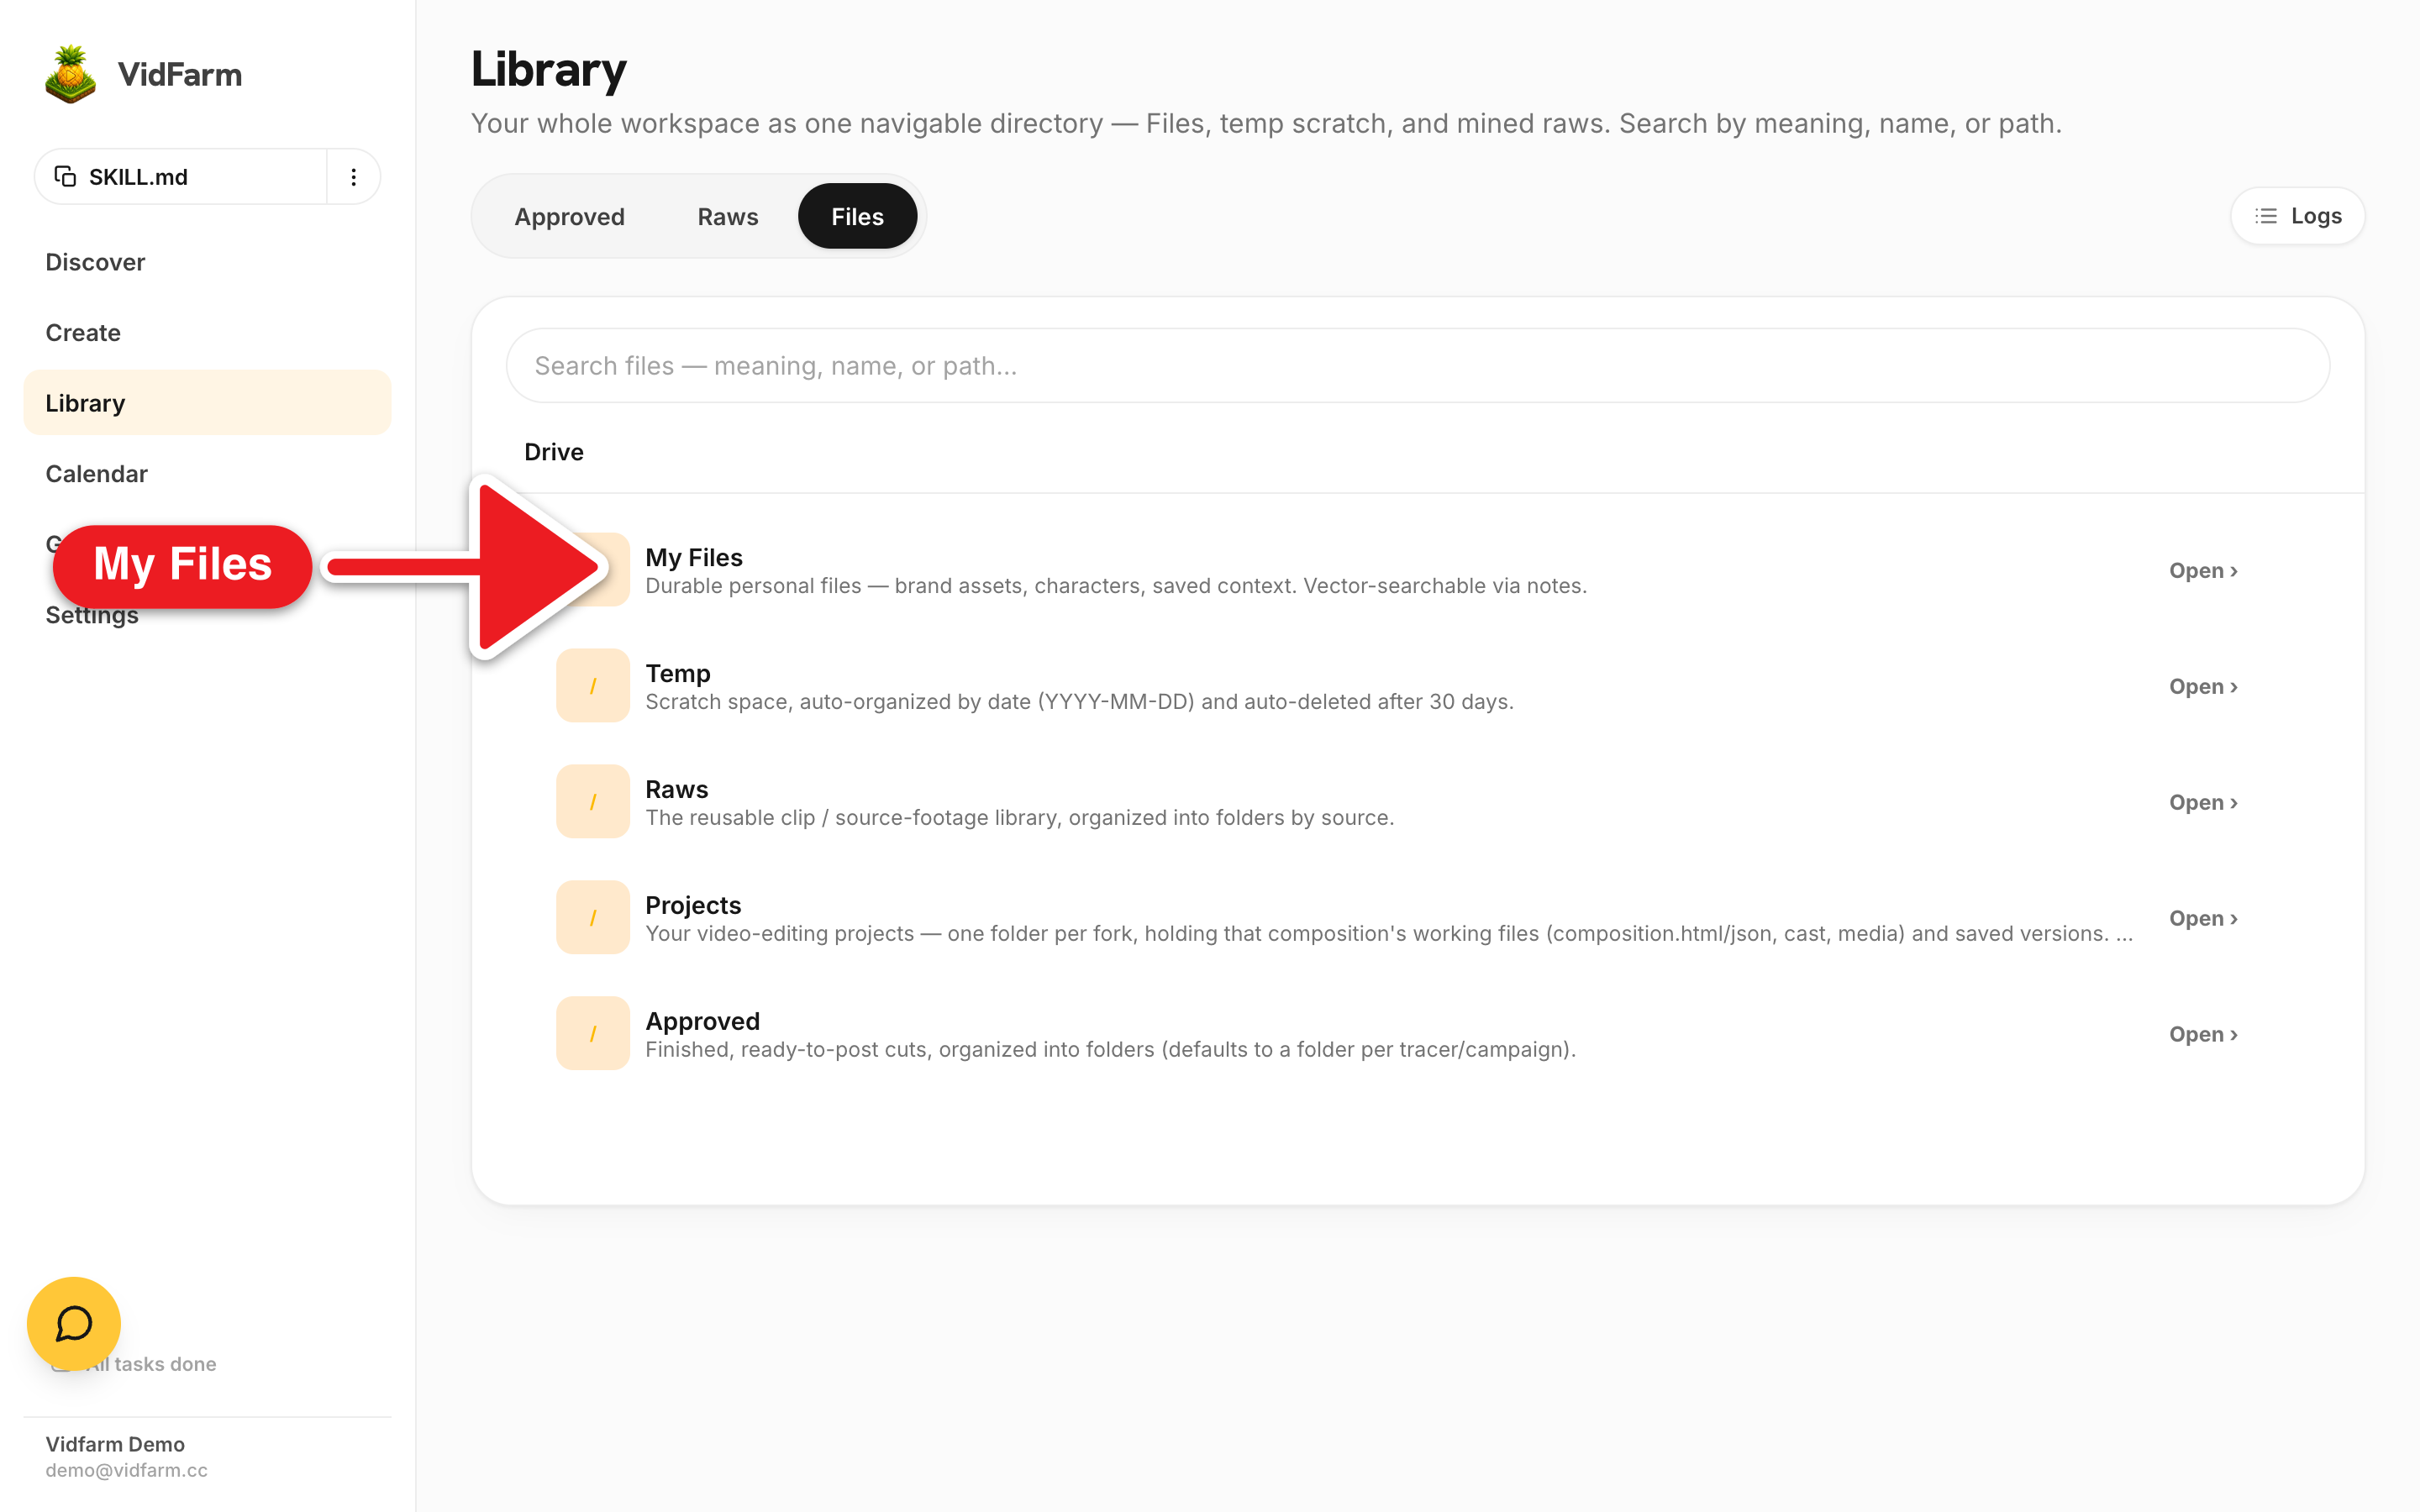
set_layer_mediaswaps a clip in place — same layer, timing, and geometry — targeting the exact layer key.- Your assets live in My Files; the copilot reads them with
browse_filesand the file'sview_urlIS the media URL. - A landscape screen-rec on a 9:16 canvas needs a deliberate object_fit / object_position, or it crops silently.
The idea: your footage, their proven structure
A feature tease is short and punchy — a hook, one product moment that lands, a caption that sells the payoff. Instead of building the rhythm from scratch, you fork a template that already nails it and replace its demo clips with your screen recordings, then drop your logo on the end card. The template supplies the timing; you supply the substance.
The key verb is set_layer_media. Unlike deleting a clip and adding a new one, it swaps the source in place — the layer keeps its key, its position on the timeline, and its on-canvas geometry. That's exactly what you want when you're honouring a template's framing.
SetupFirst, get your assets into My Files
-
Upload your product-demo recordings
Screen-record the feature you're teasing, then upload the clips to My Files . Keep them together — the pop-out explorer path
#pop-panel/my-files/product-demo-recordingsis a tidy home. These become the footage you'll swap in. -
Upload your brand media kit
Do the same with your logo and brand assets — a folder like
#pop-panel/my-files/brand-media-kit. A transparent-PNG logo overlays cleanest on the end card.
Manual walkthroughBuild the tease (the web UI)
-
Fork a feature-tease template
On the Discover feed , open a short "feature tease" format and click into the Trackpad Editor . It auto-forks on your first edit.
-
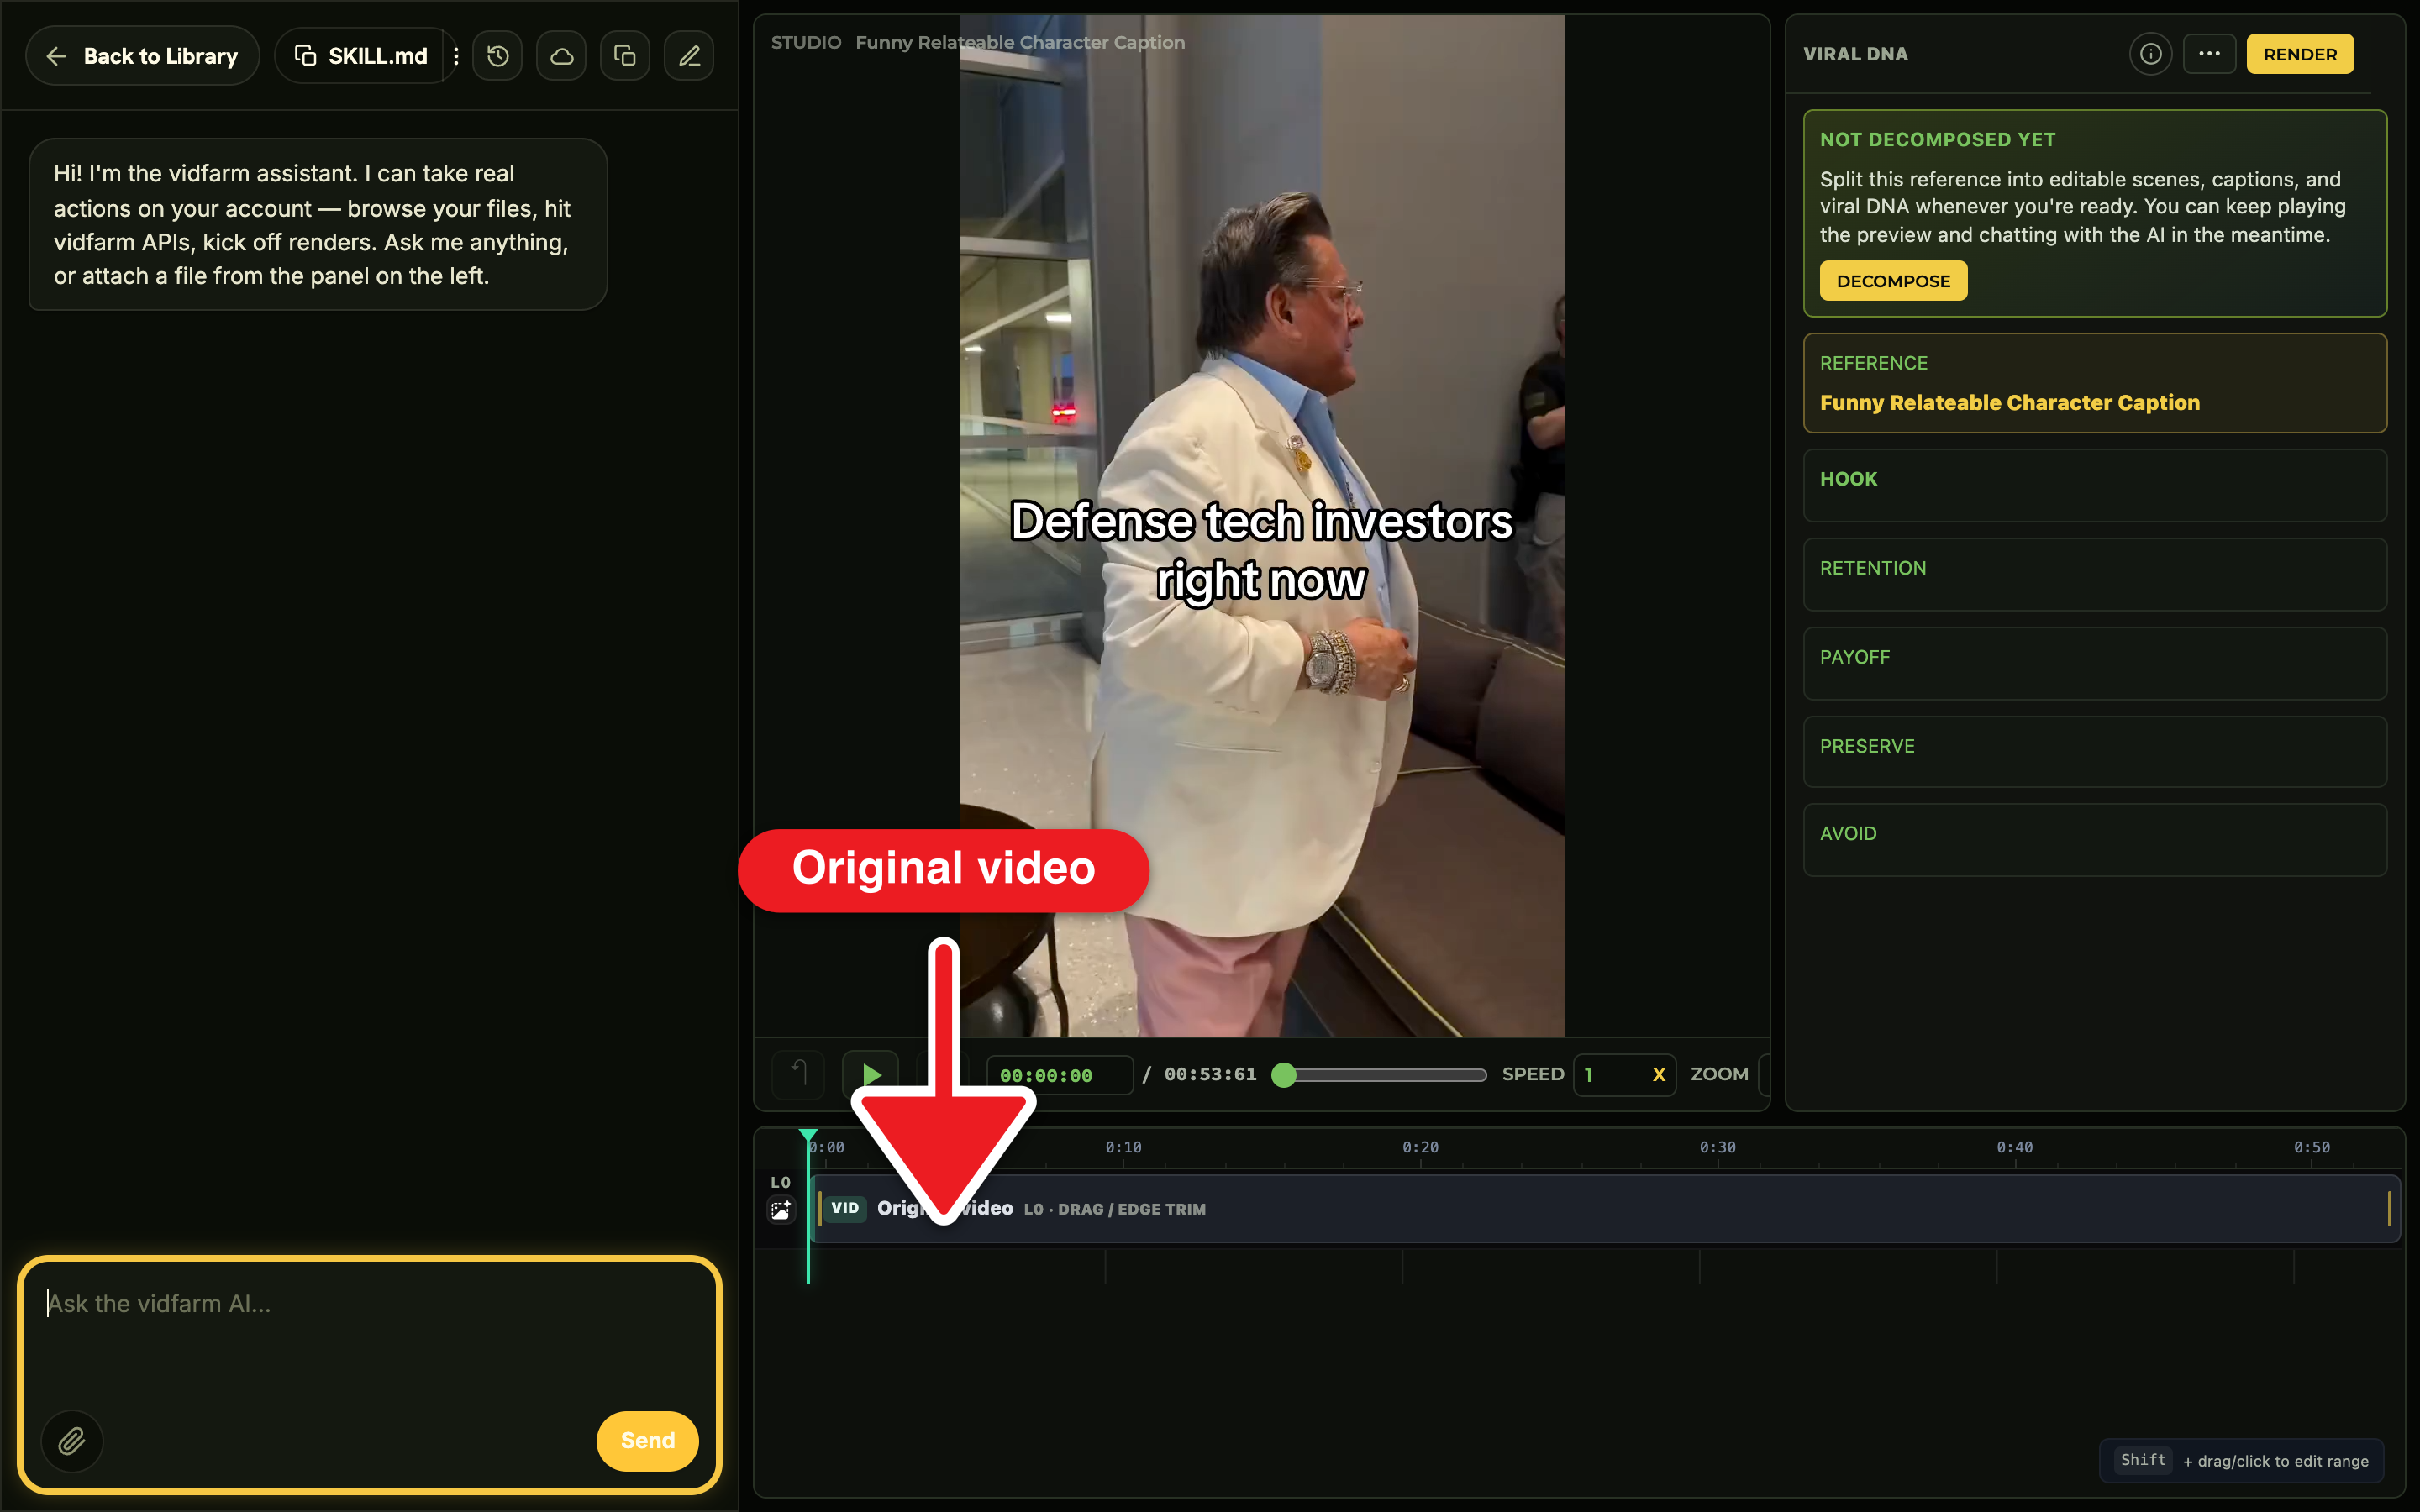
Swap scene 1 for your demo clip
Ask the copilot to pull from your library and swap the hero clip:
"Use my product-demo recordings from My Files. Swap scene 1's clip for my clip showing one-click export, keeping the same timing and full-canvas framing."
The copilot runs
browse_filesto find the file (itsview_urlis the ready media URL — no pasting URLs), then firesset_layer_mediaon that scene's real layer key. -
Fix aspect if the clip is landscape
A 16:9 screen recording on a 9:16 canvas will crop silently unless you say how to frame it:
"That clip is landscape — fit it so the cursor and the export button stay in frame."
The copilot sets
object_fit: coverand anobject_positionlike"25% 50%"to keep the important side visible. -
Overlay your logo on the end card
Drop your brand mark onto the closing beat:
"Drop my logo from the brand kit as an overlay on the end card, bottom-center, small."
That's
browse_filesto find the logo, thenadd_layer kind=imageplusset_layer_visualfor the position and size. -
Recaption to tease the one feature
Now make the words do the selling:
"Rewrite the captions to tease this one feature — hook first, payoff at the end."
That's
set_layer_text/set_captions— the same caption moves from edit demo #1 . -
Review, render, approve
Scrub it. Say "Looks good, render it" — the copilot confirms before rendering, then builds the MP4. When it's ready, approve it with a caption and pinned CTA. It lands in Library → Approved , ready to schedule.
editor_context.layers — not a scene name. If a swap returns "Layer not found," the error lists the valid keys; re-issue against one of those. And remember set_layer_media keeps the node in place — reach for a fresh place --replace only when you actually want a new clip with new geometry.Where to go next
You've combined your own footage with a proven format. Next, learn where every file lives, then fuel a remix by hunting clips out of long-form video:
Tease your feature now
Get your demo recordings and brand kit into My Files, fork a feature-tease template, and swap your footage in place. Cloud renders start at $0.01.
Open My Files