Sourcing & clipping raws with AI
Raws are the footage you paint with. Browse the public feed or bring your own video, then either let AI mine the best moments for you — or hand-pick one exact subrange yourself. Here's the whole pipeline.
Key takeaways
- Get raws two ways: save from the public feed (
/discover/raws) or import your own video by URL or upload. - Two clipping paths: AI hunt (
/raws/scan) mines many clips out of a long video; the Clipper (/raws/clip-range) cuts one exact subrange. - The AI hunt bills AWS compute only — tagging runs on your own saved key (BYOK). The Clipper is compute-only, no AI, no key.
- Watch every import progress in the Cloud Status drawer; results land in
/library/raws, searchable by meaning. - Your imported source is temporary (30-day TTL); the mined raws are durable.
What a raw is, and where they come from
A "raw" is a short, tagged, searchable clip of source footage — the primary paintbrush for building videos cheaply (see the three paintbrushes ). Your raws library is where they live, grouped by the source they came from. There are two ways to fill it: save from VidFarm's public feed, or import your own long-form video and slice it up.
And there are two ways to slice: an open-ended AI hunt that mines many moments automatically, or a surgical Clipper for one exact in/out. We'll do all of it.
Discover → Raws1 · Browse the public raws feed
-
Open the Raws feed
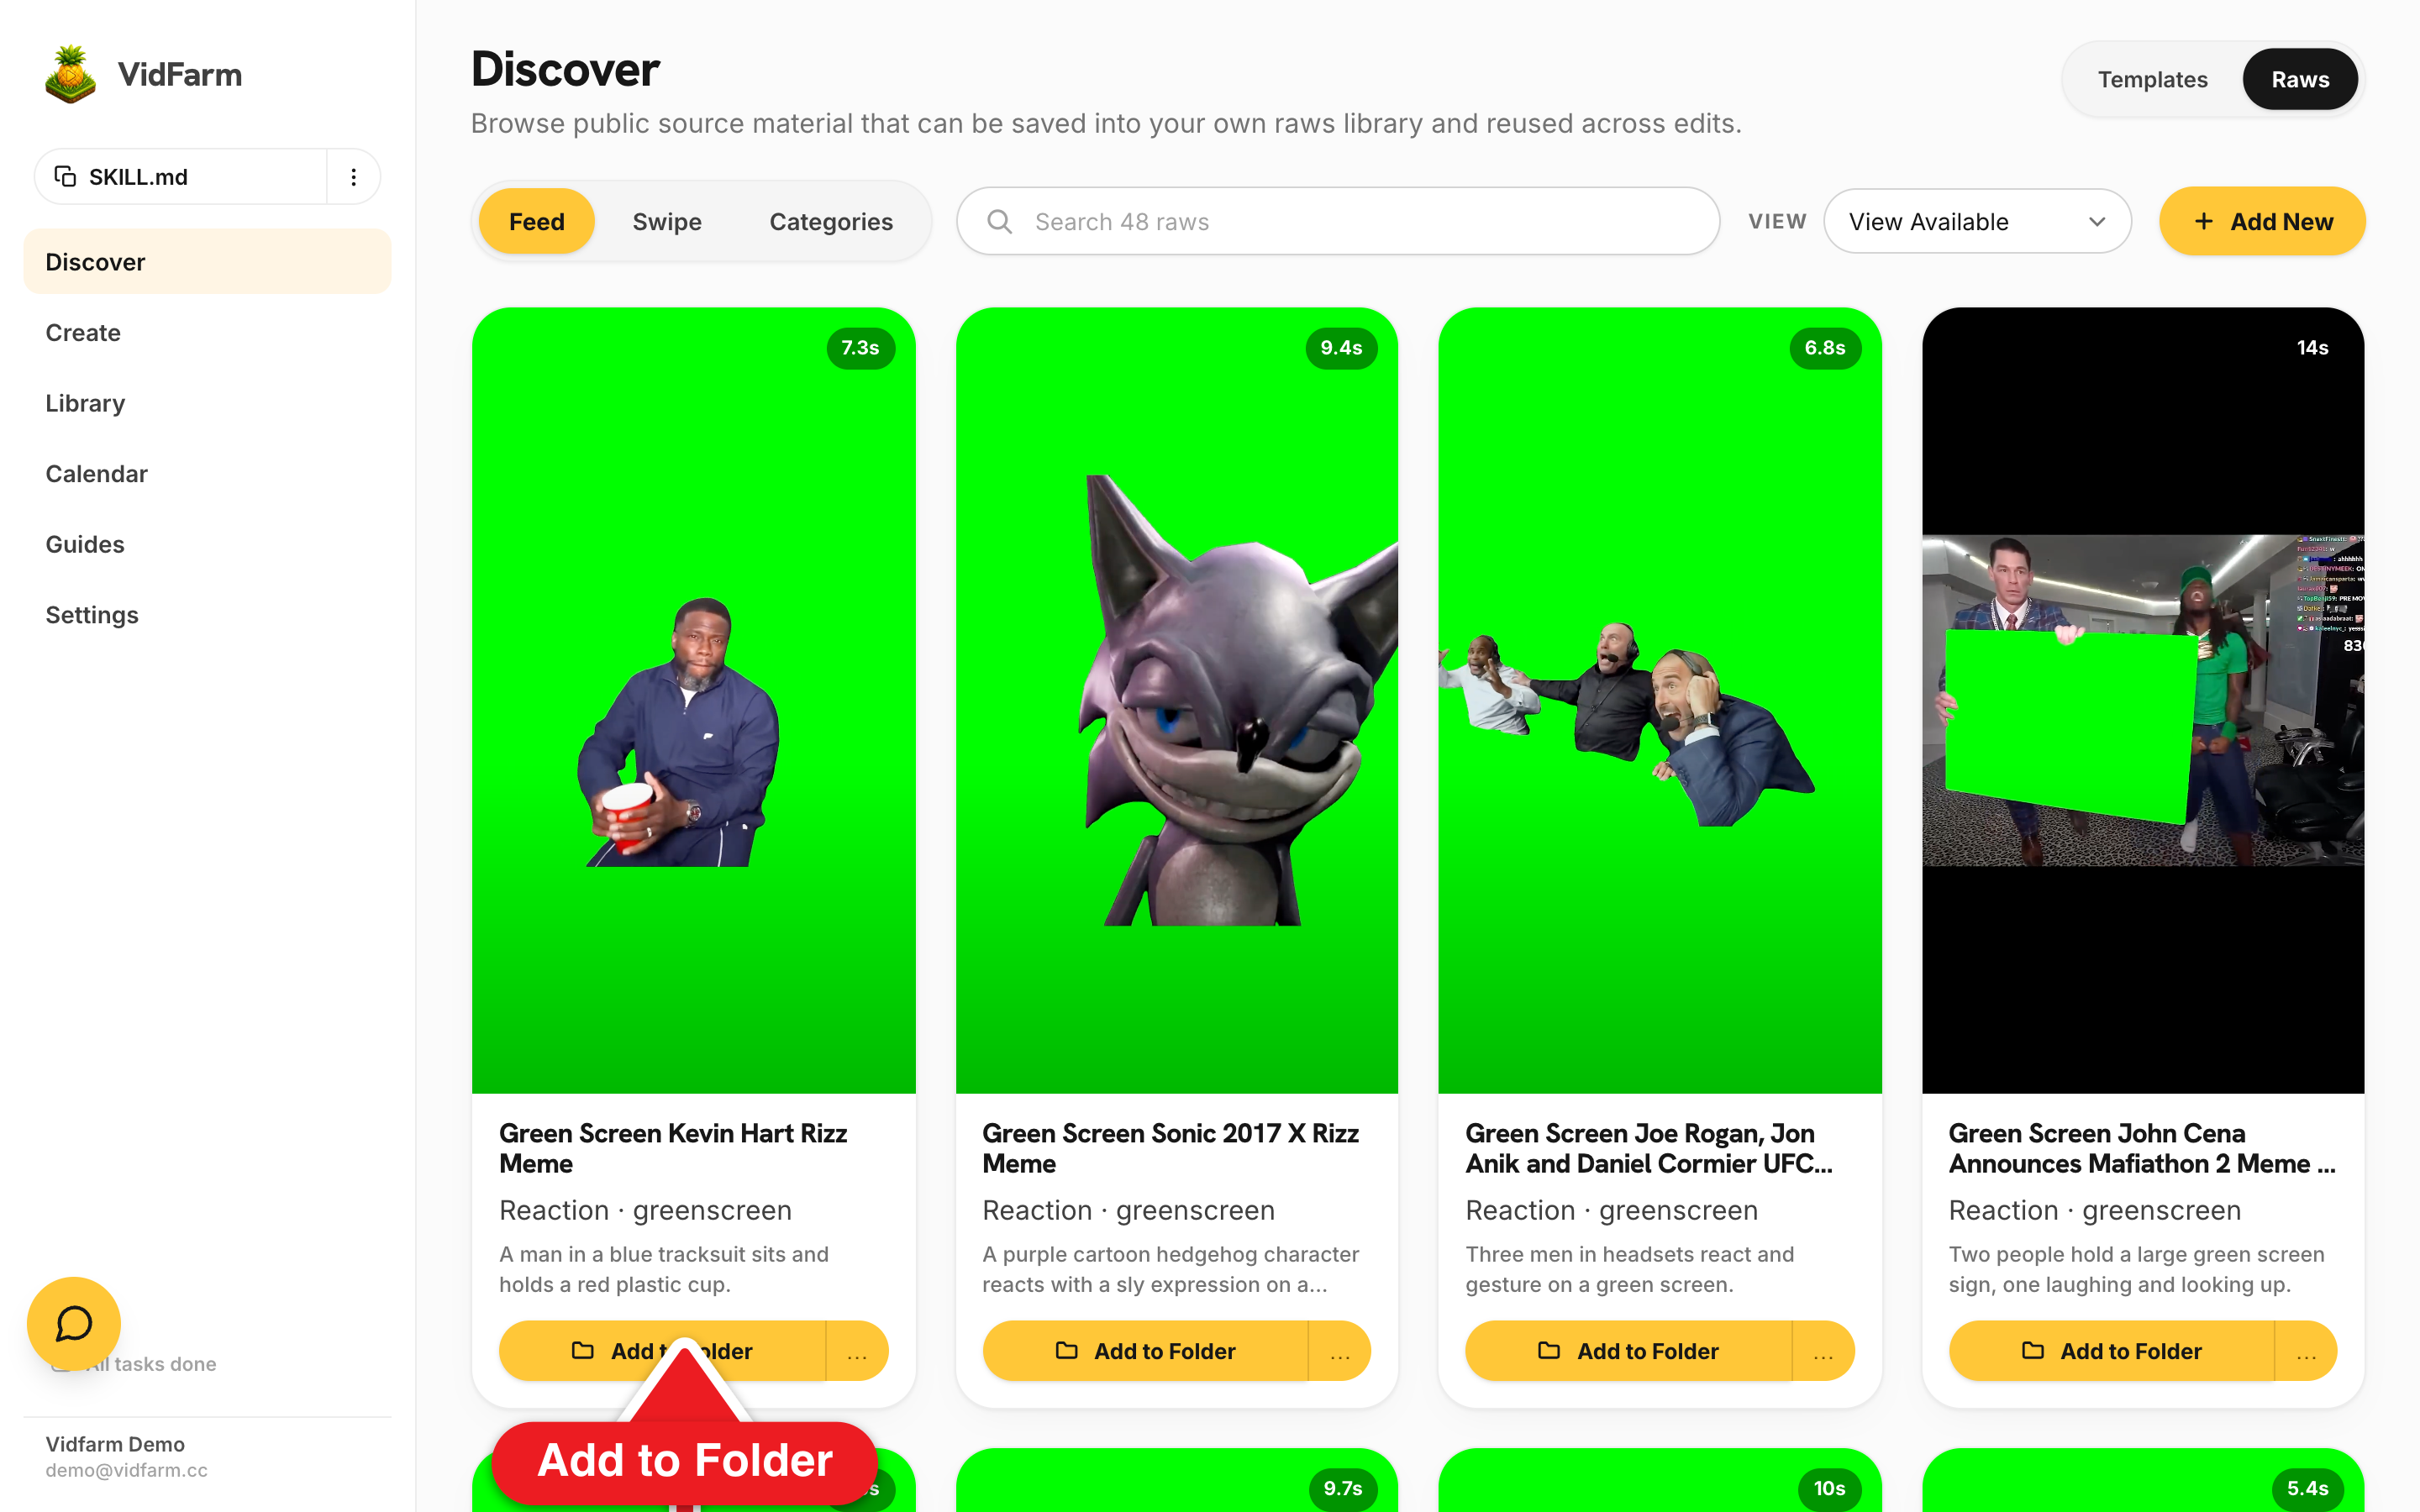
Go to /discover/raws/feed . Up top are two section tabs — Templates and Raws — and three mode tabs: Feed, Swipe, Categories. The feed is "public source material that can be saved into your own raws library and reused across edits."
-
Preview a clip
Each card is a lazy-loading video poster with a duration chip and a sound toggle. Tap a card with a preview to open the TikTok-style modal viewer, or just scan the grid. (Cards showing "No preview" aren't clickable.)
-
Add to Folder — save it to your library
Hit the gold Add to Folder button to fork that public raw into your own My Files folder in one tap (it defaults to the last folder you used). Need a different destination? Open the ⋯ menu → Change folder… to pick or create one.
-
Triage fast with Swipe
For rapid sorting, switch to the Swipe tab: a full-screen viewer where you Skip (X) or Save to library (✓). Or browse by theme under Categories — "emotion, format, scene family, or whatever the catalog groups them under."
/files (My Files), not /raws — it's a saved asset, findable in the editor's Browse. Note that Swipe mode is paid-only, and the feed is capped at 100 items for anonymous/free accounts with an upgrade prompt.Bring your own footage2 · Import your own video
Got a podcast, a VOD, a demo recording, or a YouTube URL? Import it and let VidFarm turn it into tagged clips. Everything starts from the Import Raws modal.
-
Open the Import Raws modal
On /library/raws , click Import source → (the gold button). The modal is titled Import Raws.
-
Paste a URL or upload a video
Drop a link into Video URL — "https://youtube.com/watch?v=… or https://…/video.mp4" — or upload a file (MP4 / MOV / WebM, up to 100 MB). Optionally set a Tracer to label this batch.
-
Decide: AI hunt, or hand-pick?
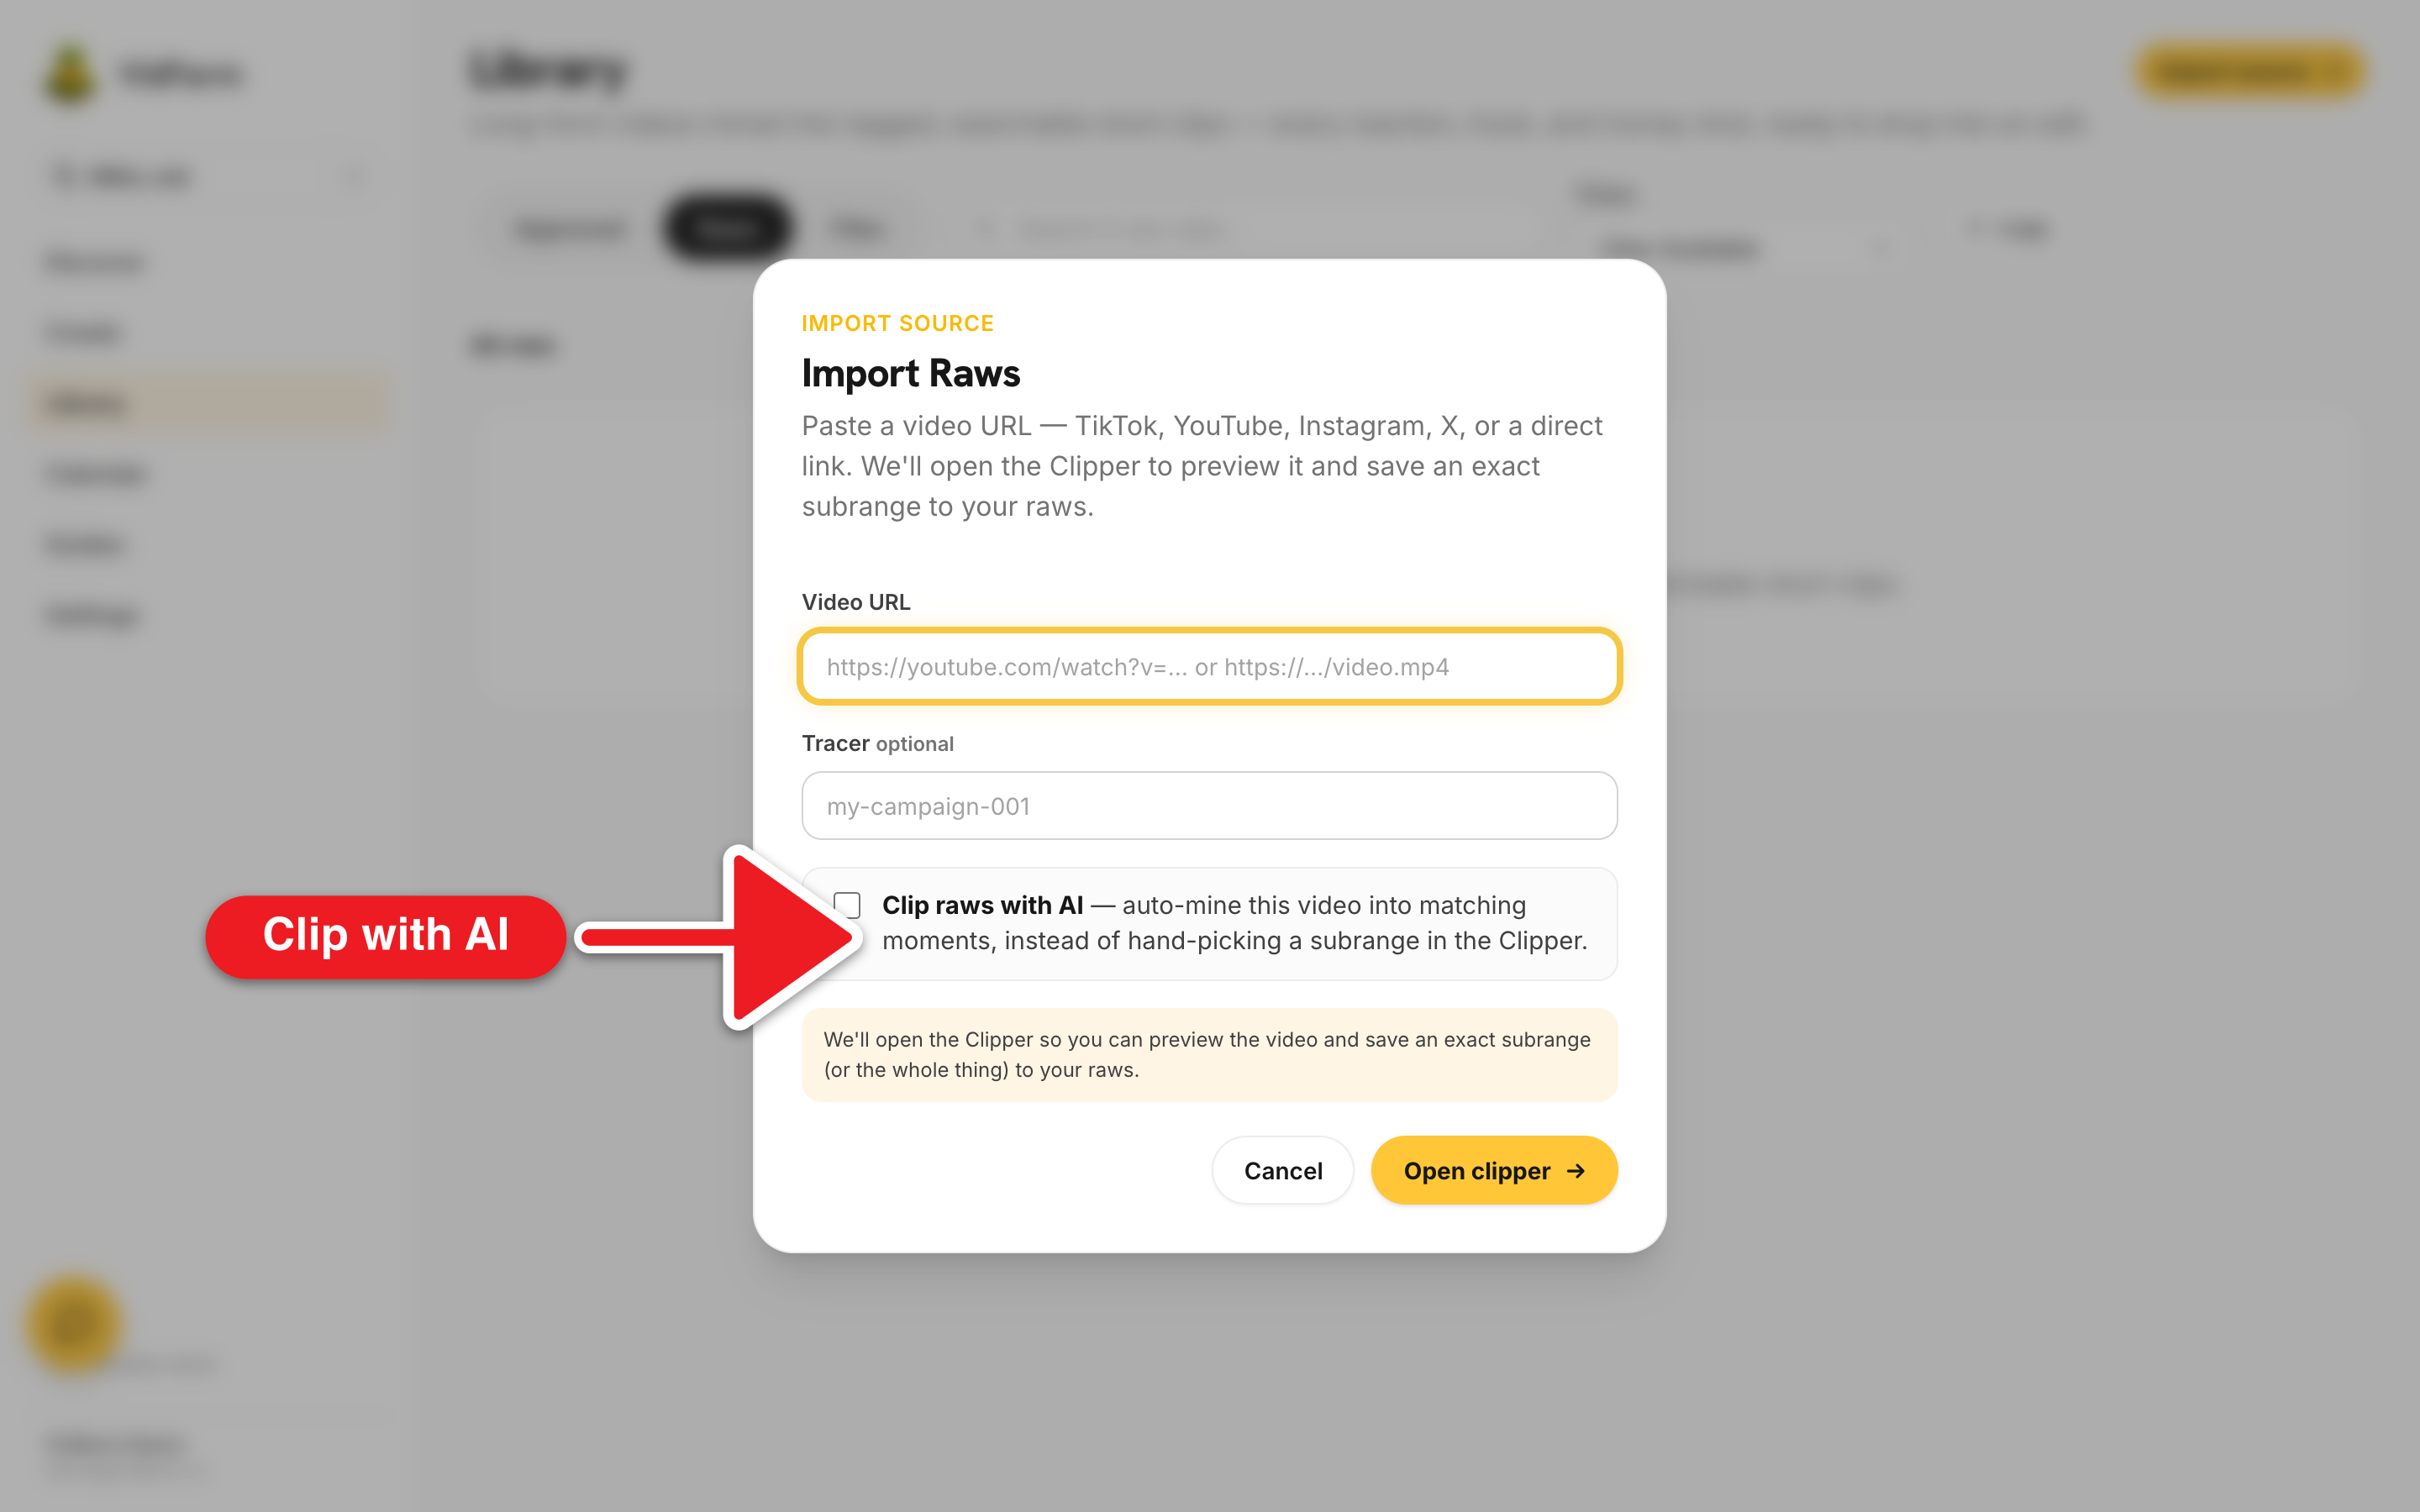
This is the fork in the road. Tick "Clip raws with AI" to auto-mine the video into matching moments. Leave it off and the modal routes you to the Clipper to hand-pick an exact subrange instead. (A plain upload with the toggle off can also import the whole video directly.)
POST /raws/scan3a · Let AI mine the clips
-
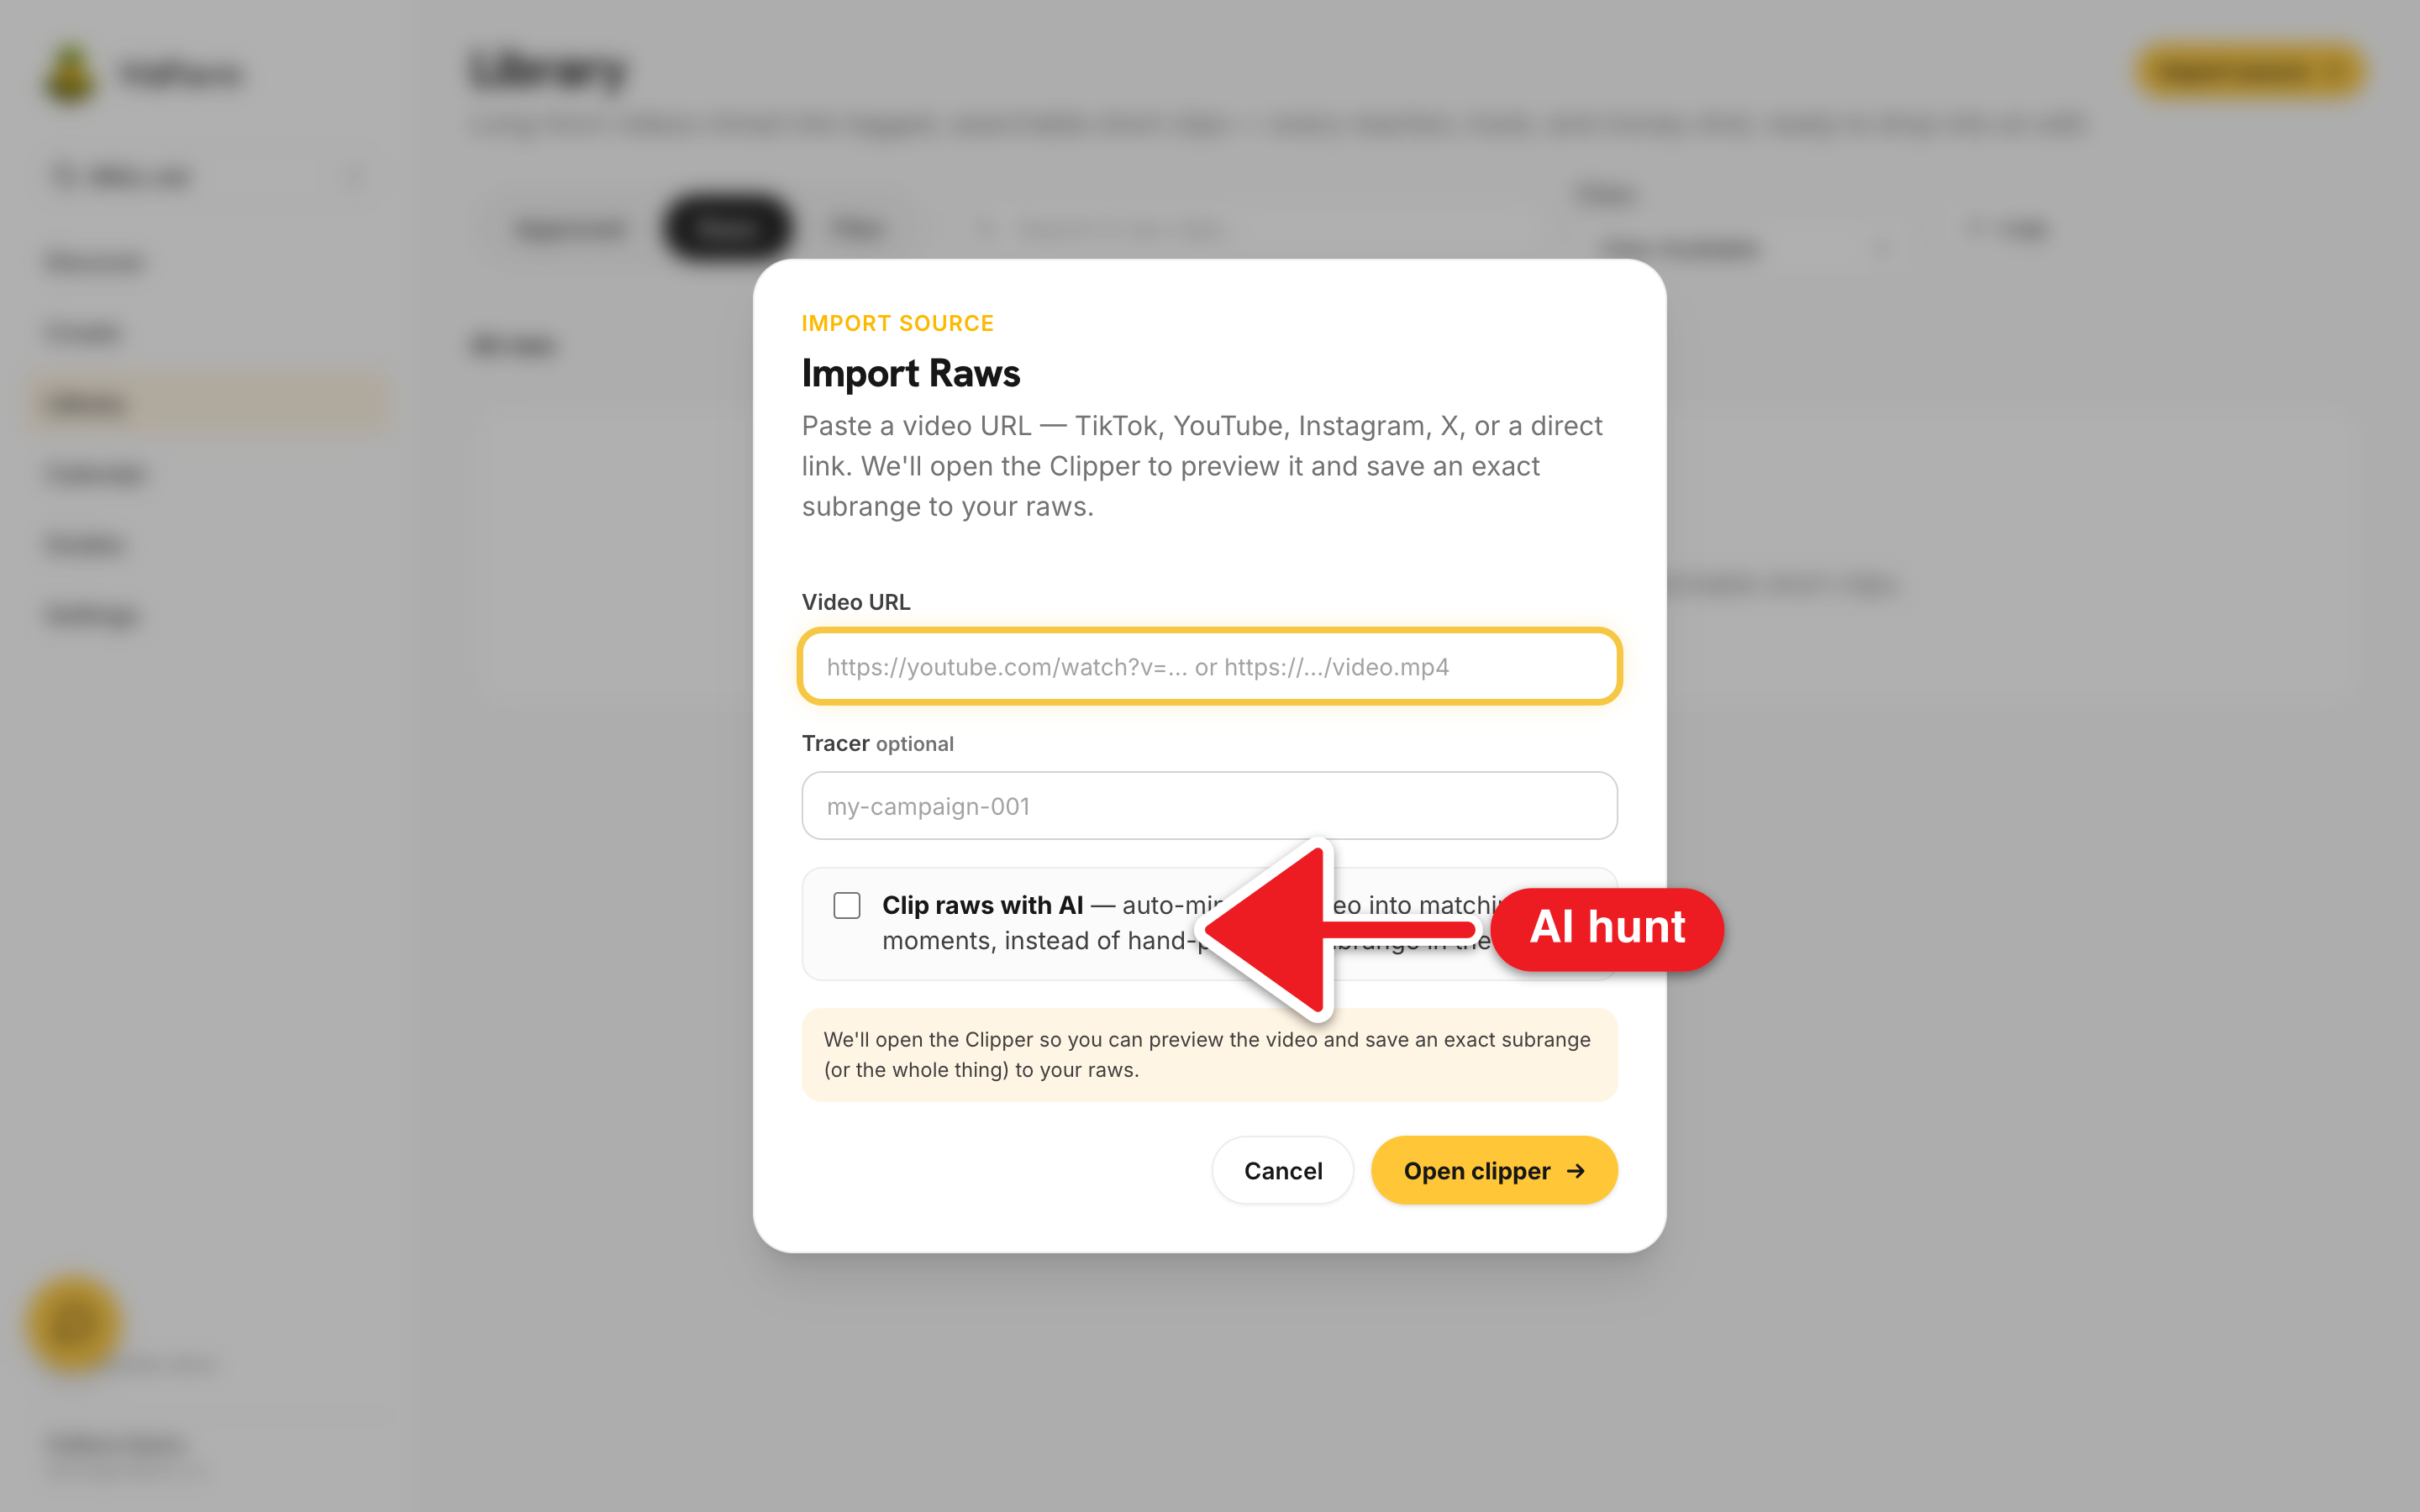
Tick 'Clip raws with AI'
Checking it reveals the advanced controls. This runs an open-ended, async multi-clip hunt: detect scenes → refine by your brief → tag + transcribe → embed → persist many clips.
-
Describe what to clip for
In "What to clip for", describe the moments — the placeholder shows the idea: "Clip scenes of people reacting, no text on screen, vertical, between 5–10 secs long." Those inline hints ("vertical", "5–10s", "no text") actually steer the tagger.
-
Pick an AI provider
Choose an AI provider: Auto — use my saved keys, Gemini, OpenAI, OpenRouter, or Nvidia (clipping only). The tagging runs on your own saved key — it's not billed to your wallet.
-
Optional: audio-only, and a tracer
Tick "Clip audio only" to save each moment as an audio-only
.m4a(e.g. lifting sounds from a copyright-free audio video). Set a Tracer to group the batch, then submit.
/raws/scan hunt bills AWS compute only (Step Functions transitions + the clip-scan Lambda's GB-seconds), plus each persisted embedding. The AI tagging runs on your own saved provider key (BYOK) — it is not billed to your wallet. Submission is wallet-gated, so it returns a 402 if your wallet is empty.POST /raws/clip-range3b · Or hand-pick an exact subrange
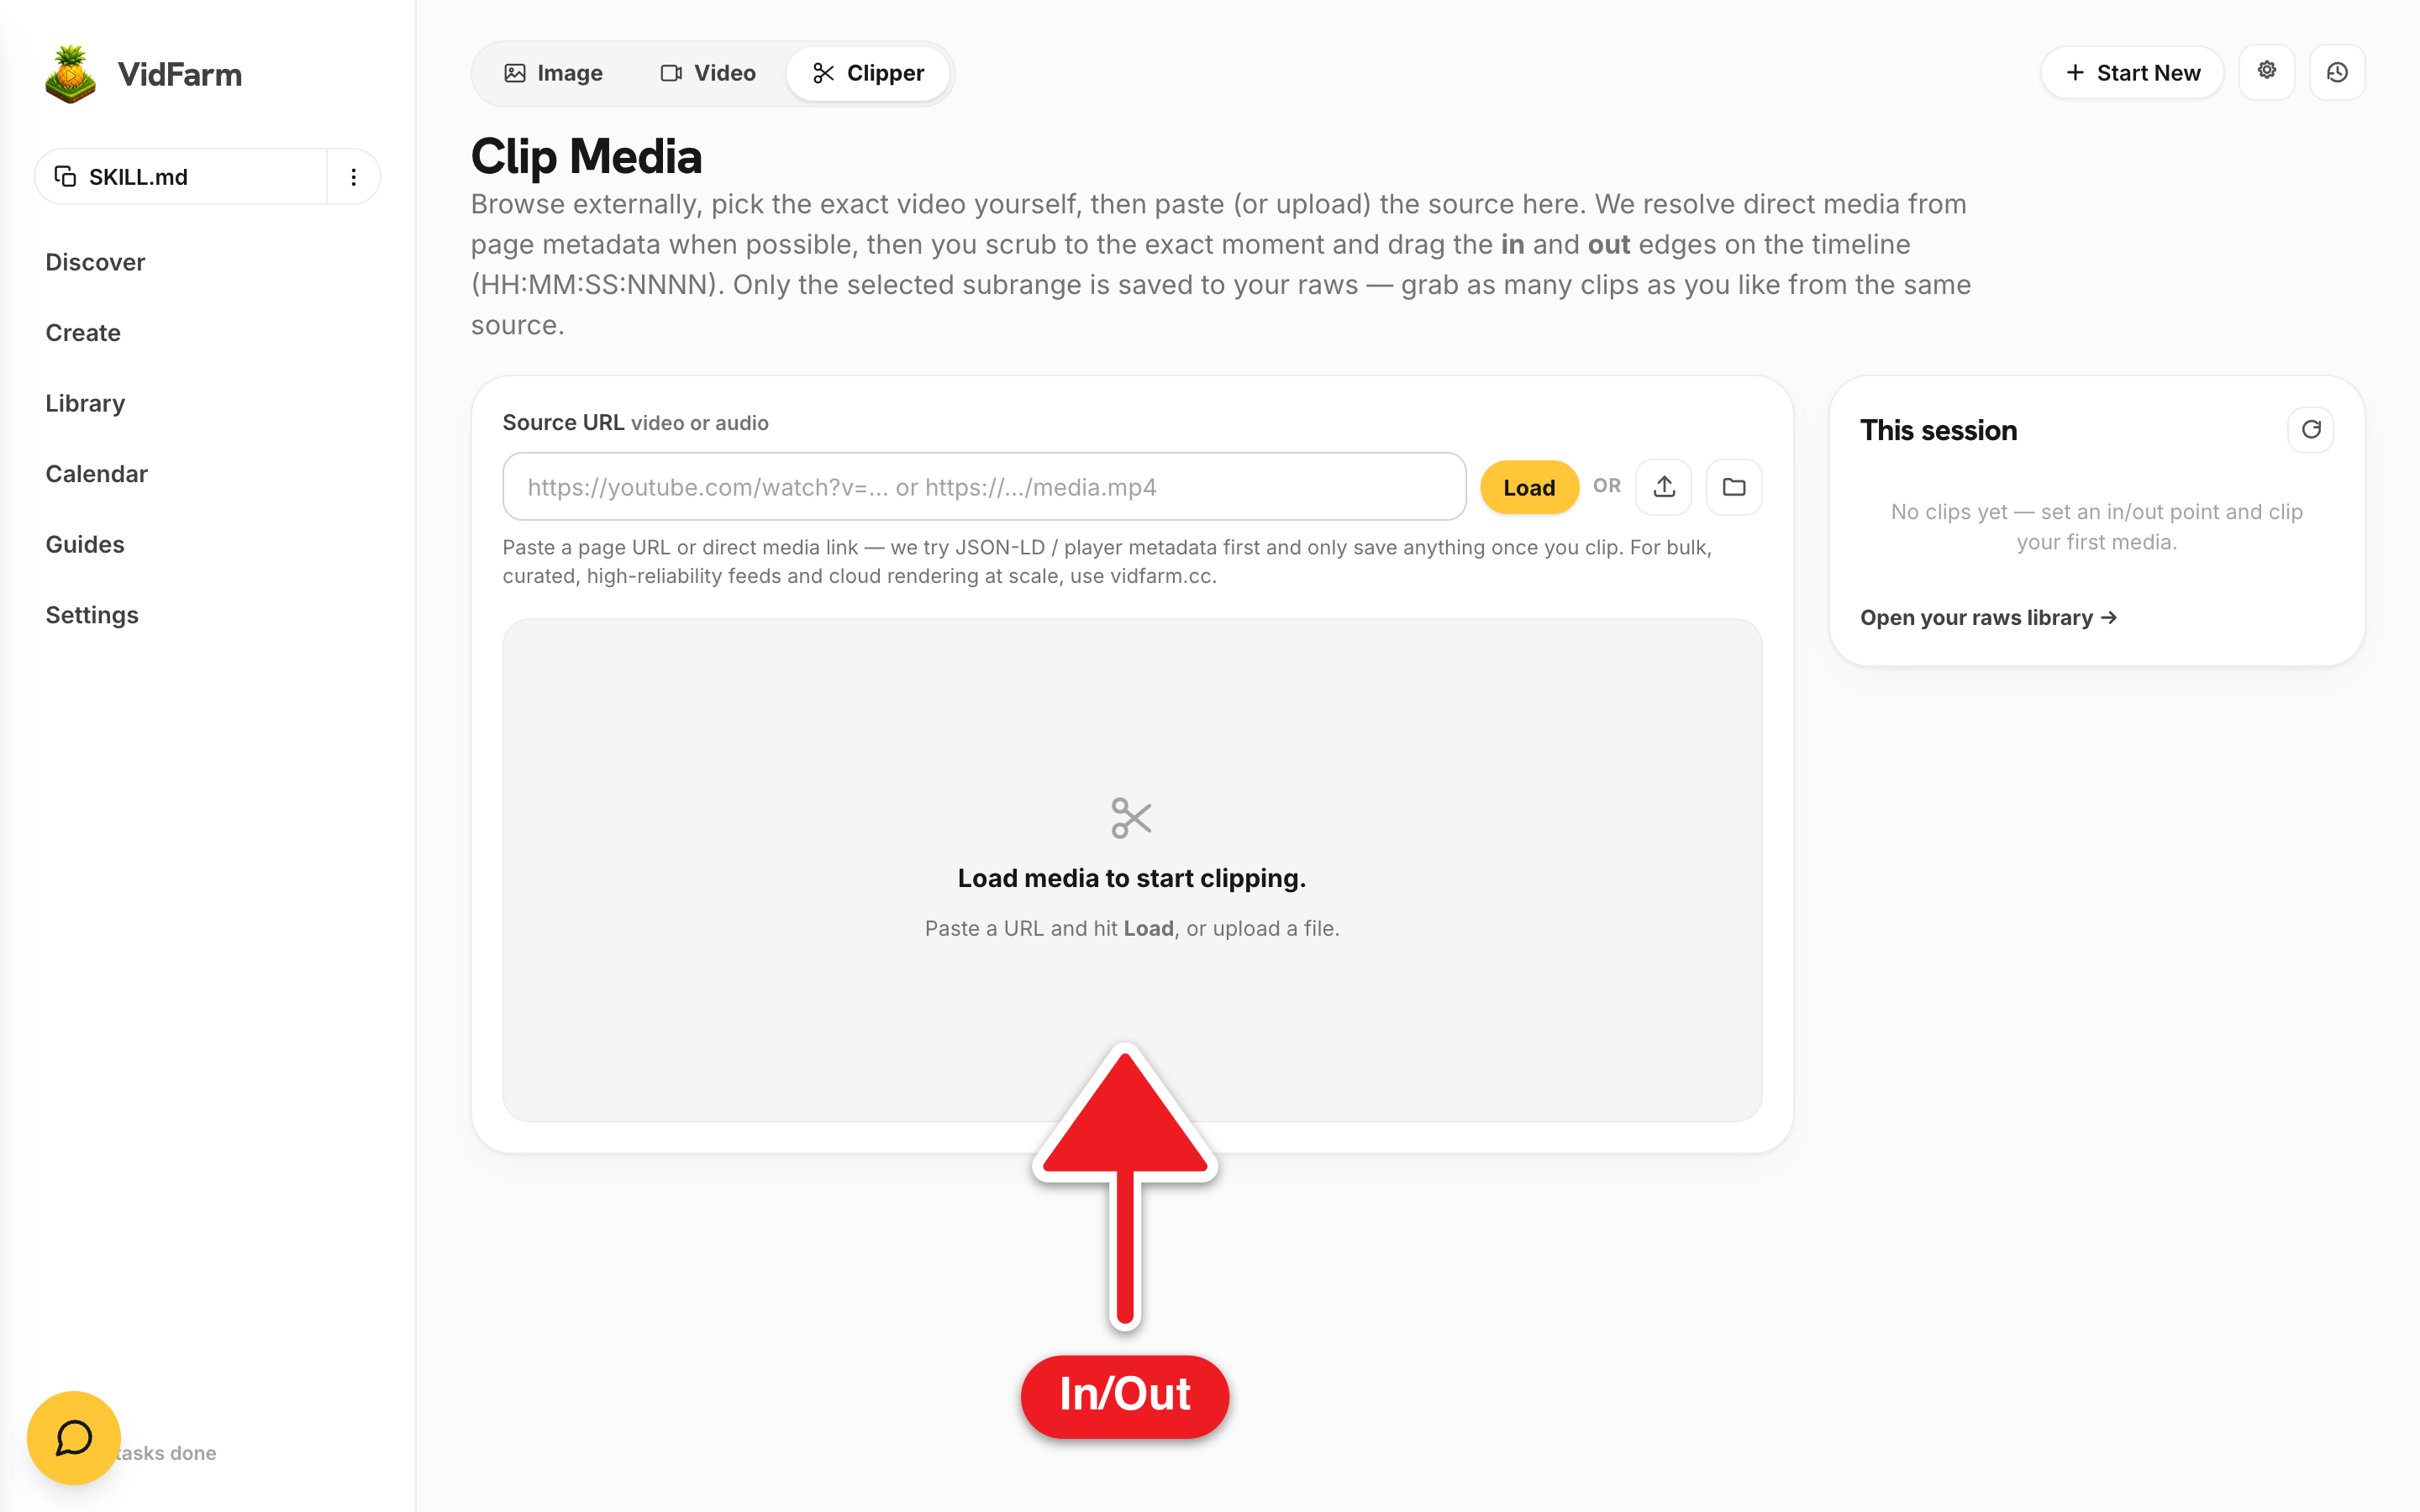
Sometimes you don't want a scattershot hunt — you want one exact cut. That's the Clipper : browse externally, paste the source, scrub to the exact moment, and drag the in and out edges. Only the selected subrange is saved.
-
Open the Clipper
Go to /tools/clipper (or reach it from the Import Raws modal with the AI toggle off → Open clipper →). It's the third tab alongside Image and Video, headed Clip Media.
-
Load a source
Paste a page or direct URL into Source URL and hit Load (or upload / attach from your Files). VidFarm resolves the direct media from the page's metadata — it never downloads anything until you actually clip.
-
Set the in and out points
Scrub the player and drag the In and Out handles on the timeline, or use Set to playhead — watch the live Length readout. Or click Whole to select the entire source. Timecodes are
HH:MM:SS:NNNN, where NNNN is ten-thousandths of a second (not frames). -
Name it, then Clip Media
Open the advanced panel for an optional Filename, Notes (indexed for search), Save to raws folder, and Clip audio only. Click Clip Media and the subrange lands in
/raws/<folder>. Grab as many clips as you like from the same source — they group under the session tracer.
POST /raws/scan for open-ended multi-clip hunts out of a long video (async, bills compute, tags on your key), and use POST /raws/clip-range for a surgical single cut (inline, compute-only, no AI, no key).The async task drawer4 · Watch progress in Cloud Status
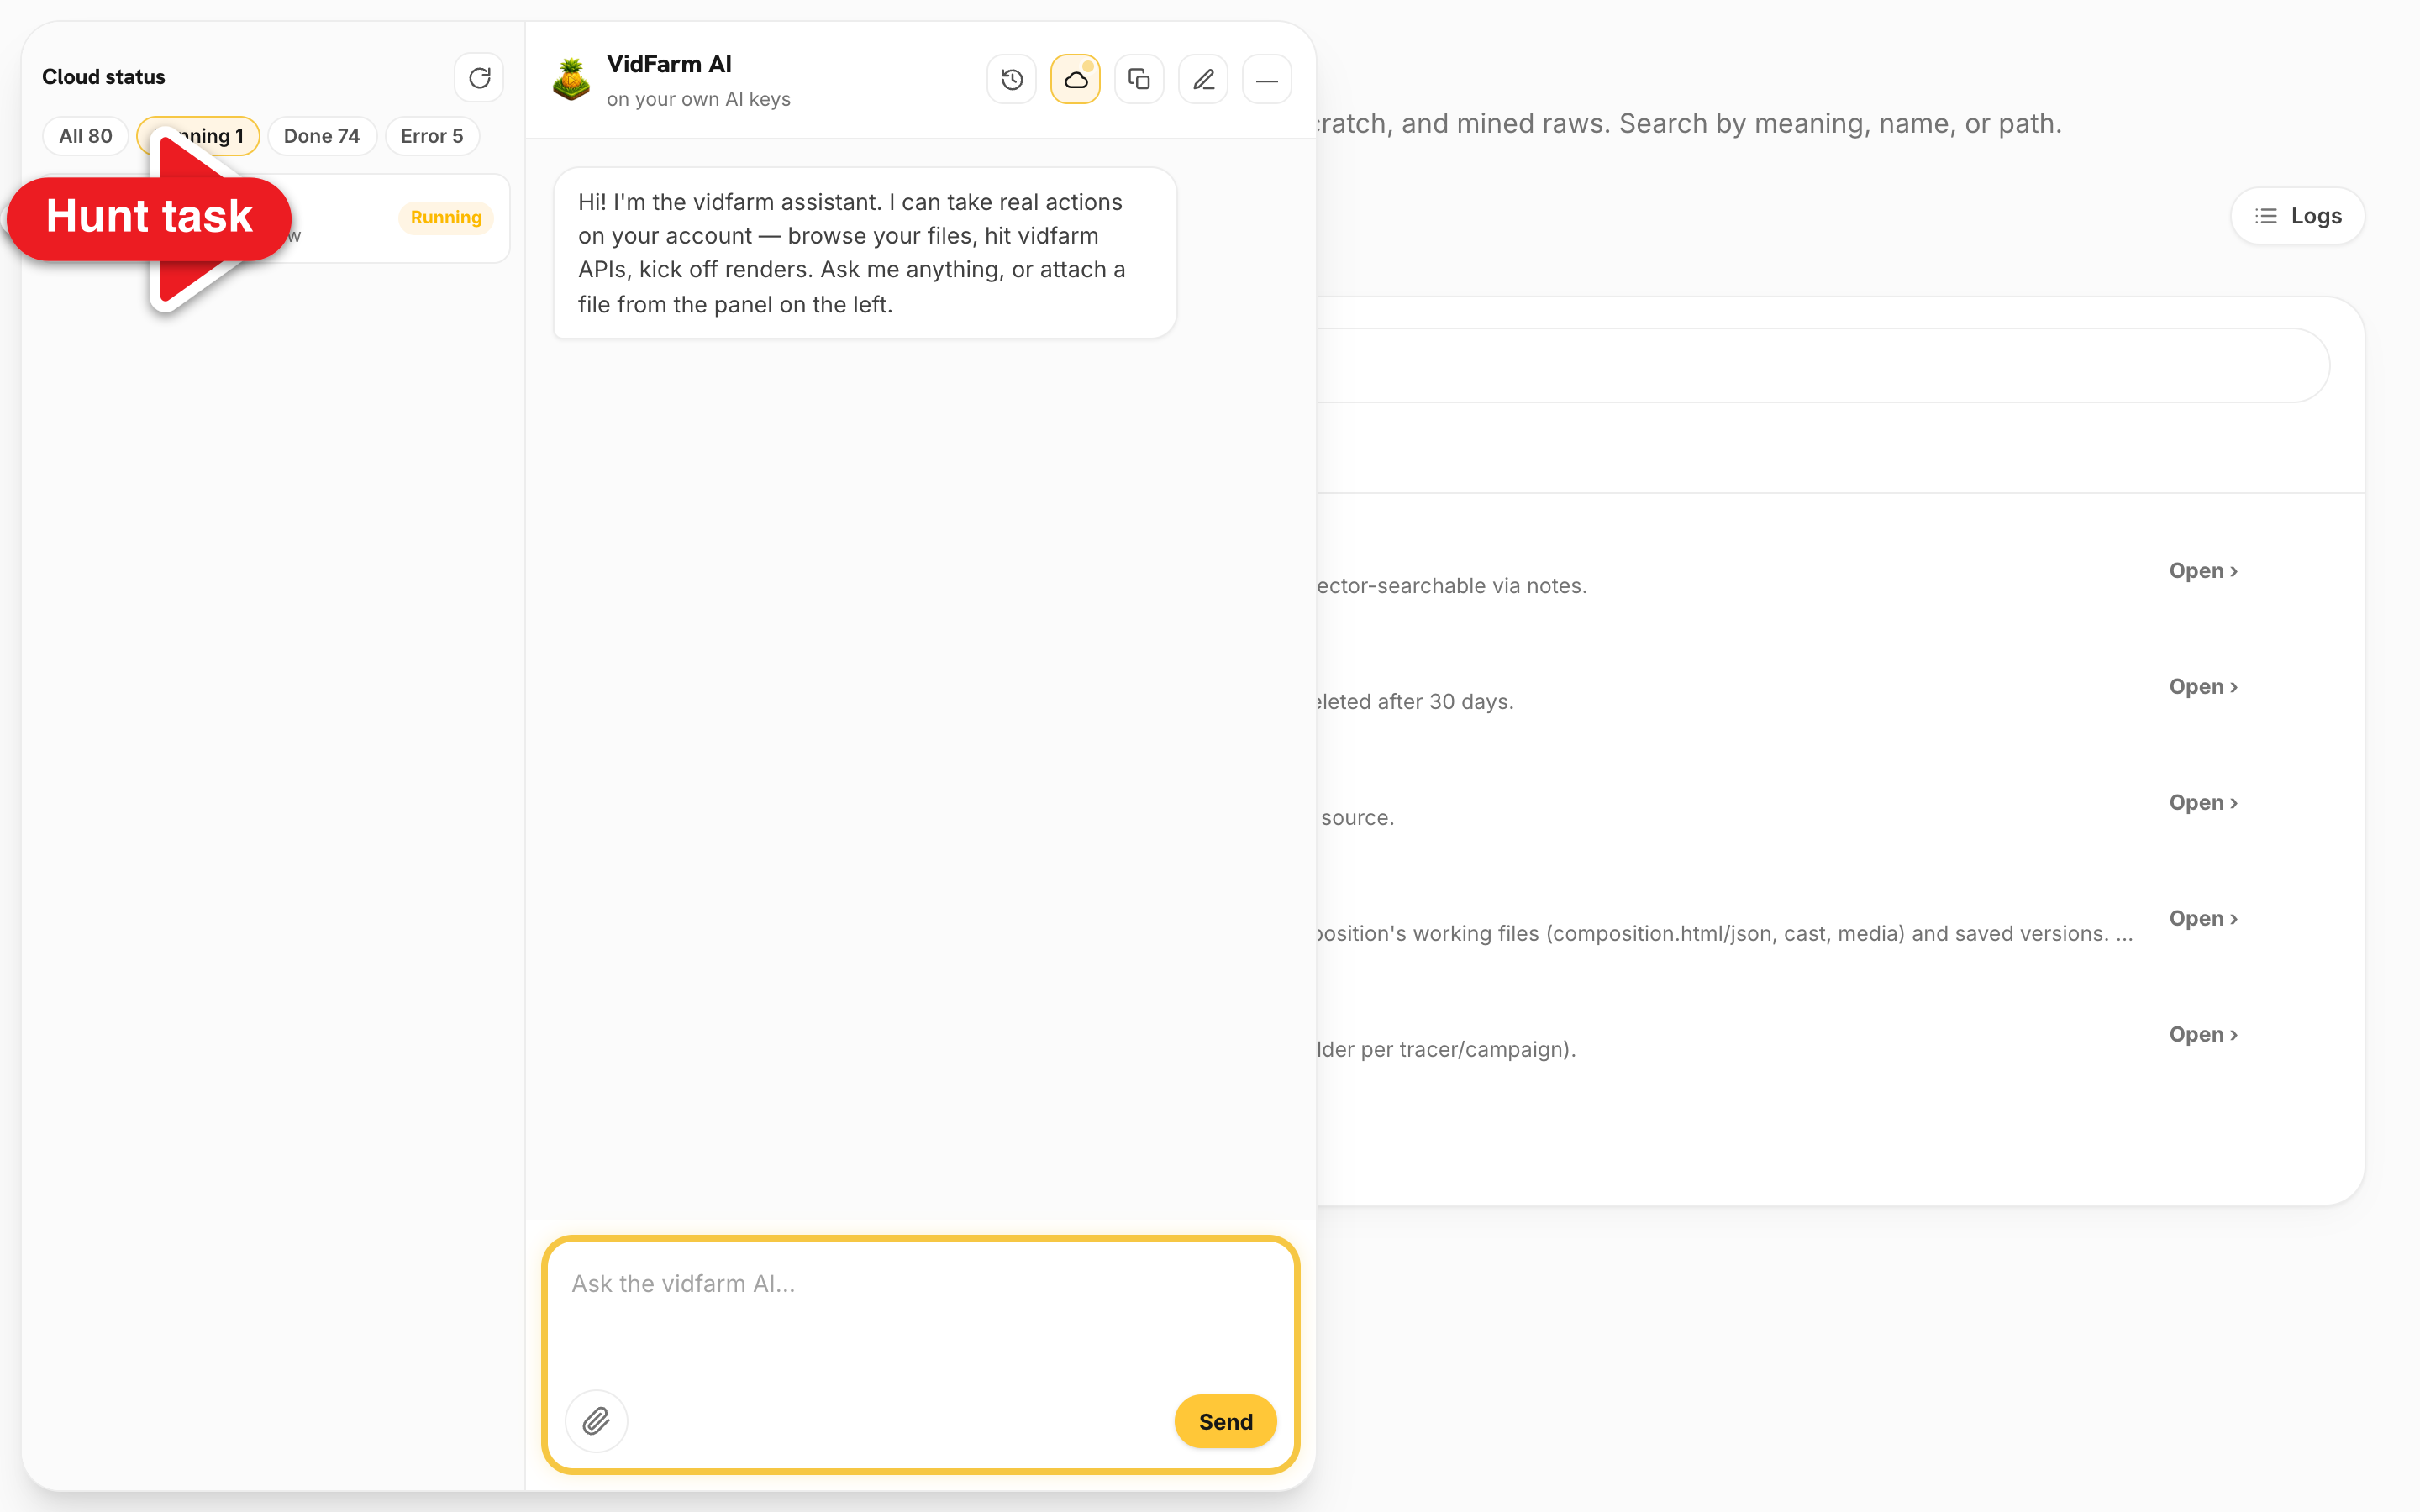
An AI hunt runs in the background, so VidFarm gives you a live task register. Click the cloud icon in the chat dock header (or the sidebar's "N running…" line) to open the Cloud status drawer. It lists your imports, forks, renders, and jobs, and auto-refreshes every few seconds while anything is live.
- Filter by All, Running, Done, or Error — each with a count badge.
- An import row reads Import <filename> with a "Clipping source video" subline, then "<N> clips" when it finishes, linking to
/library/raws. - Right after you start a hunt the drawer auto-pops and highlights the new import row — so you never lose track of it.
5 · Search & remix your raws
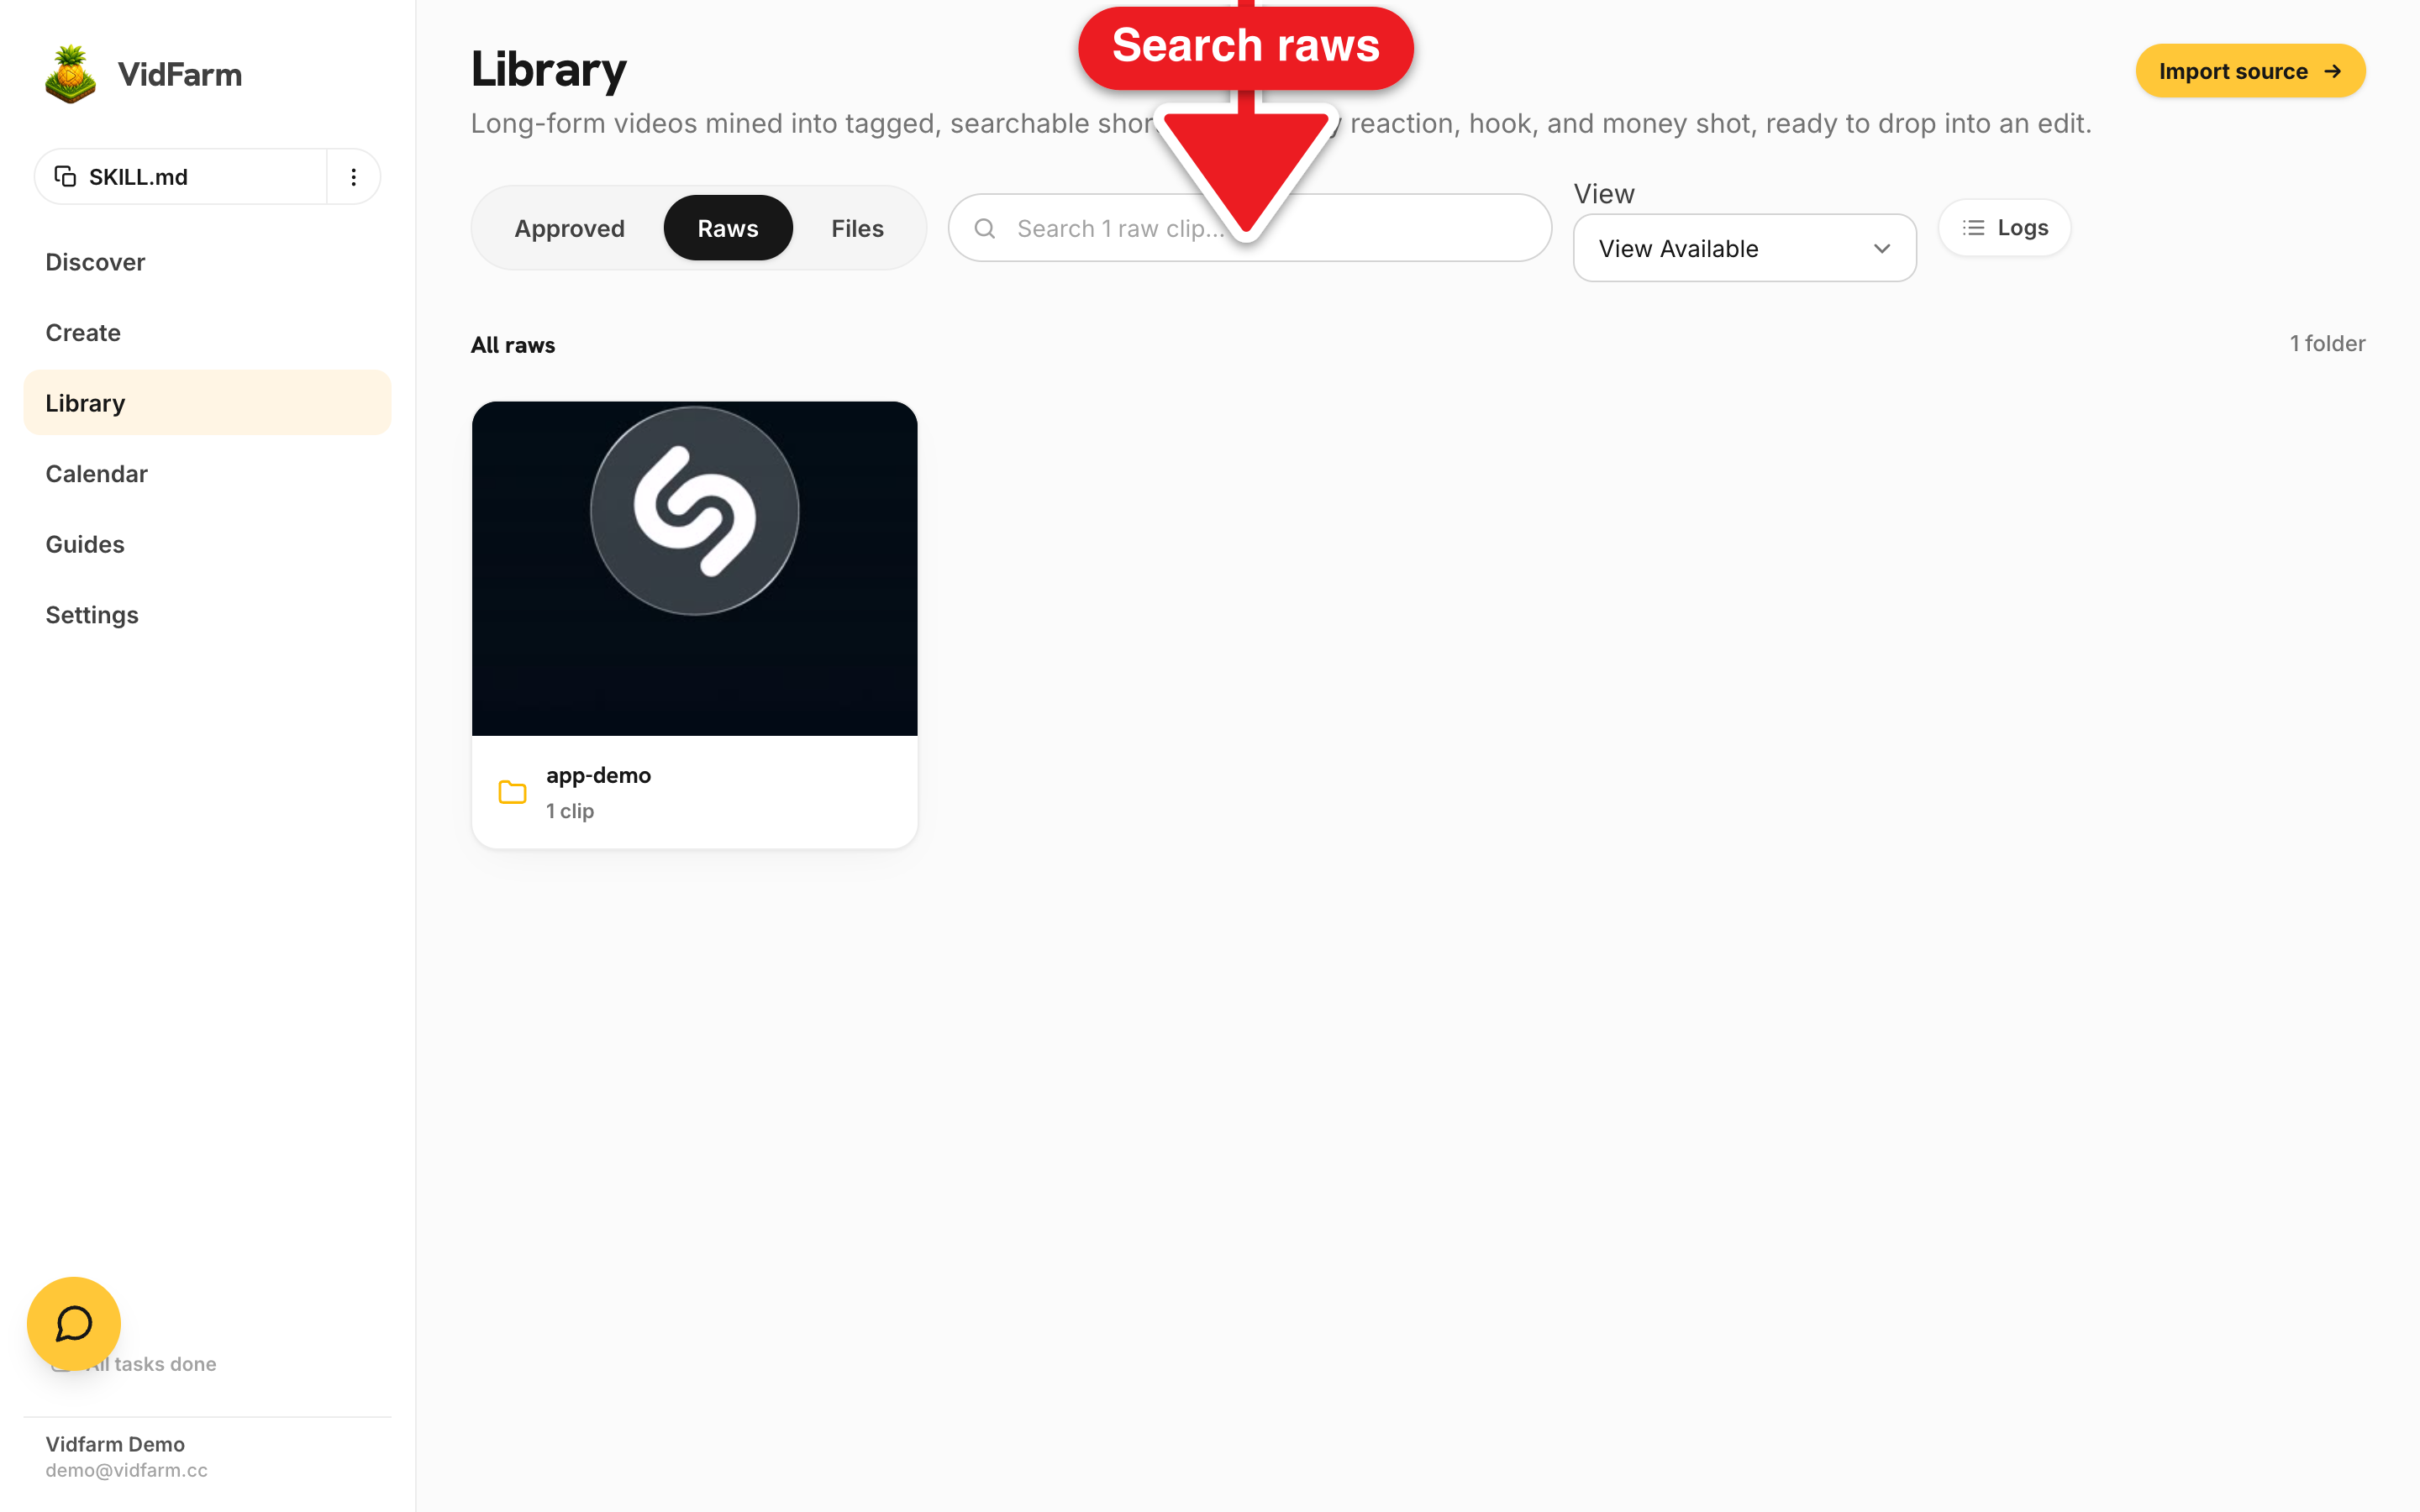
When a hunt finishes, your clips are waiting in /library/raws , grouped by source. Search them by meaning in the "Search raw clips…" box (it's a hybrid semantic + substring search), bookmark or archive from the ⋯ menu, and download any clip directly. From here, drop them onto a timeline and let the AI editor cut them to the beat — that's the remixing clips workflow .
--no-text is scene selection, not text removal — the refine pass simply drops text-heavy scenes. To actually erase burned-in text, apply remove-captions to individual finished raws (never GhostCut a long-form source — it's hard-capped around 15 minutes). And the Nvidia provider is clipping/text-only — it can't generate image or video.vidfarm raws scan and vidfarm clipper default to a local SQLite store using your local ffmpeg and your own claude/codex CLI — no API key, no wallet. Add --cloud to run the deployed pipeline. One catch: without a VIDFARM_API_KEY, URL clipping can't bootstrap the source locally — download the file first, then vidfarm clipper ./source.mp4.Where to go next
You've filled the library — now put it to work:
Start building your raws library
Save a few from the feed, import a video and let AI mine it, or cut one exact clip yourself. Every raw is durable, searchable, and ready to remix — and the local devcli clips for free.
Open your Raws library