Workflow — remixing clips
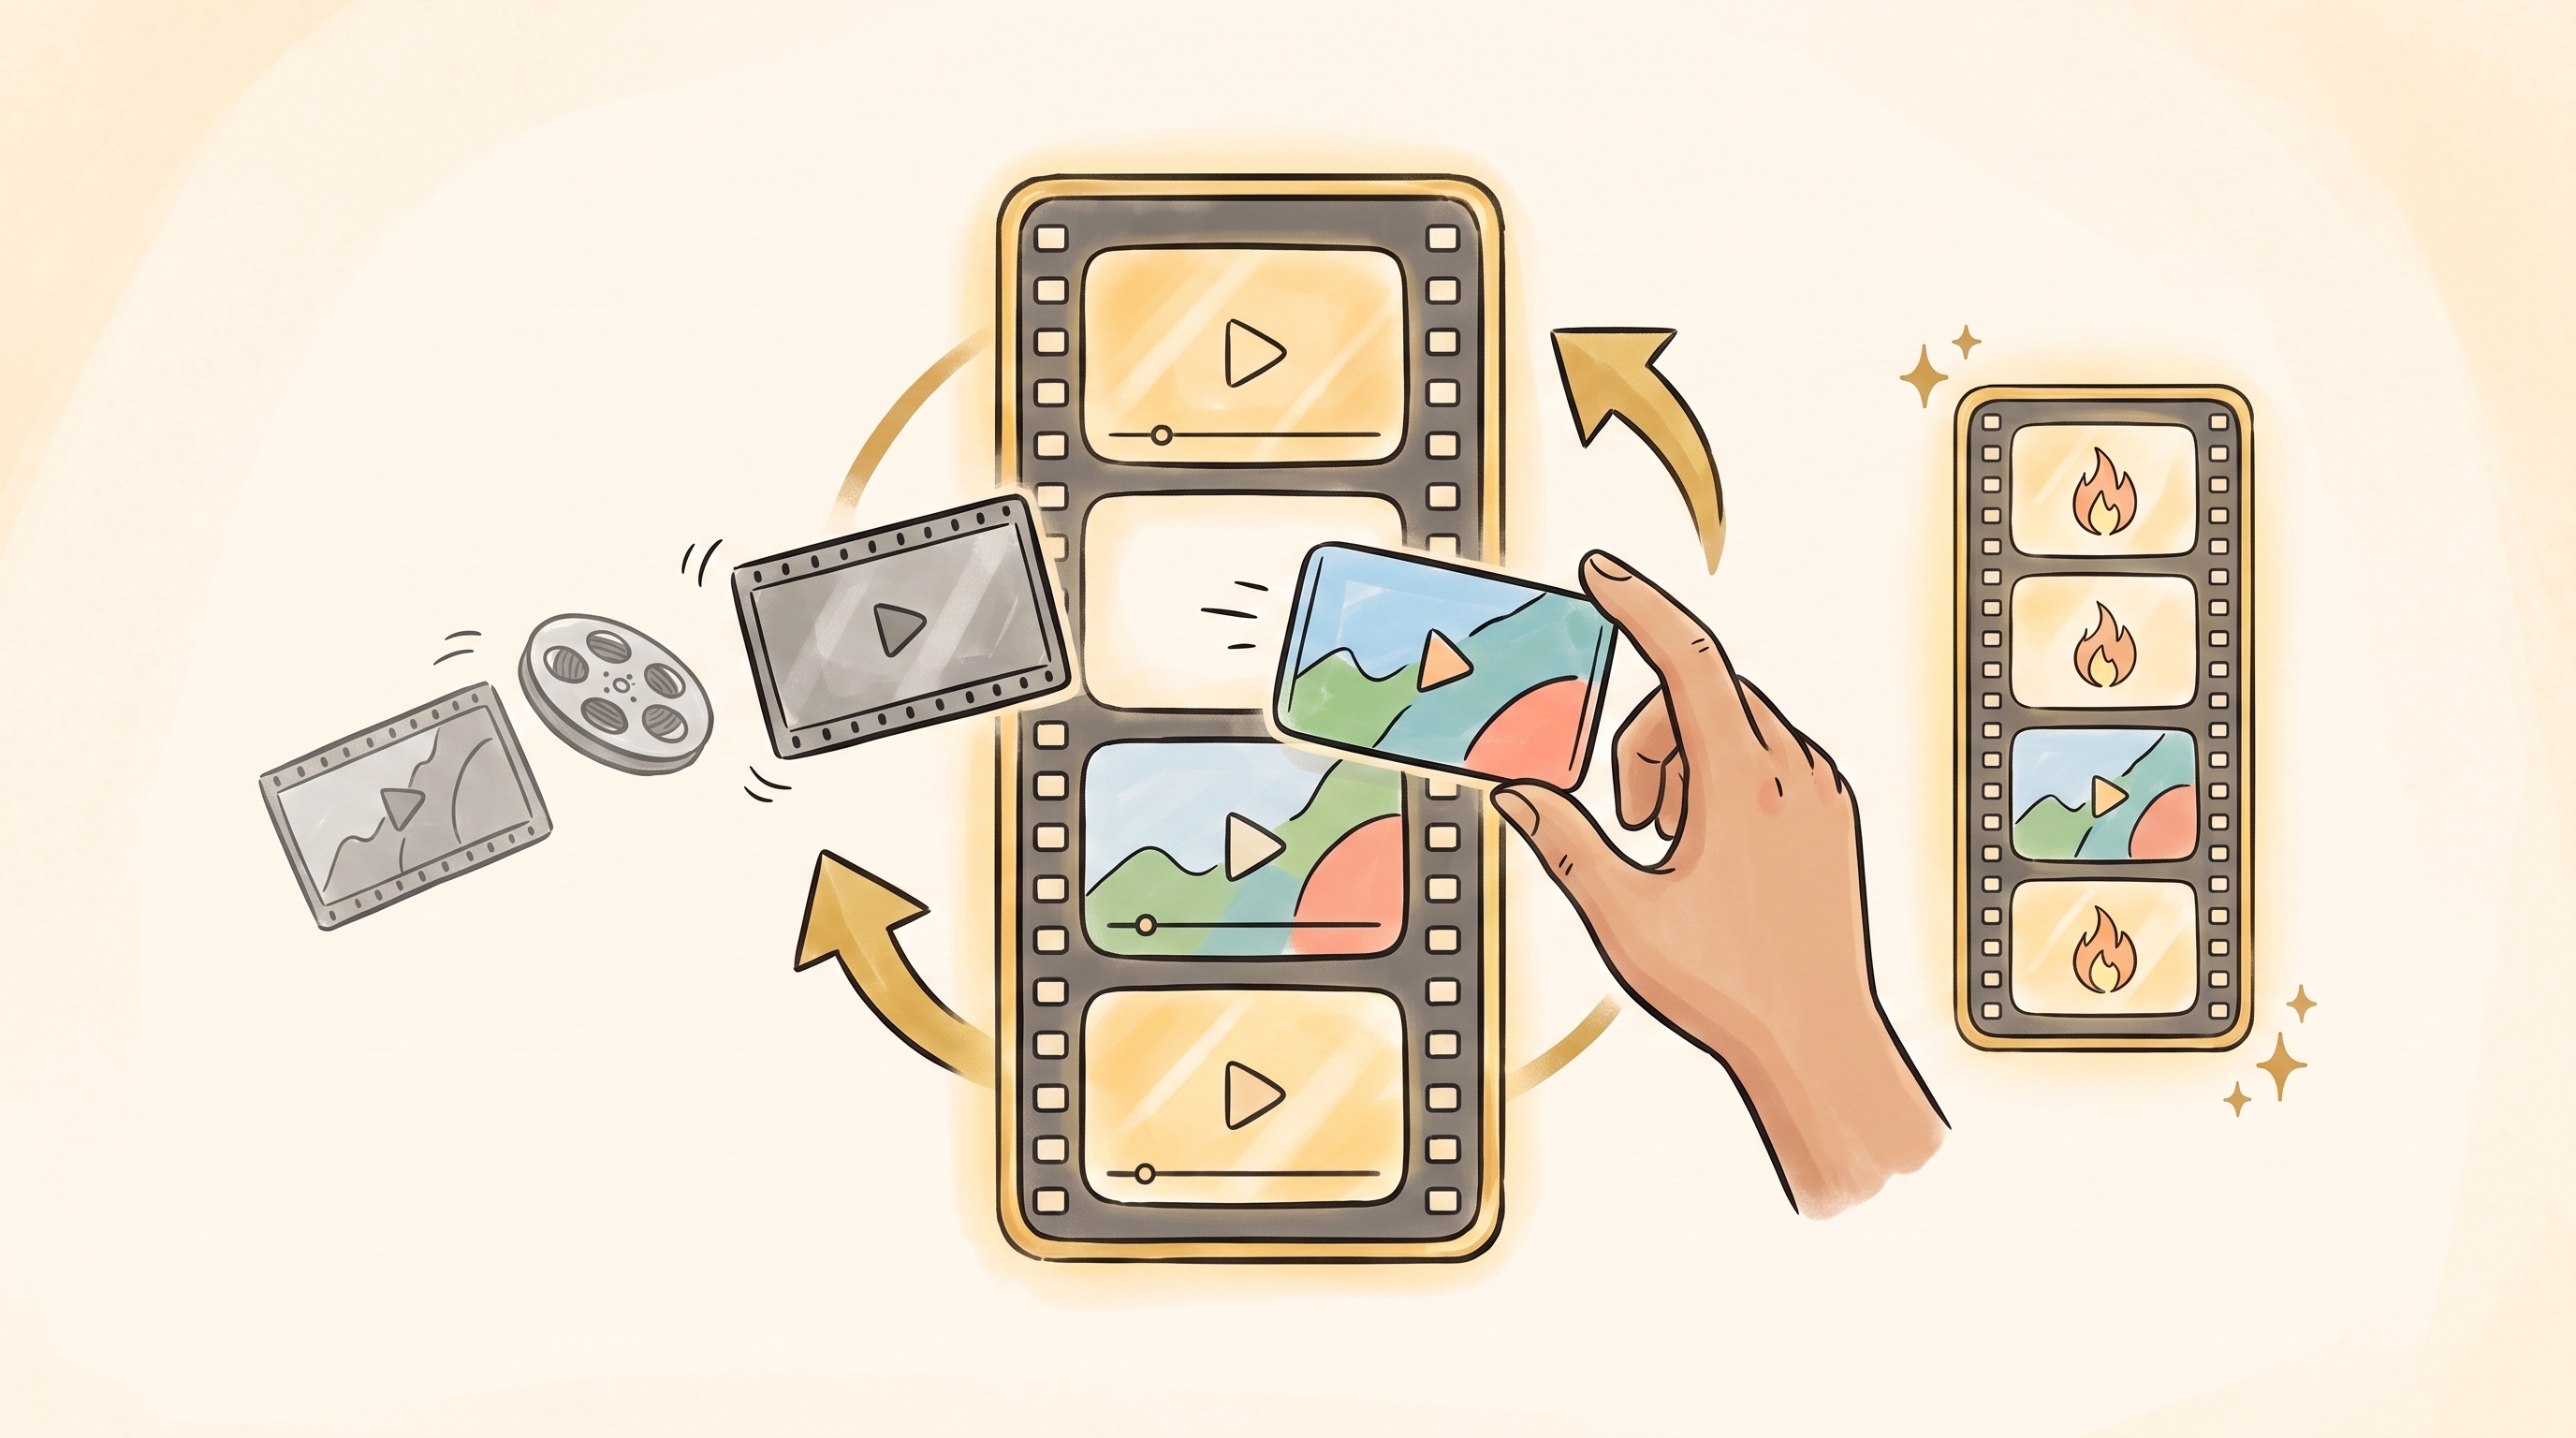
You've got a pile of raw clips and a template that works. This is the loop that turns them into a finished remix — the AI editor swapping your footage into each scene while keeping the timing that made the original pop.
Key takeaways
- Remixing is paintbrush #1 (
raw_clip) in practice — the cheapest way to make a whole new video. - The AI copilot swaps footage in place with
set_layer_media, keeping each scene's key, geometry, and timing. - Recaption with
set_captions/set_layer_text; composite a greenscreen foreground over a background for meme formats. - In the devcli the same moves are
set-media(in-place swap) andplace(delete + reinsert). - Preserve the load-bearing beats — swap the dressing, keep the DNA.
Swap the footage, keep the structure
A proven template already knows how a video should feel — the pace, where the hook lands, when the reveal hits. Remixing keeps that skeleton and repaints it with your footage. You pull clips from your /raws and /files libraries, drop them onto the timeline as scene replacements, retitle the captions, and render. No blank timeline, no dragging keyframes — you describe the swap and the AI editor does it.
First, make sure you actually have clips to work with. If your raws library is thin, go build it in Sourcing & clipping raws — then come back here to remix them into a video.
Manual walkthroughDo it in the editor (the web UI)
-
Open a fork in the editor
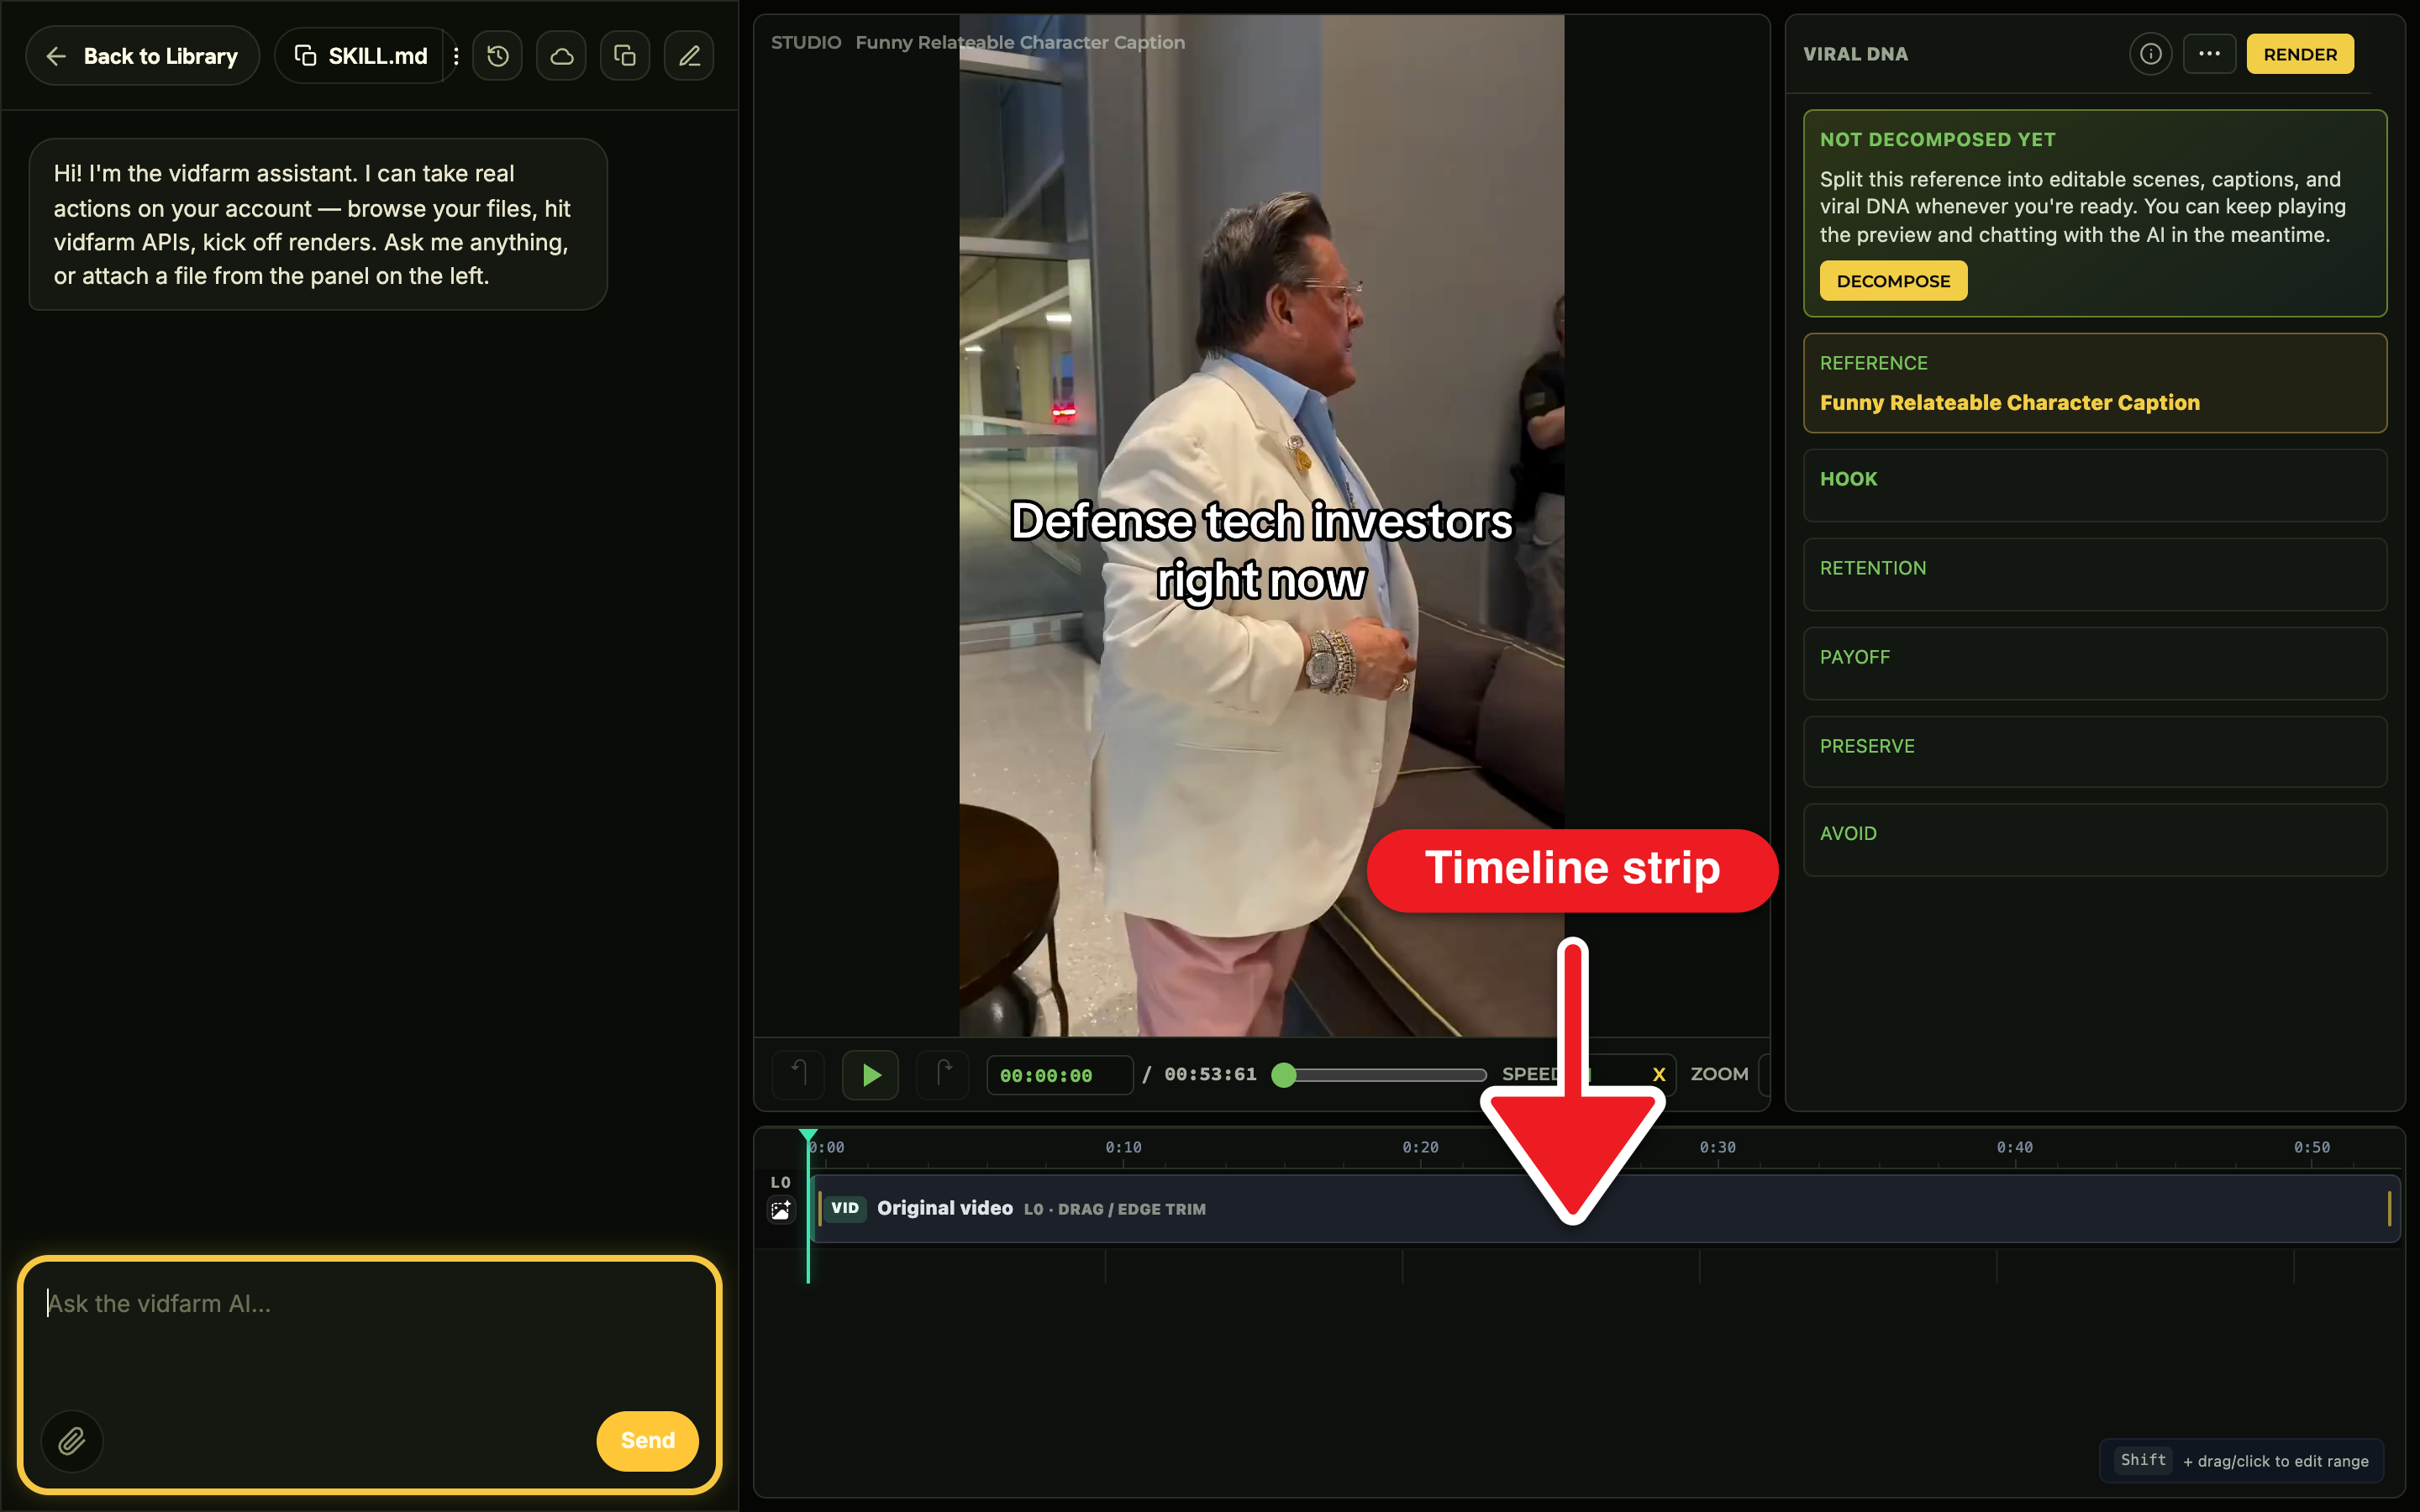
Open a composition in the Trackpad Editor — either an existing fork or a fresh one forked from a template on Discover . You land on a real timeline with an AI copilot in the chat dock.
-
Ask the copilot to replace a scene with a raw
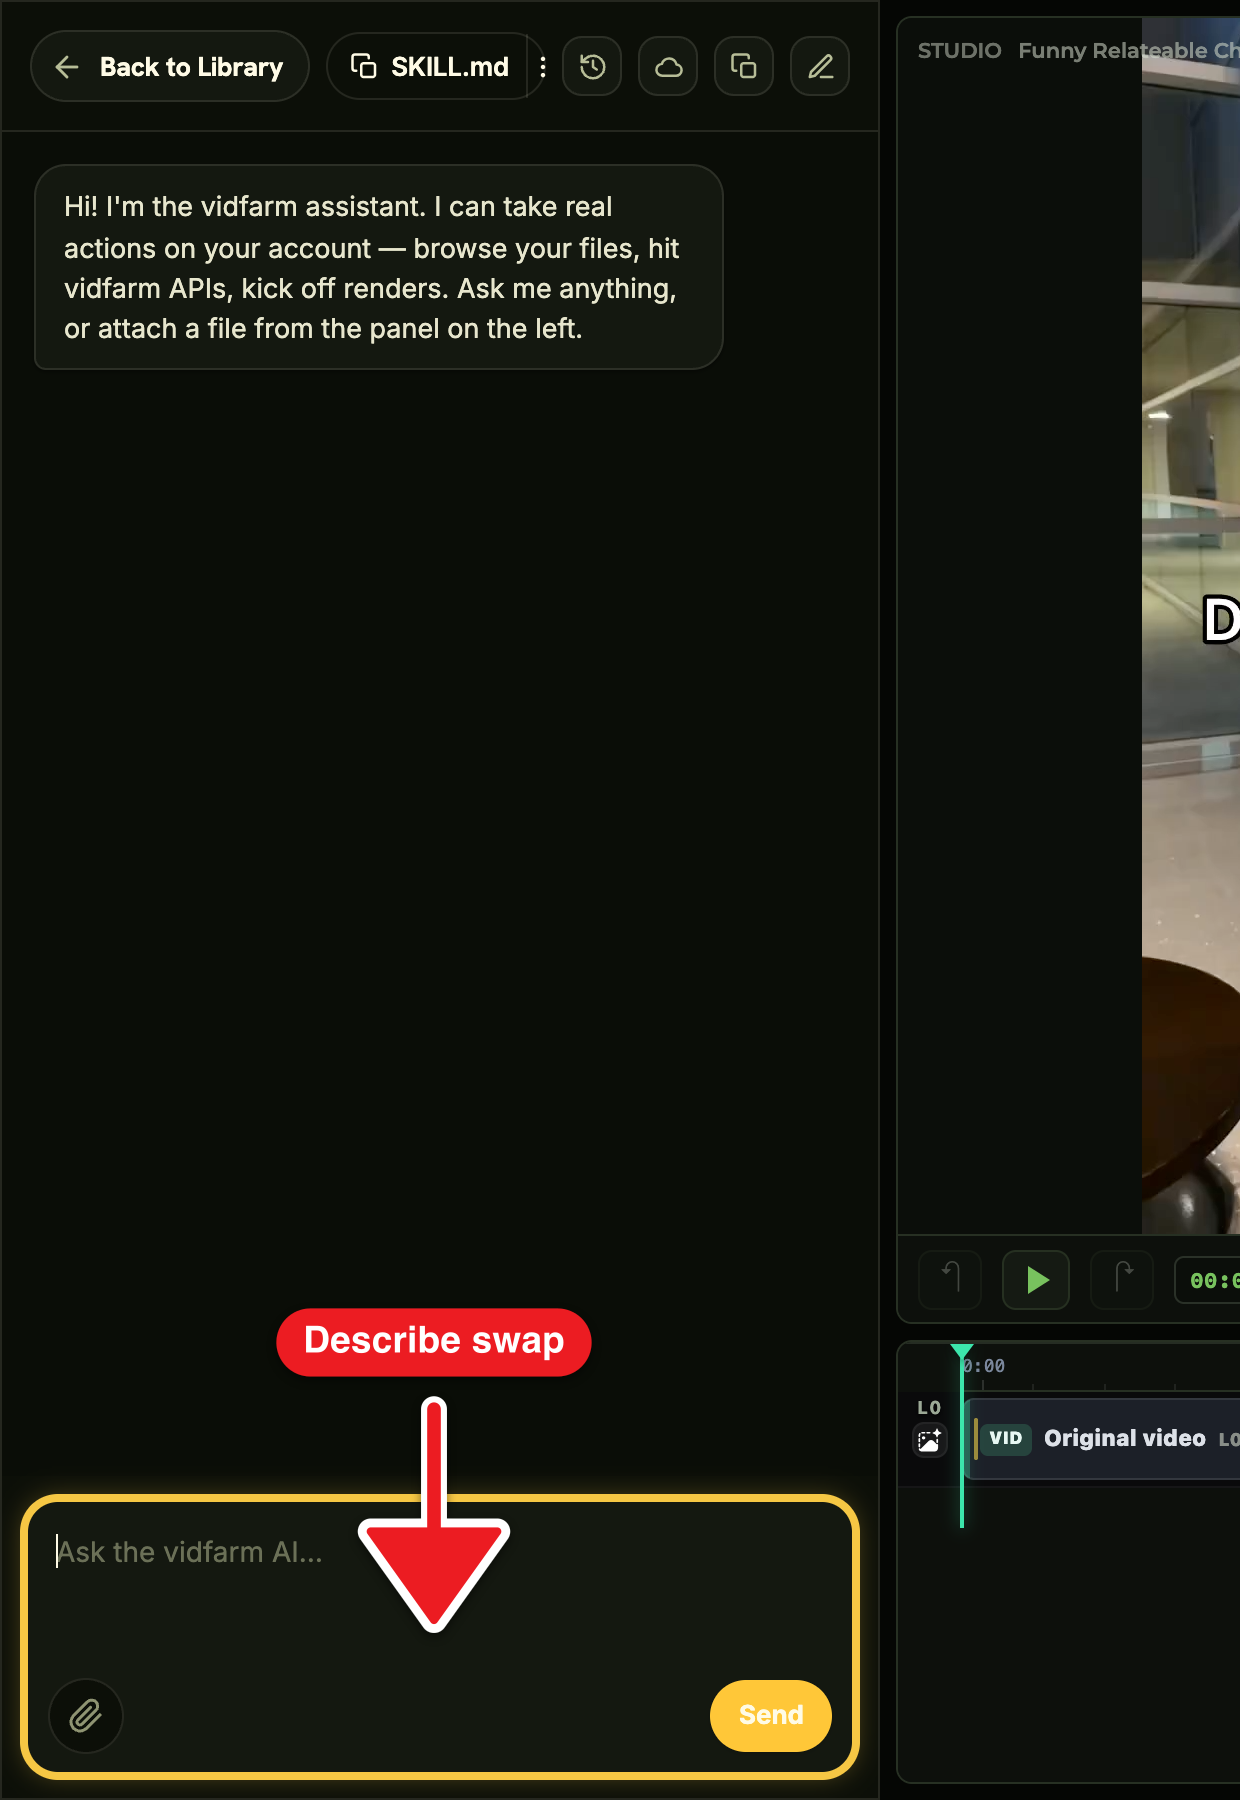
In the chat dock, describe the swap in plain English — "replace scene 2 with a clip of someone reacting to a text message." The copilot searches your library (or hunts a fresh raw), then calls
set_layer_mediato swap that scene's footage in place — same key, same geometry, same timing. -
Or attach a raw yourself
Prefer to hand-pick? Use Upload media → Clip from Raw to attach a specific raw from your library to the timeline, then tell the copilot which scene it belongs in.
-
Recaption the hook
Swap the words to your message with a simple instruction — the copilot uses
set_captions/set_layer_text. Remember: on-screen text is always a HyperFrames graphic, so it stays crisp and re-themeable (see the three paintbrushes ). -
Composite background + foreground for memes
For a "video meme" format, lay a foreground greenscreen clip over a background clip. Two raw clips, zero generation — the copilot composites them on the canvas.
-
Confirm, render & approve
When it looks right, confirm the render — VidFarm always asks before it charges — then approve the finished MP4 into a shareable post on your approved posts page.
editor_context.layers key when you swap, and remember a file's view_url from Browse is the URL you pass as media. Use set-media / replace-media for an in-place swap (keeps key, geometry, timing, plus volume/mute/subrange); use place --replace when you actually want to delete and reinsert.Where to go next
That's the remix loop. Fill your library first, then try the guided remix demo:
Turn your clips into a video
You've seen the loop — pull raws, swap scenes, recaption, render. Open the editor and remix a template with footage you already have. Cloud renders start at $0.01.
Open the editor